1) Open the Component (ie Harvnec.dxf or Harvnec.3ds). Much of what we need to do here parallels the Pylon in the first Step, however, the Neck needs to be mapped slightly differently.

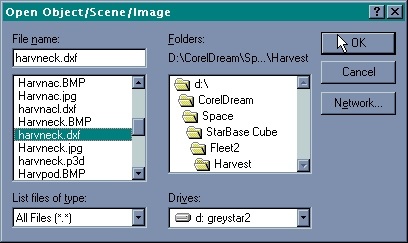
1) Open the Component (ie Harvnec.dxf or Harvnec.3ds). Much of what we need to do here parallels the Pylon in the first Step, however, the Neck needs to be mapped slightly differently.

2) Always start with "MODIFY" "POLYGON": We must make sure the component is solid and properly oriented.
3)Click "REDUCE VERTEXES" changing "Distance Threshold:" to "0.0001" to merge any vertexes or points that are VERY close together (almost overlapping) and make sure all the polygons in that area link to one point, hopefully removing any holes or polygon overlaps.
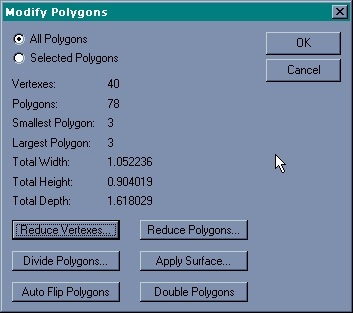
You may have noticed with this object that the "REDUCE VERTEXES" function actually reduced the number of vertexes from 234 down to 78. This not only aids texture mapping but also reduces rendering time.
Click "REDUCE POLYGONS" to remove any duplicate, overlapping or coplanar polygons, potentially reducing several surfaces to one. Make sure "Polygon Size" is set to 3 to ensure that all polygons are 3 sided. Finally click "AUTOFLIP POLYGONS" to ensure that the polygons are set to the correct orientation. (DXF, 3DS, and many other formats are not sensitive to polygon orientation. Lightwave, some VRML browsers, and some other programs are!). The object is now properly prepared for applying the image maps.
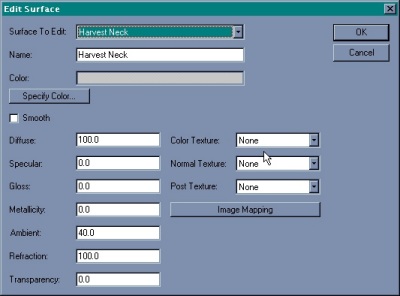
4) Choose "MODIFY" "SURFACE": We now want to apply the BMP image map to the surface of this object. At the "MODIFY" -> "SURFACE" menu, highlight "DXF Color 7" and click "Edit Individually". The Surface Editing screen appears. Change the name to "Harvest Neck" to differentiate this surface for when we combine this object (Harvneck) with other components.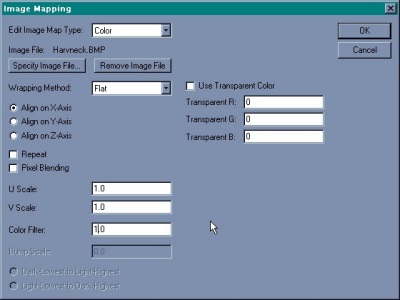
Now click "Image Mapping". Click "Specify Image File", and choose the appropriate BMP image file (Harvneck.bmp in this instance).
By looking at the original image file, we can see it needs to be mapped or applied from the side. Click "Align on X-Axis" to see if this will give us the correct orientation. Be sure to set "U Scale", "V Scale", and "Color Filter" to "1.0".
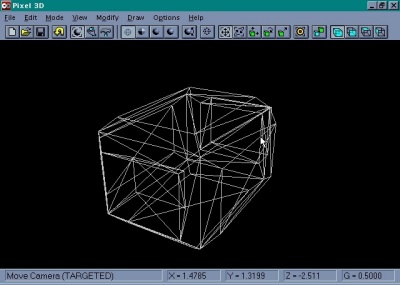
5) Click "OK" several times to exit so we can check the mapping of the image file.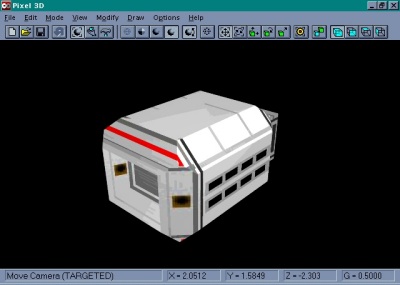 Choose "Phong Shading to see the image map applied to the object. Note that part of the image map appears to be missing. It actually IS there, the problem being a minor bug that Forward Design is hard at work fixing. If you move around the object the missing panels and lines will appear.
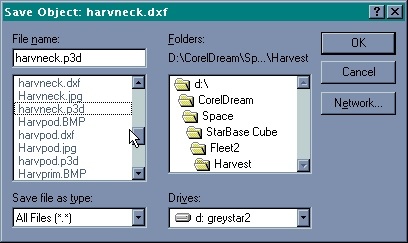
7) Save The Component/Object in Pixel 3D Format
Save this component in a format that will keep the texture map and other changes we have made. Pixel 3D format seems to do a good job of this. Click "Save", choose "Pixel 3D" as format, and change the file extension to match ("Harvneck.p3d" is what I used).