Construction of USSC3 Harvest from Cube Productions using Pixel 3D
Step Two - Mapping The Primary Hull

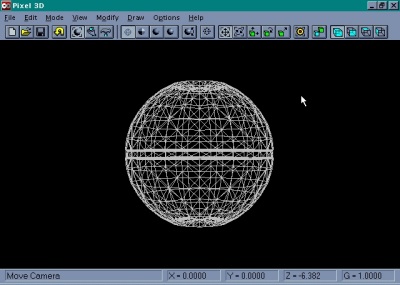
1) Open the Component (ie Harvprimhl.dxf or Harvprimhl.3ds). Much of the sequence for preparing the Primary Hull for use follows the procedure used to prepare the Pylon, but as this is a spherical object rather than a flat or square object, it does need to be treated slightly different.

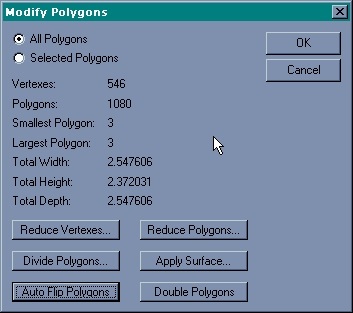
2) Always start with "MODIFY" "POLYGON": We must make sure the component is solid and properly oriented.
3)Click "REDUCE VERTEXES" changing "Distance Threshold:" to "0.0001" to merge any vertexes or points that are VERY close together (almost overlapping) and make sure all the polygons in that area link to one point, hopefully removing any holes or polygon overlaps.

Click "REDUCE POLYGONS" to remove any duplicate, overlapping or coplanar polygons, potentially reducing several surfaces to one. Make sure "Polygon Size" is set to 3 to ensure that all polygons are 3 sided. Finally click "AUTOFLIP POLYGONS" to ensure that the polygons are set to the correct orientation. (DXF, 3DS, and many other formats are not sensitive to polygon orientation. Lightwave, some VRML browsers, and some other programs are!). The object is now properly prepared for applying the image maps.

4) Choose "MODIFY" "SURFACE": We now want to apply the BMP image map to the surface of this object. At the "MODIFY" -> "SURFACE" menu, highlight "DXF Color 7" and click "Edit Individually". The Surface Editing screen appears. Change the name to "Harvest Primary Hull" to differentiate this surface for when we combine this object (Harvpylon) with other components.

Now click "Image Mapping". Click "Specify Image File", and choose the appropriate BMP image file (Harvprim.bmp in this instance).
As this is a spherical object rather than flat, choose "Sphere" for "Wrapping Method". By looking at the original image file, we can see it needs to be mapped or applied from the side. Click "Align on X-Axis" to see if this will give us the correct orientation. Be sure to set "U Scale", "V Scale", and "Color Filter" to "1.0".

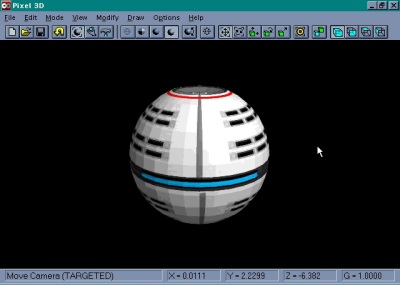
5) Click "OK" several times to exit so we can check the mapping of the image file. Choose "Phong Shading to see the image map applied to the object.
While it may not be immediately obvious at first, we are looking at the front of the Primary Hull, and by the image map we should see a solid line down the front. As we don't the image map is applied off alignment, correct vertically but 90 degrees out around the horizontal axis.

6) Go back into the Image Map screen and change the alignment to "Align on Y-Axis", and check again.

This time the map is oriented properly.

Another quick view from the upper right shows how the image map fits over the spherical Primary Hull.

7) Save The Component/Object in Pixel 3D Format
Once again we need to save the component in a format that will keep the texture map and other changes we have made. Pixel 3D format seems to do a good job of this. Click "Save", choose "Pixel 3D" as format, and change the file extension to match ("Harvprimhl.p3d" is what I used).
Prepared by highland@netcom.ca
tutorial ©Brett L McDonald/Highland Grey Consulting Inc.
models ©Cube Productions Inc.

