Construction of USSC3 Harvest from Cube Productions using Pixel 3D
Step One - Building the Engine Pylon
1) Open the Component (ie Harvpylon.dxf or Harvpylon.3ds).
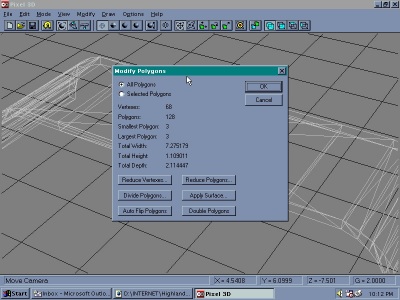 2) "MODIFY" "POLYGON": We want to do some minor object editing here to make sure the component is solid and properly oriented.
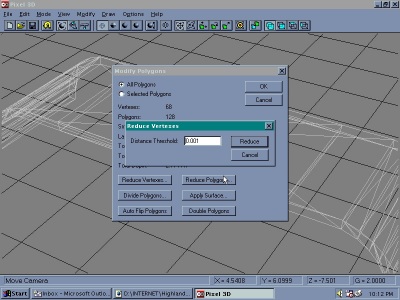
 3)Click "REDUCE VERTEXES" and accept default settings. This will merge any vertexes or points that are VERY close together (almost overlapping) and make sure all the polygons in that area link to one point, removing holes or polygon overlaps.
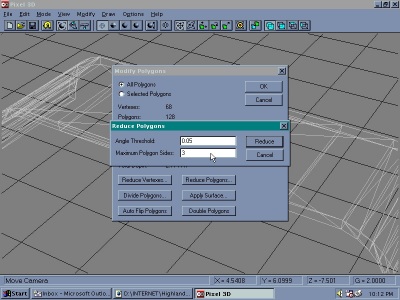
 Then click "REDUCE POLYGONS" to clear away any overlapping polygons, remove any duplicates and merge any polygons that could become one surface instead of many (reducing your polygon count, and making the file size smaller). In addition, change "Polygon Size" to 3 to make sure we are using small, 3 sided polygons (makes things much simpler if you want to convert to VRML 1.0 later!). Finally click "AUTOFLIP POLYGONS" to ensure that the polygons are set to the correct orientation. DXF, 3DS, and many other formats are not sensitive to polygon orientation. Lightwave, some VRML browsers, and some other programs are! This will fix most of the problems that incorrect polygon orientation might cause. It will also make it easier to convert the model to other formats at a later time.
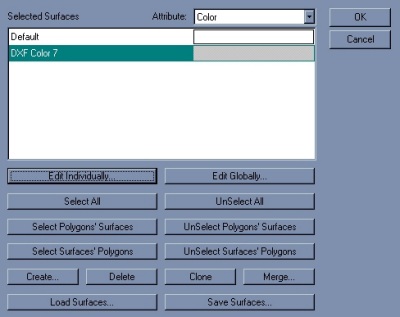 4) "MODIFY" "SURFACE": We now want to apply the BMP image map to the surface of this object. At the "MODIFY" -> "SURFACE" menu, highlight "DXF Color 7" and click "Edit Individually".
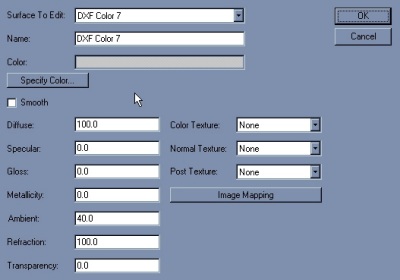 The Surface Editing screen appears.
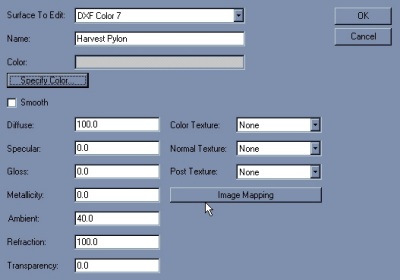 Change the name to "Harvest Pylon" to differentiate this surface for when we combine this object (Harvpylon) with other components.
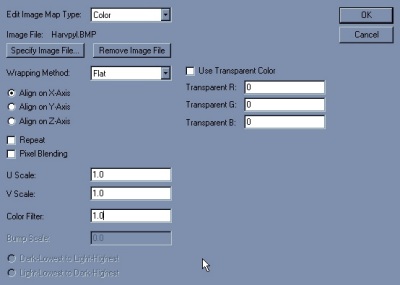 Now click "Image Mapping". Click "Specify Image File", and choose the appropriate BMP image file (Harvpyl.bmp in this instance).
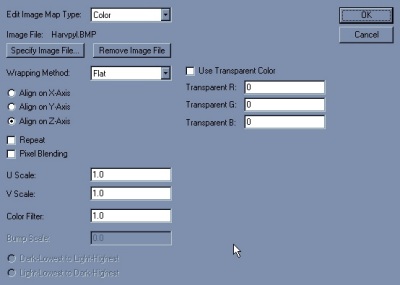 Click "Align on Z-Axis" to give the map the proper orientation. Set "U Scale", "V Scale", and "Color Filter" to "1.0".
5) Click "OK" several times to exit. Now lets have a look!
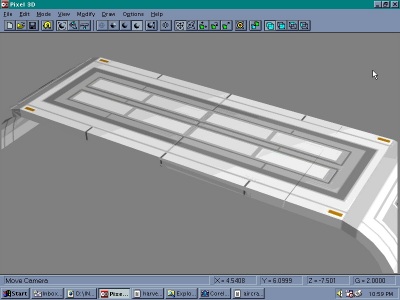 6) Choose "Phong Shading to see the image map applied to the object.
7) Save The Component/Object in Pixel 3D Format
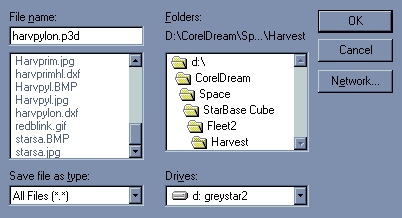
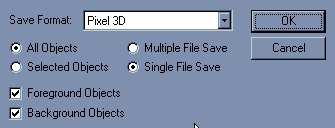 We now need to save the component in a format that will keep the texture map and other changes we have made. Pixel 3D format seems to do a good job of this. Click "Save", choose "Pixel 3D" as format, and change the file extension to match ("Harvpyl.p3d" is what I used).
Prepared by highland@netcom.ca
tutorial ©Brett L McDonald/Highland Grey Consulting Inc.
models ©Cube Productions Inc.
 2) "MODIFY" "POLYGON": We want to do some minor object editing here to make sure the component is solid and properly oriented.
 3)Click "REDUCE VERTEXES" and accept default settings. This will merge any vertexes or points that are VERY close together (almost overlapping) and make sure all the polygons in that area link to one point, removing holes or polygon overlaps.
  Then click "REDUCE POLYGONS" to clear away any overlapping polygons, remove any duplicates and merge any polygons that could become one surface instead of many (reducing your polygon count, and making the file size smaller). In addition, change "Polygon Size" to 3 to make sure we are using small, 3 sided polygons (makes things much simpler if you want to convert to VRML 1.0 later!). Finally click "AUTOFLIP POLYGONS" to ensure that the polygons are set to the correct orientation. DXF, 3DS, and many other formats are not sensitive to polygon orientation. Lightwave, some VRML browsers, and some other programs are! This will fix most of the problems that incorrect polygon orientation might cause. It will also make it easier to convert the model to other formats at a later time.
 4) "MODIFY" "SURFACE": We now want to apply the BMP image map to the surface of this object. At the "MODIFY" -> "SURFACE" menu, highlight "DXF Color 7" and click "Edit Individually".
 The Surface Editing screen appears.
 Change the name to "Harvest Pylon" to differentiate this surface for when we combine this object (Harvpylon) with other components.
 Now click "Image Mapping". Click "Specify Image File", and choose the appropriate BMP image file (Harvpyl.bmp in this instance).
 Click "Align on Z-Axis" to give the map the proper orientation. Set "U Scale", "V Scale", and "Color Filter" to "1.0".
 6) Choose "Phong Shading to see the image map applied to the object.
 We now need to save the component in a format that will keep the texture map and other changes we have made. Pixel 3D format seems to do a good job of this. Click "Save", choose "Pixel 3D" as format, and change the file extension to match ("Harvpyl.p3d" is what I used).