
Begin by clicking the Polygon tool on the toolbox. It's the seventh button down, and probably has a five-sided polygon on it. If you don't see the polygon, click and hold on the tool until the flyout appears; then drag to the polygon and release the mouse button.
After the polygon appears, you can change the number of sides. Use the up/down button on the Property bar to do this. (It has a star beside it.)
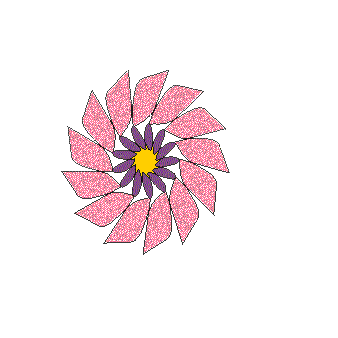
When you have the desired number of sides, use the polygon pointer (which is still selected) to drag the nodes of the polygon. This will change it into variously shaped designs. If you lose the polygon pointer, press the space bar or click the pick tool (the arrow at the top of the toolbox.)
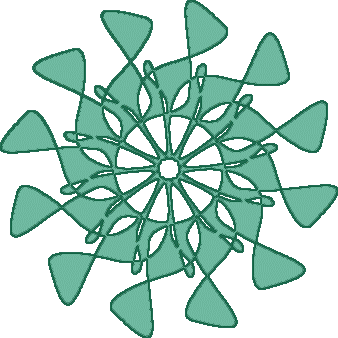
To create really dramatic effects, choose the Shape tool. The outline of your polygon will change to dashes, and the nodes will be visible. Click on the dashes, (not one of the nodes) and a round spot will appear on the line. On the Property Bar, you will see the words "To Curve." Your polygon is currently made up of straight sides - lines. Changing one to a curve will change the corresponding lines all around your design to curves. Now click and drag on your newly created curve, and it will bend. The symmetry of the polygon is maintained, just as it was when you dragged on nodes.
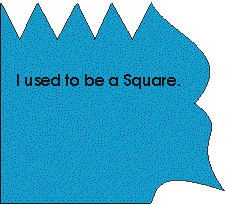
You can add nodes anywhere along the lines of the Polygon by double-clicking on one of the sides (or click to see the round spot, and click the plus sign on the Property bar.)
Continue adding nodes, changing sides to curves and dragging until the desired effect is achieved.

