Back to Tutorials
 
Fireworks
 
Step 1 (Creating the Fireworks Particle System)

From the Geometry Browse for Particle Systems then choose Super Spray:
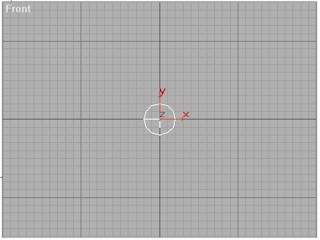
Create a Super Spray Particle system positioned at the following settings in the Front viewport : x: -700, y: 700, z: 400.

Name the Super Spray: FWork.

Figure 2

Figure 3

Step 2 (The Particle Parameters Settings)

Select the Super Spray then go to the Modify Panel :


  • In the Super Spray Parameters rollout, set the following parameters:
  1. In the Particle Formation box:of the Basic Parameters rollout set: Off Axis Spread = 100, Off Plane Spread = 100 (see Figure 2).
  2. In the Display Icon set the Icon Size = 20 (see Figure 2)
  3. In the Particle Quantity box of the Particle Generation rollout set: Use Total = 200. (see Figure 3).
  4. In the Particle Motion box set: Speed = 20 (see Figure 3).
  5. In the Particle Timing box set: Emit Start = 0, Emit Stop = 30, Display Unit = 100, Life = 30, Variation = 20 (see Figure 3).
  6. In the Particle Size box set: Size = 5, Variation = 0, Grow for = 0, Fade for = 10 (see Figure 3).

Figure 4

Figure 5

Step 2 (The Particle Parameters Settings)
  1. In the Standard Particle box of the Particle Type set: Facing = Selected (see Figure 4).
  2. In the Speed Chaos box set: Inherit Parent Velocity = Selected (see Figure 5).
  3. In the Speed Chaos box set: Inherit Parent Velocity = Selected (see Figure 5).

Figure 6

Step 2 (The Particle Parameters Settings)

In the Lifespan Value Queue box, type 10 and click Add (see Figure 6).

Step 3 (Creating the Gravity)
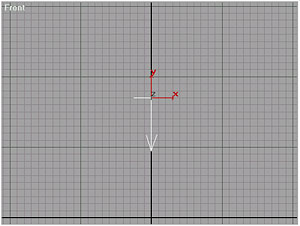
From the Space warp Browse for Particles & Dynamics then choose Gravity then create a Gravity Space warp, positioned at the center of the Top viewport : x: 0, y: 60, z: 170.
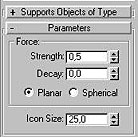
Step 3 (The Gravity Parameters Settings)
Set the Strength = 0,5 Set the Icon Size = 25

Now Click on the Zoom Extents All to bring the FWork to the seen

Step 4 (The Material Editing)

From the Material Editor select the slot 01 and click on the Get Material button and from the Browse Form in the Material/Map Browser select Mtl Library and double click on the Material Chrome Sunset (Standard) it will be automatically assigned to the selected slot 01. Close the Material/Map Browser.


  1. Set the Material Effect Channel of the slot 01 " Chrome Sunset" to 1.
  2. Change the following setting in the Basic Parameters rollout:
    Ambient = R 00, G 55, B 00, Diffuse = R 70, G 170, B 70, Self-Illumination = 100,
  3. Change the Reflection Amount in the Maps rollout to 50
  4. Select the Particle System "FWork", right click on it and select Properties. in the Object Properties under the Motion blur Dialog box select Image and change the Multiplier to 2.
Step 5 (Adding the Glow)

From the Rendering Menu click on Video Post:

  1. Click on Add Scene Event and select Perspective.
  2. Click Add Image Filter Event and select Lens Effects Glow
  3. In the Edit Filter Event window click setup.
  4. In the Lens Effect Glow window set the following parameters:
  • Click on Properties and in the Source dialog box select the Material ID and leave the number 1 as it is because it refer to the the Material Channel Effects numb.
  • Click Preferences and set the following settings:
  1. VIn the Effects dialog box set the Size = 10
  2. In the Color dialog box set the Pixel = Selected and the Intencity = 75.