Handmade Non-Rectangular Buttons
There are all sorts of non-rectangular buttons you can make with Preset Shapes or dingbat characters, with Inner Bevel applied. Here's another possibility: a capsule-shaped button made by combining several Preset Shapes.
- Open a new image with a transparent background, 500 pixels wide and 150 pixels high.
- Set the background color to medium blue, Red:3 Green:69 Blue:189. and the foreground to light aqua, Red:29 Green:226 Blue:255.
- Choose the Preset Shapes tool, and set Shape Type to Circle and Style to Filled.
(Make sure you don't check Create As Vector.)
Beginning at position 75, 75 on the image canvas, draw a circle that's almost 75 pixels in diameter.
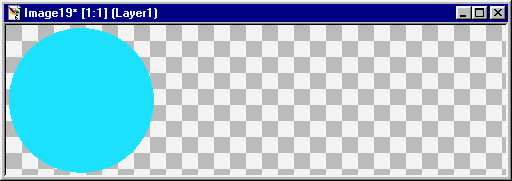
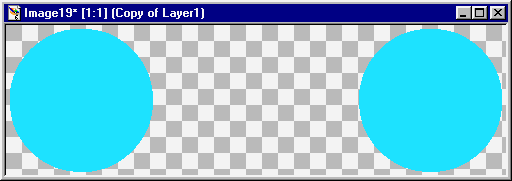
- Duplicate the layer with Layers | Duplicate. Mirror this layer with
Image | Mirror. You'll then see a circle on the right of the image canvas
as well as on the left.
- Add a new layer with Layers | New Raster Layer. Choose the Preset Shapes tool and
set Shape Type to Rectangle, keeping Style set to Filled. (Again, be sure not to
check Create As Vector.)
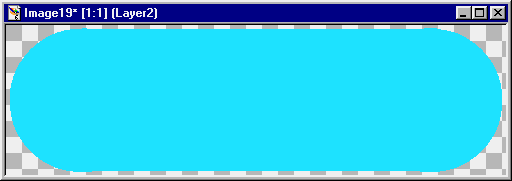
Draw a rectangle that begins at the top center of the left circle and ends at the bottom center of the right circle.
- Merge the layers with Layers | Merge | Merge Visible.
- Choose the Flood Fill tool, with the Fill Style set to Linear Gradient in the
Tool Options Palette. In the Options tab of the Tool Options Palette, choose
Foreground-Background in the Gradient drop-down list. Set Angle to 180 degrees,
and be sure that Repeats is set to 0.
Fill the selection by clicking inside the aqua shape.
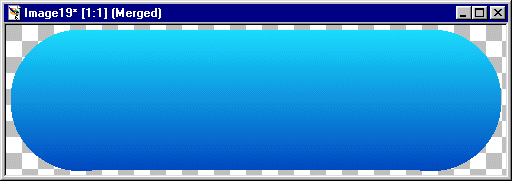
Turn the selection off with Selections | Select None (or press Ctrl+D).
- Apply a bevel with Images | Effects | Inner Bevel. Choose whatever settings you like.
Here's one possible result:
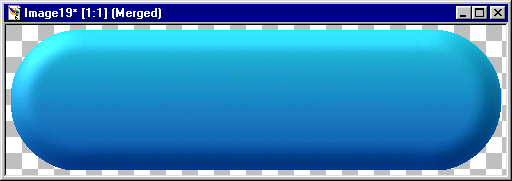
- Reduce the size of the image as needed using Resize on the Image menu. (For the Resize Type, select Smart Size.)
- Save the button as either a GIF or JPEG. (The transparent areas of the button will be saved as white. If you want to make a transparent GIF instead, use File | Export | Transparent GIF and choose "Existing image or layer transparency" on the Transparent GIF Saver's Transparency tab).
You can adapt this method to make your own separator bars by starting with a longer, narrower image canvas.