Handmade Rectangular Buttons
It's easy to make a rectangular button with either Image | Buttonize or Image | Effects | Inner Bevel. Here's another possibility: a button that looks like a sliced piece of solid metal bar.
![]()
- Open a new image with a white background, 500 pixels wide and 150 pixels high.
- Set the background color to light gray, Red:188 Green:188 Blue:188, and the foreground to dark gray, Red:83 Green:83 Blue:83.
- Choose the Selection tool, and set Shape to Rectangle, with Feather set to 0 and
Antialias unchecked. Beginning at the top-left corner, define a selection that is
about 70 pixels high and the full 500 pixels wide.
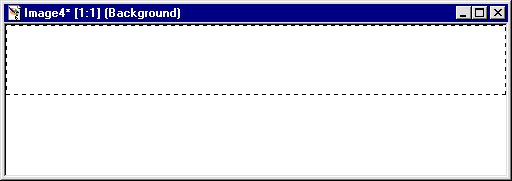
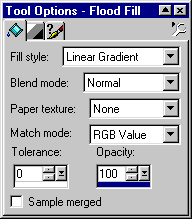
- Choose the Fill tool, with the Fill Style set to Linear Gradient in the Tool Options Palette.
In the Options tab of the Tool Options Palette, choose Foreground-Background in the
Gradient drop-down list. Set Angle to 180 degrees, and be sure that Repeats is set to 0.

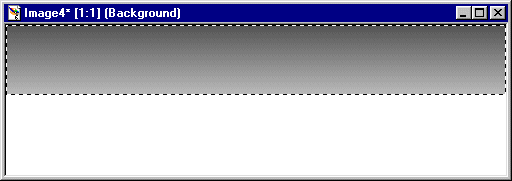
Flood fill the rectangular selection by clicking inside the selection.
- Invert the selection with Selections | Invert. Fill the selection, this time
by right-clicking inside the selection.
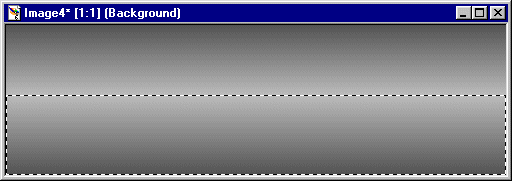
Turn the selection off with Selections | Select None (or press Ctrl+D).
- Add a new layer by selecting Layers | New Raster Layer.
Then select the Preset Shapes tool, and in the Tool Options Palette set
Shape Type to Ellipse, Style to Filled, and check Antialias. (Make sure that you don't
check Create As Vector.)
Beginning at position 0, 75 of your image, draw a partial ellipse using the foreground color. (Click and drag with the primary mouse button.)
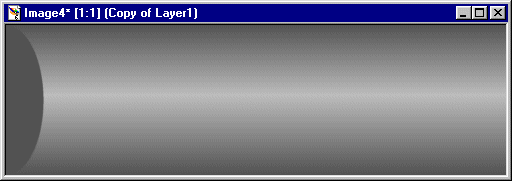
- Duplicate the layer with Layers | Duplicate. Mirror this layer with
Image | Mirror. You'll then see a dark gray ellipse on the right of the button
as well as on the left.
Recolor the righthand ellipse light gray with the Color Replacer tool: Choose the Color Replacer and then double-click with the right mouse button anywhere on the image canvas.
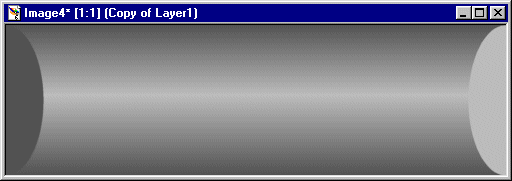
- Optional: If you want to save the full-size image as a PSP file, merge the layers with
Layers | Merge | Merge All (Flatten). Then save as a PSP file.
- Reduce the size of the image as needed using Resize on the Image menu. (For the Resize Type, select Smart Size.)
- Save the gray button as either a GIF or JPEG if you're going to use it as is. Otherwise, use CoLamanderze to give the button some color before saving it.
In addition to CoLamanderze, you can use Flip or Mirror on your buttons to make variations. And you can adapt this method to make your own separator bars, too, by starting with a longer, narrower image canvas.
Here are a few sample buttons, sized 100x30: