Layers: Embossing by Hand
PSP's Emboss effect can be quite useful, particularly if it is combined with CoLamanderze.
You can also get similar effects, which you can vary, using layers.
- Start by opening the image that you want to emboss, and hit Shift+D to duplicate the
image. Close the original image file.
- Change the new image to grayscale with Colors | Grey Scale.
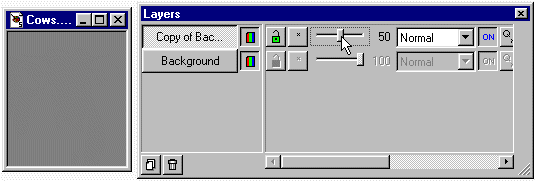
- Be sure the Layers Palette is being displayed. Copy the Background layer
of the image by dragging the layer button of 'Background' to the New Layer button.
The new layer will have a layer button labeled 'Copy of Background'.

- With 'Copy of Background' the active layer,
invert the colors of the layer by choosing Colors | Negative Image.
- Drag the Opacity slider for 'Copy of Background' to 50. The image will now
be solid gray (or nearly so).

- Choose the Mover tool. Being sure that 'Copy of Background' is the active layer,
click on the image and carefully drag the layer slightly to the right.

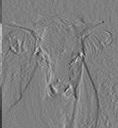
Your embossing is complete!
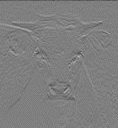
You can vary the embossing by dragging 'Copy of Background' more to the right, or to the left
instead of to the right, or up or down instead of (or in addition to) to the right.
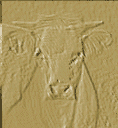
You can also tint your embossed image by adding a colored, semi-transparent layer above
'Copy of Background'. Try adjusting the Blend Mode as well as the Opacity of your colored
top layer -- Overlay can give a nice effect, for example.
Here are some examples of what you can get with this method:
And here's something else you might like to try:
Don't change your image to grayscale. Instead, use either Difference or Exclusion
as the blend mode for Layer1. When you then shift Layer1 with the Mover tool,
you should get some very interesting results.
Thanks to Rob Freundlich
for suggesting this variation to me!
Back
Copyright ©2000 Lamander
All rights reserved
|

