 |
Instructions and some images are from
"Disney's Family Fun Crafts" book
 This is a great project for the days
when it is too cold and wet to play outside!
Will make a wonderful addition to your holiday
decorations. Use your imagination and have fun!
 Materials
Pint-size cardboard milk cartons
and assorted cracker boxes
Craft knife
Construction paper (differnent colors)
Glue
Colored markers
Large sheet of poster board
Masking tape
Mini Christmsa lights (optional)
Nonflammable batting (available at craft stores)
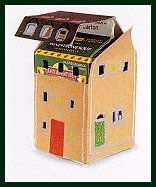
 Using craft knife (adults only), remove
the bottoms from the cartons and the boxes.
Then, make siding for each building
by tracing around the sides onto
a sheet of construction paper. With scissors,
cut out the individual pieces and clue them
onto the carton. For the roof, cut a paper
rectangle from a contrasting color. Fold the
roof over the top of the carton, as shown and
glue into place.
 Next, draw on the windows, doors, and corner
boards with the colored markers. Then, cut
out the window openings with the craft knife.
Finally, decorate the doors by gluing on the
tiny wreaths cut out of colored paper.
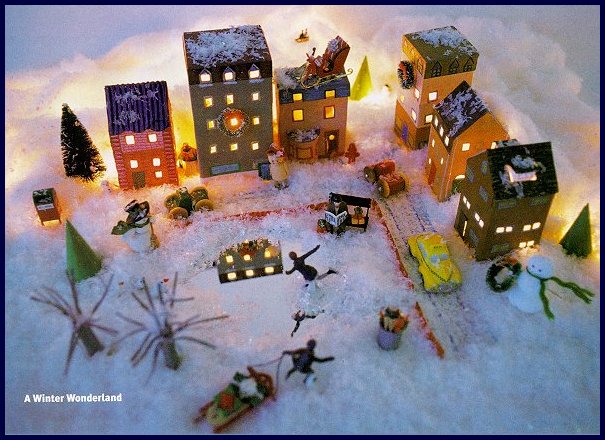
Arrange the finished buildings side by side
on top of the poster board and lay the unplugged
string of lights behind them. Fit a few bulbs into
each building through the bottom and tape the wires
to the inside so that the bulbs are in the center
of
the carton. Then, if necessary, use the tape to secure
the bottom edges of the buildings to the poster board.
For snow, spread the batting around the buildings,
being sure to cover the electrical wire running between them. Then, your
kids can add small figures, paper trees and toy cars. You can even use
a small mirror for a skating rink.


|


