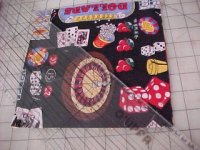
| I used 4 layers of fabric which
seems to be plenty for this technique. I had 2 cottons and 2
rayons in this grouping. Polys will not fray enough for
this. Cut squares to any size you desire but allow a little to
square it up when all is done. Layer each group of 4 in different
order. Each one will look different depending on the layering
sequence. |
When you have 4 groups of 4 fabrics,
draw a line down the center diagonally of each group. This will be
your stitching line guide. You only need to draw one line, then
you will move to the right and left of it using the preceding line
as your guide. IT IS IMPORTANT TO DO THIS ON THE BIAS OR IT WON'T
BE FLUFFY. |
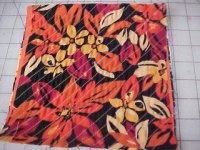
Stitch on the center line which you drew
with a 2.5 stitch length straight stitch. Move 3/8 in. and stitch
the next line. Repeat this process until your square is completely
stitched from corner to corner. |
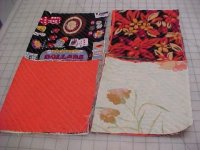
When you are done with each group you
will have four different fabrics on top and each one will be layered
differently. It's fun to see how the same fabrics look. When
you are doing a project, you will want to make sample squares such as
this to determine the one you like best. |
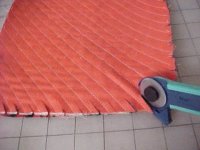
| It's now time to cut down the center of
each channel. Cut through all layers EXCEPT THE BOTTOM
LAYER. You may use scissors or a rotary cutter for this
step. If you are using a rotary cutter, it is a big help if you
start each row with a clip of the scissors. |
This is a rotary cutter designed for
cutting these layers. It has a guard which goes down the channel
between the cutter and the last layer of fabric. It comes with two
sizes of the guard. I found it to be very handy. |
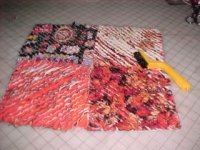
After all the rows are cut, machine wash
and dry each square. You can do this more than once if
necessary. Once the fabrics are dry, brush them with a wire brush
for more fluff. You can trim your squares on all sides to true
them up. |
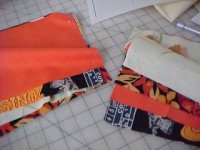
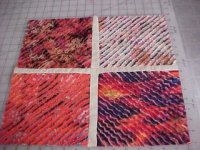
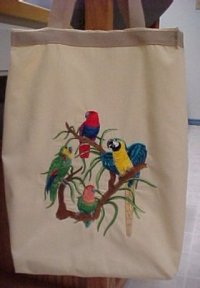
You now have 4 new pieces of fabric to
make something out of. I chose to make a tote bag. I sewed
the four together with a row of sashing horizontally then
vertically. This became one side of my bag. |
