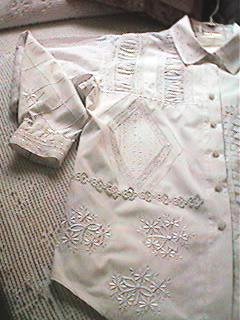
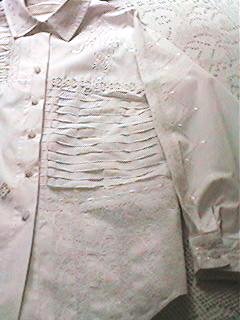
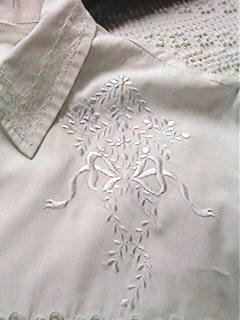
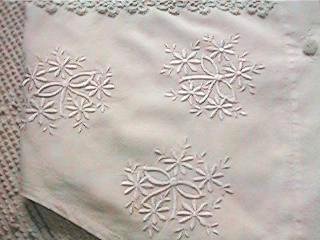
Each of the fronts is divided into 3 sections. The top section here is puffing attached with insertion lace using the wing needle. The middle section is using pintucks inside a diamond done with lace shaping and a wing needle stitch. The bottom section is machine embroidery. | The left side has machine embroidery for the top section, Mexican wedding tucks in the center section, and lace insertion with an omnimotion decorative stitch between the rows. |
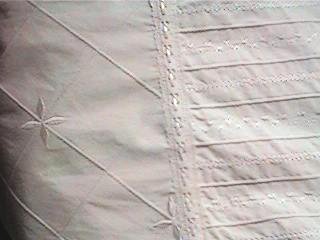
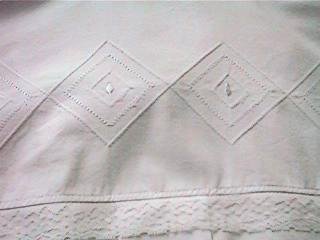
One sleeve is divided into 2 sections. The top is done with diagonal rows of pintucks with a pictogram in some of the cross-hatches. The bottom section is merely rows of pintucks with wing needle heirloom stitches in between. | The back is plain except for the yoke which has a line of diamonds done with pintucks, wing needle stitch and pictogram. |
These are the embroidered sections on the shirt. I used designs from
the HV library of designs. This shirt can certainly be done without
embroidery, and there are directions for optional shadow embroidery. That's
the beauty of this shirt--you can do it to suit yourself.
I pretty much followed Jill McCloy's book in doing this one. For those of you like me who shy away from "heirloom" this shirt is elegant in its tailored simplicity. Also, it is a perfect project for getting acquainted with your machine's capabilities. You use many of the stitches and several feet. The book entitled "Heirloom Shirt" is available from Viking Distributing out of Medford, OR. Some of you will ask me about the pattern. No one pattern is specified--only that you use one that you have used before and are sure of the fit. |
|
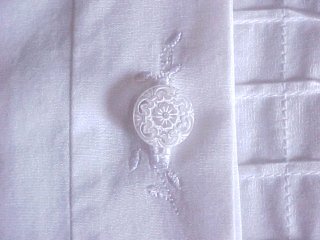
I wanted to show you a close-up of the embroidered buttonhole. It is #8 in Shapes Pack 2. I really enjoy using these buttonholes, but it wouldn't have been so easy without Karen Swann's tutorials on sizing and placement. |
Home |
Projects |
Memory |
GuestRoom |
Site Seeing |