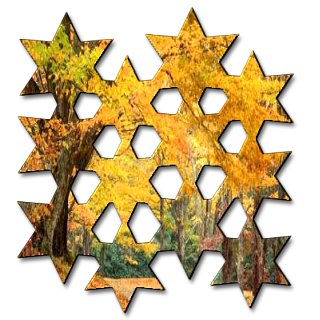
Slat Tutorial
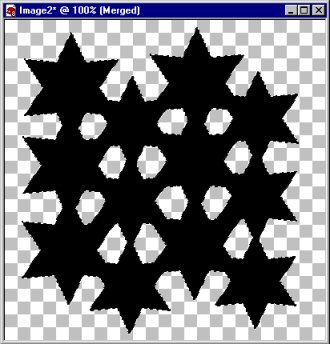
Supplies needed:  A slat of your choice, a graphic of your choice and tube if you wish.
Here is a slat if you wish to use it.  Slat
  1. 1 - Open the slat of your choice or you can use the one provided.
  2. 2 - Make a copy (shift + D)  and close the original.
  3. 3 - Select all (Selections/Select All)
  4. 4 - Float (Selections/Float)
  5. 5 - Defloat (Selections/Defloat)

(it is hard to see the marching ants but this is what it should look like after the above steps.)

  1. 6 -  Leaving the marching ants marching.... add a new layer (Layers/New Raster).
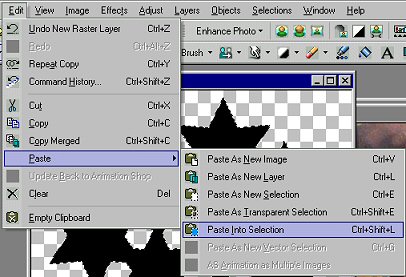
  1. 7 - Open the Graphic that you want to use in your slate.  Copy the graphic.. you can now minimize or close this graphic.
  2. 8 - Back to your slat.  Make sure the new layer is the active layer and then paste/into selection.

This will put the graphic into the selection but will not in any other part of your image.

You can now deselect..
Merge Visible now.
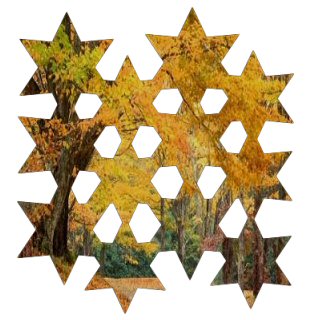
  1. 8 - At this stage you can now do some other effects.  Some samples are adding an inner bevel, drop shadow or others just use your imagination.  Here is a sample with using the inner bevel (soft edge) with the default settings. and adding a drop shadow.

Now you can add other things to your slat.

I like to put everything on new layers and then merge them after I am satisified.  This was if you don't like something it is really easy to just delete a layer :)

Here is a sample with a tube added and text.

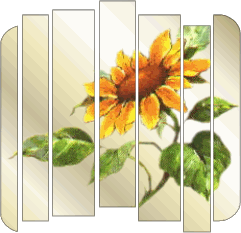
Below is another sample of what you can do :)

This one is first using a gradient flood fill and then pasting the flower into the selection.
Hope you have had fun with this easy trick :)

Tutorial Indes

Home

1