Beaded Bracelets
Beaded
Bracelets
Materials:
- paper or Styrofoam dishes (or a beading loom)
- thread
- beads
- needles
- scissors
- tape
- graph paper
- crayons, markers, or colored pencils
Instructions:
- Design your bracelet by drawing it out on a piece of graph paper.
Each square represents a bead. Base the number of strings on the design that
you have created. (See figure 1)

Figure 1
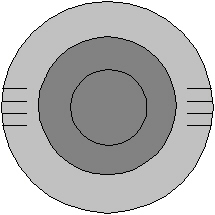
- Cut slits in the sides of the bowl. (See figure 2) Make sure that
you have enough for the number of strings that will be in the bracelet.

Figure 2
- Cut lengths of string that are long enough to stretch across the
bowl, plus at least 4 inches extra. Cut as many strings as the bead width of
the bracelet, plus one. (See figure 4)
- Stretch the strings across the bowl and secure with tape on each
side. Make sure that the strings are fairly tight.
- Thread your needle with a fairly long piece of string. Make sure
that the needle is small enough that it will fit through the size beads that you
purchased.
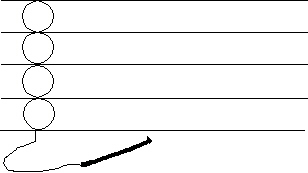
- Tie the loose end of your thread to an outside string on the loom or
bowl with a half hitch or a square knot. (See figure 3) Tie the thread towards
one end of the bowl.

Figure 3
- String the beads which fit the first row of your bracelet design onto
the needle and thread.
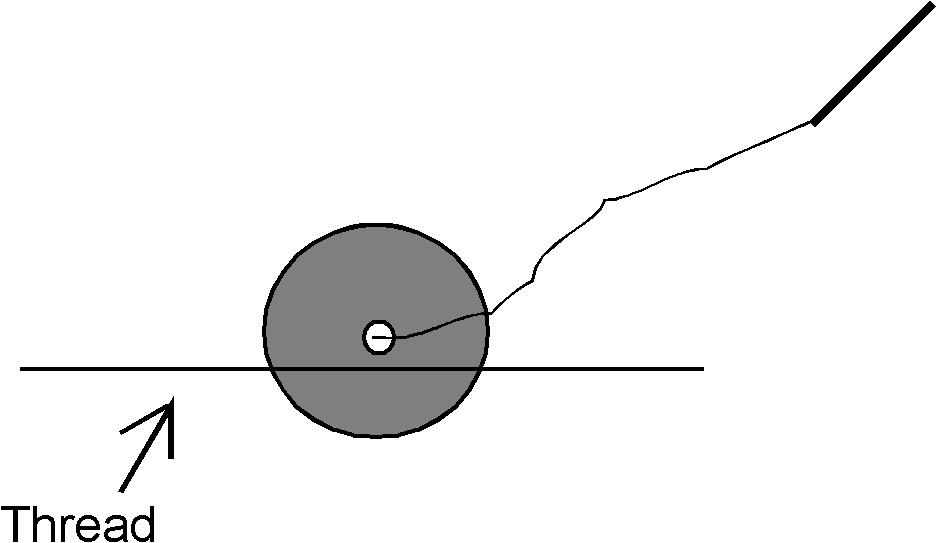
- Bring the needle underneath the threads of the loom and press the
beads up between the threads. They should be positioned so that there is one
bead between each thread, and so that their holes are pushed above the level
of the thread. (See figures 4 and 5)
 |  |
| Figure 4 | Figure
5 |
- Next, run the needle back through the beads, but over the loom
threads. (See figure 6)

Figure 6
- String up another row of beads and continue steps 7 through 10, bringing the beads under and then going back through them over the loom strings until the bracelet is long enough, or your design is done.
- Tie the end of the thread off after the last row of beads with a
square knot on one of the outside strings.
- Remove the bracelet from the beading loom or dish. If you cut the strings leave them long enough so that they can be knotted and braided easily (about 4-6 inches at least) and will be long enough to fit around your wrist.
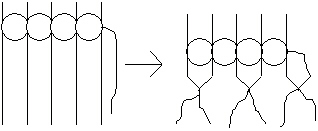
- Use square knots to tie the loom threads and the sewing threads
together. (see figure 7) Knotting can be done several times with different
combinations of strings. This is a good idea, because it helps make your
bracelet stronger and more durable. Do this with both ends of the bracelet.

Figure 7
- Once the knotting is done, gather up the threads and braid them
together. Do this at both ends of the bracelet. Tie off the ends of the braid
and your bracelet is ready to wear!


