

 |
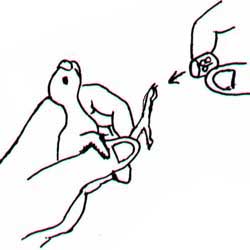
The best time to band your baby birds is when they are between 5 and 10 days old. You can tell if they are ready by looking at the ankle joint and at the size of the band. Remember to use extreme caution when handling young birds. Hold them firmly, but DO NOT squeeze them or they will not be able to breath. It is recommended to do the whole banding procedure over a table in case the bird wiggles free from your grasp. Start by holding the leg to be banded with your thumb and forefinger. |
 |
Be sure to have the band, a toothpick and some lubricant ready BEFORE you begin. It will make it easier on you to put the bands on right side up, this way you will be able to read them more easliy once on the bird. Put the tips of the three front toes into the band. Make sure you don't have the back toe in just yet. |
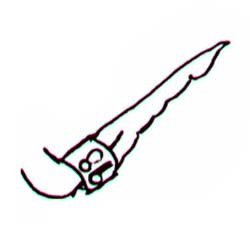 |
Banding your baby birds just before their parents go to roost in the evening will prevent them from picking at the band. By the next morning they will have forgotten about it. Slide the band up over the back toe. If the ankle joint (the joint where the toes come together) is a bit large for the band, use a bit of lubricant to avoid any discomfort for the baby bird. If you wait too long to band the baby bird, the ankle joint will be too big for the band to pass over it. DO NOT try to force the band over the joint. |
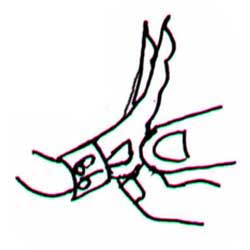 |
Make sure the band is near the tip of the back toe. You can usually pull the back toe out of the band with your fingers, but this is where you can use your toothpick to pry it out from under the band. After this point, the band should be in the proper place between the ankle and the elbow joint. |
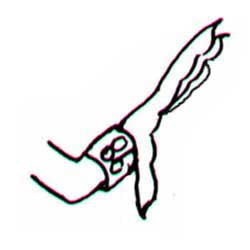 |
Now that wasn't so hard, was it? The only thing you need to do now is to check on the babies in a couple of days to make sure the bands haven't fallen off and make sure there are no scrapes or irritations on the foot or leg. |
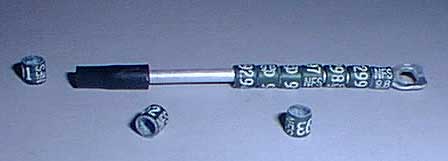
Closed Aluminum bands are usually available through your bird club. They will usually have the initials of the club on them. If you are not yet part of a club and would like to get some closed aluminum bands, you could join the National Finch and Softbill Society and buy bands from them.
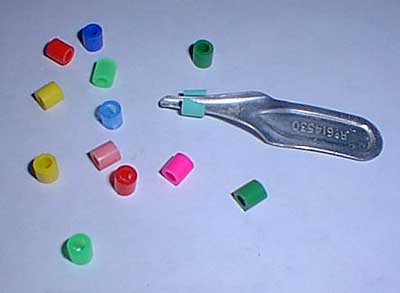
Split Bands can usually be bought from most well stocked pet stores. If your local pet store doesn't carry them, here are some places to buy split bands online: