The applet consists of 4 blocks. Please click on the mentioned block to view its functionality.
This block can be loaded with the program which has to be executed.

The Memory Location Block [top]
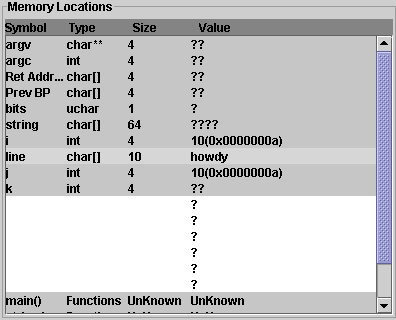
This block consists of the memory which will be assigned during the execution of the program. The memory will be
assigned with corresponding values as the program progresses through each step. This block contains 4 columns.
1. Symbol : This shows the user the variable name that has been loaded into memory.
2. Type : This shows the user the variable type in the memory.
3. Size: This shows the size (amount of memory assigned) of the user variable in the memory space.
4: Value : This shows the value of the variable in the memory location .

The Program Control Block [top] [Control Block]
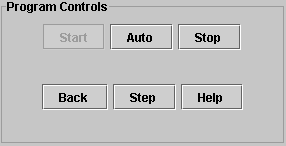
This section consists of the control panel for controlling the operation of the applet. This section has 6 buttons
a) Start Button
b) Auto Button
d) Back Button
e) Step Button
f) Help Button

The Execution Tips Block [top]
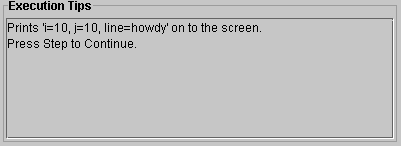
This block shows the explanation of each line in the code. This is automatically refreshed every time a new line in the code is generated

This Section will explain the functionality of each button
a) Start Button [Control Block]
The functionality of this button is to start the execution of the program. This button will load the memory with all the libraries and functions into the memory. Once it has performed its operation it will be disabled.
b) Auto Button [Control Block]
The functionality of this button is to automatically step through the program. This button is enabled after the "start" button has been hit once.
c) Stop/Break Button [Control Block]
The functionality of this button is to be able to break the program or stop the execution of the program at any step of operation. This button is enabled only after the "start" button has been pressed
d) Back Button [Control Block]
The functionality of this button is to be able to step back one step during the execution of the code. This button is enabled once the "start" button has been pressed.
e) Step Button [Control Block]
Initially when there is no program loaded into the memory this button will be disabled. Once the "Start" Button is pressed, the "Step " button gets activated. This button will have to be pressed by the user to execute the program. Every step being executed can be seen in the "Memory Display Block " of the Applet.
f) Help Button [Control Block]
The functionality of this button is to open the help page for the applet.