2005 BMW 530i Spark Plug DIY Hi Guys,
I appreciate all the info I've received from this forum and it's my turn to give back a little. Last week I changed my spark plugs by following directions I found on here, but I had to reference other engine model directions. I just thought I'd document my own install for my specific engine type and to give a few better pictures then the factory .pdf directions that you find when you do a search. I know it's a straight forward thing, but for some people that are new to working on their cars, the more detail the better. So here goes:
First off, I order my spark plugs from: www.pelicanparts.com
Once you select BMW>5 Series>5 Series E60>Choose your model>Under Basic Maintenance you can find the spark plugs
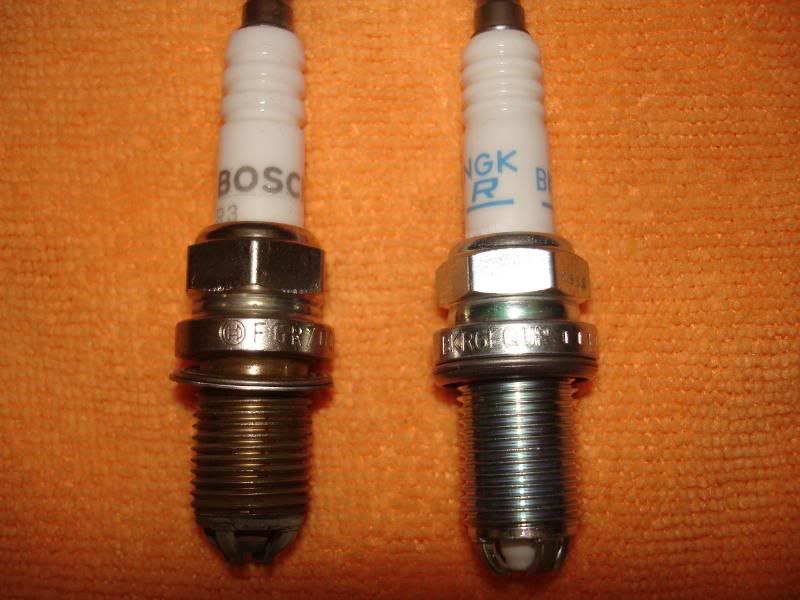
Spark plus from the dealer should run around $20 each. From Pelican Parts I bought the NGK's which were $11.75 each, they also have the Bosch for cheaper. Both the NGK's and Bosch, according to Pelican Parts, are OEM suppliers. I've also heard accounts from reading threads that some people had NGK's while others had Bosch in their cars, mine had Bosch. If you want to stick with the whole German theme of the car, you can get the Bosch, I just got the NGK's because they were a little more expensive and so I thought they might be for a reason. I know, not the best logic.
I got this site from a friend of mine who owns an E39 5 series and he orders all his parts from there and I've also seen the name thrown around on this forum. If you're located in Southern California, they have a warehouse in El Segundo and so shipping usually takes a day or two. They offer free shipping for orders over $75, so if you're like me and ordering 6 plugs, you may need one more item to push it over. You can get an oil filter or microfilters because you have to take off the microfilter box to change the spark plugs anyway.
Now, the list of tools:
-(6) spark plugs
-Socket wrench with spark plug socket, 13mm socket, 10 mm socket, and extension.
-Torque Wrench
-Allen Wrench
-Anti-seize lube or oil
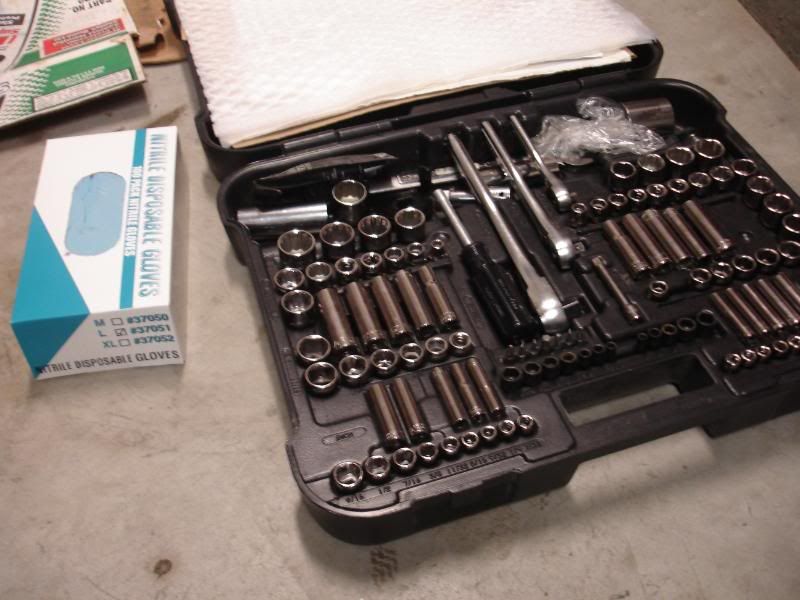
Here is my tool box, gotta love Craftsman:
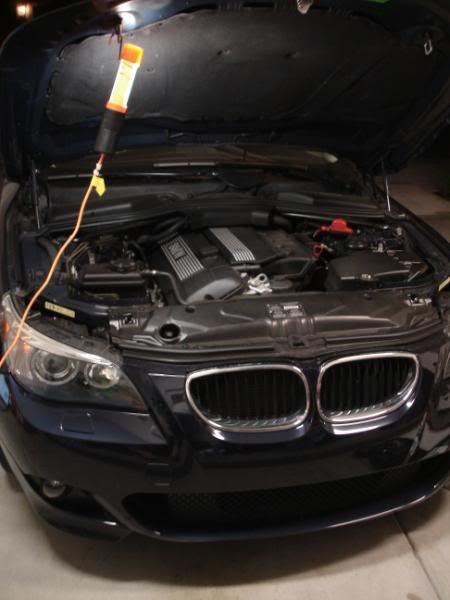
 My car, waiting:
 Ok, now to the real work pics. You want to take off the microfilter first. You need to loosen the 13mm hex nut near the passenger fender. I say loosen because it will not actually come out of the box, on the other side is sort of a latch mechanism, so you just have to turn it to open it. You will see a few more of these inside. You can also disconnect the plug, but if you'd like you can wait to do it once the top is off, might be easier.
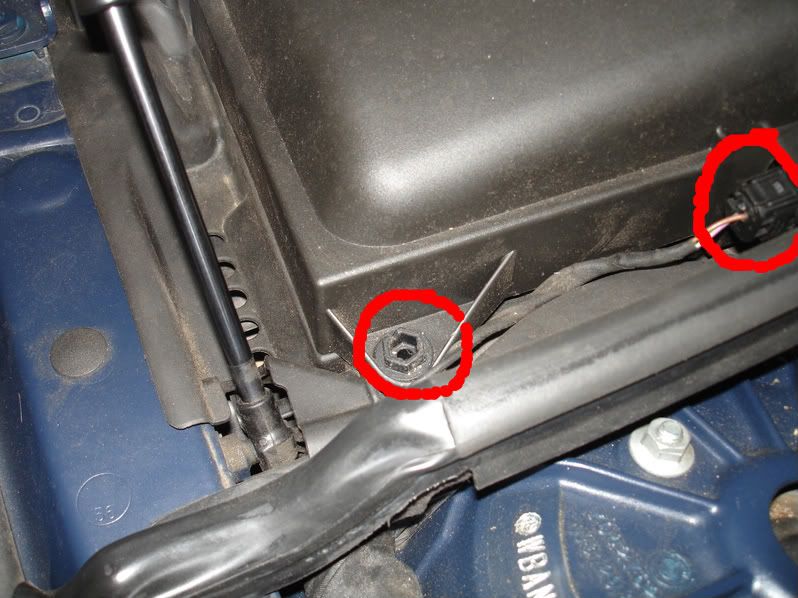 Now on the other side is a long latch you just push to unhitch it:
 Ok, now you've taken the lid off of the microfilter, it should look like this:
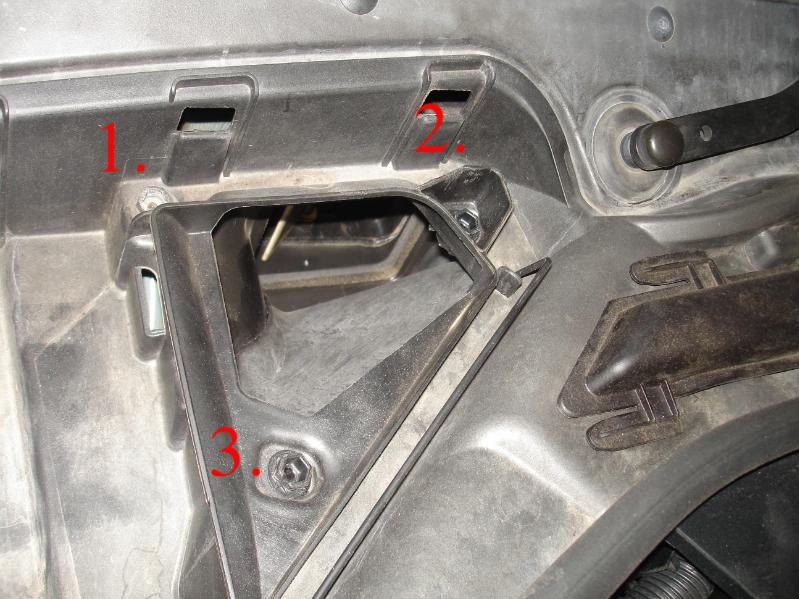
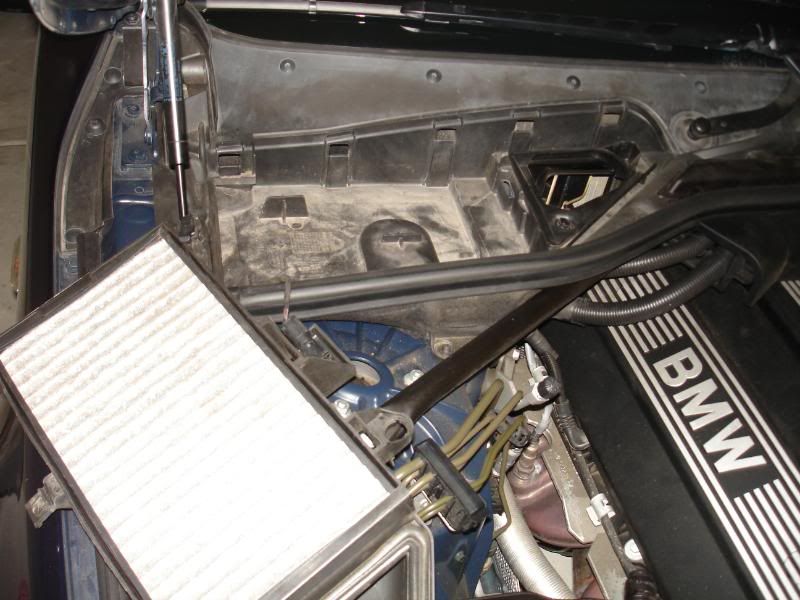 Now to take off the bottom portion of the box, you need to loosen 3 more hex bolts. It's going to be the same deal as the first hex bolt, they will not come out, you just turn and loosen them:
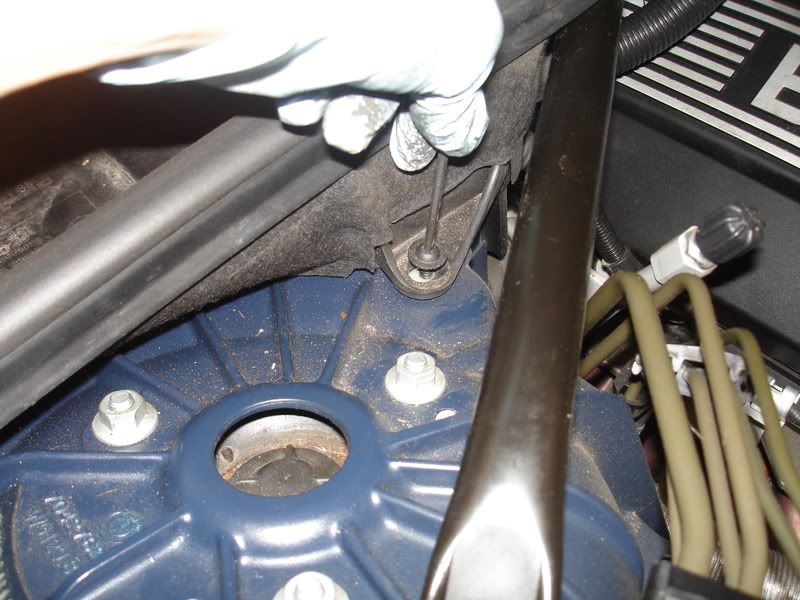
 After loosening those, you need to take out the screw with an allen wrench. This is attached to the chassis of the car near the top of the suspension:
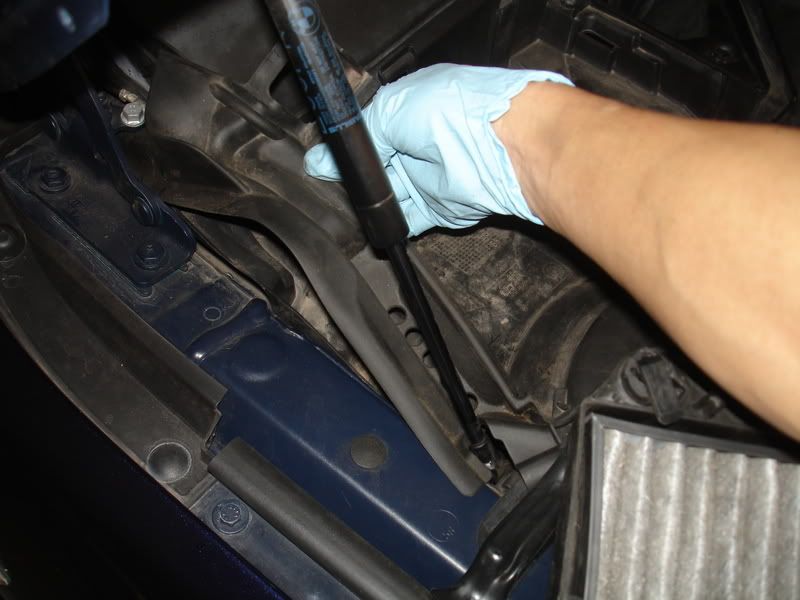
 You also need to take off this plastic trim piece under the hydraulic shock. It'll bend so you can just wiggle it and bend it in half to pull it out:
 Now you move to the center of the car, towards the top of the engine bay. You have to unclip this plastic cover piece. It slides from left to right (passenger side to driver side). What I've circled in the picture is the clip that you must lift up while moving the piece towards the driver's side. Then it won't hit the stop and it'll come out:
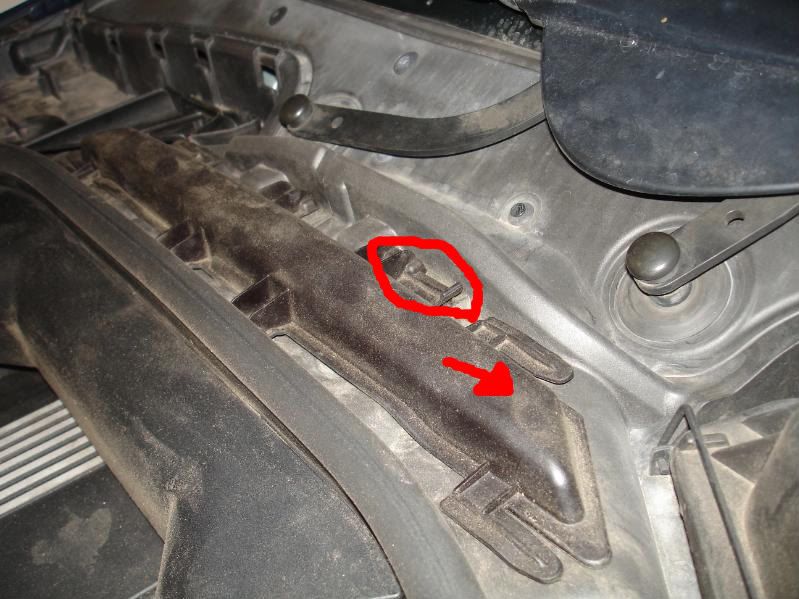 Lift and pull:
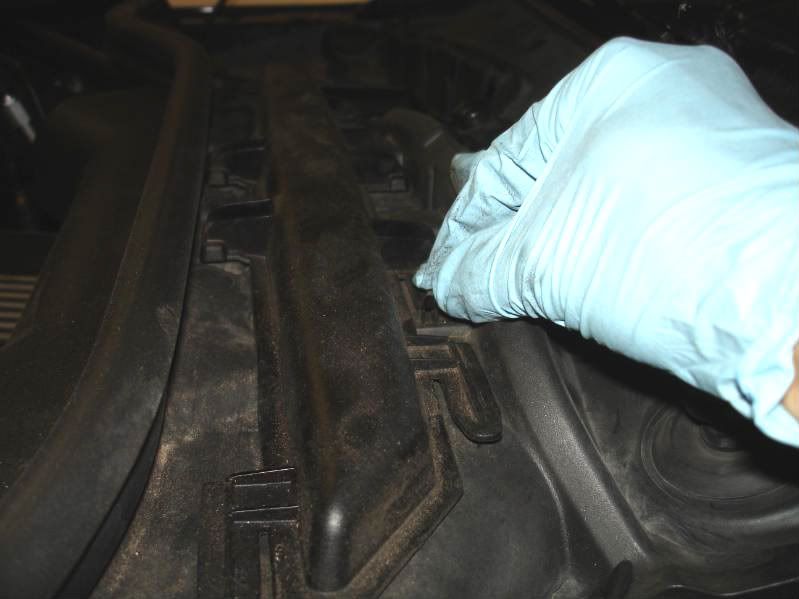 And now the last hex nut is revealed that you have to loosen:
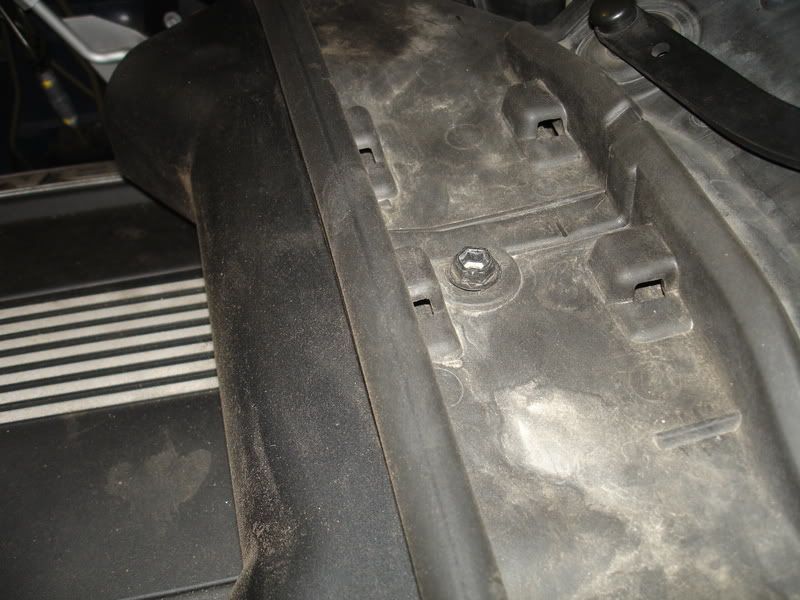 Next, remove the cover in the center by simply lifting up. You can do this one side at a time and it will pop off:
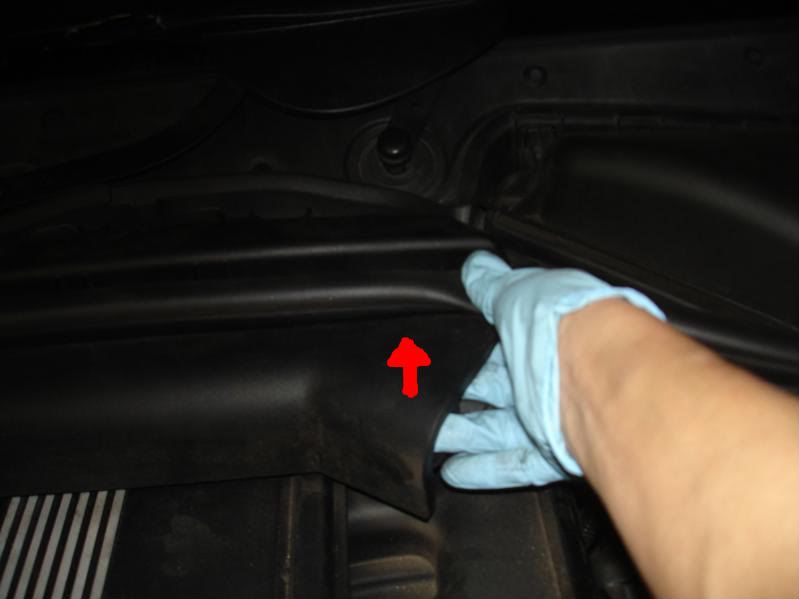 Like so:
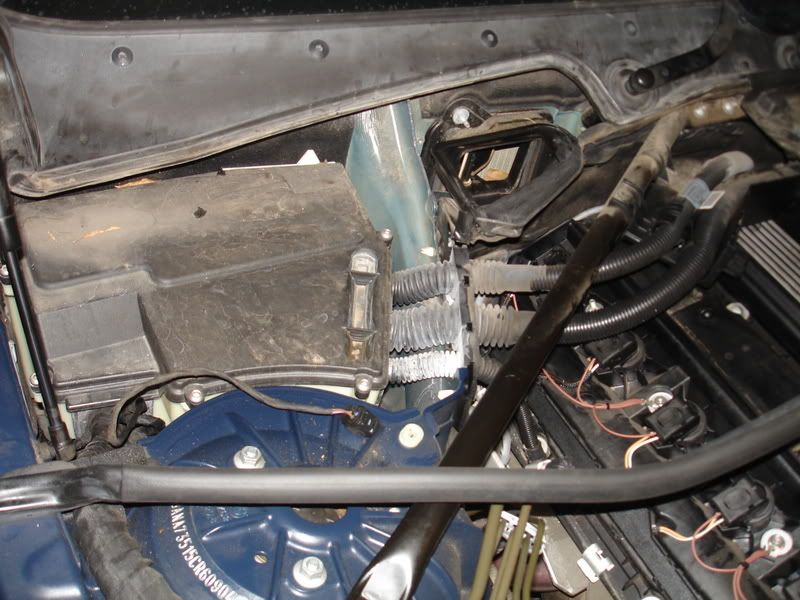
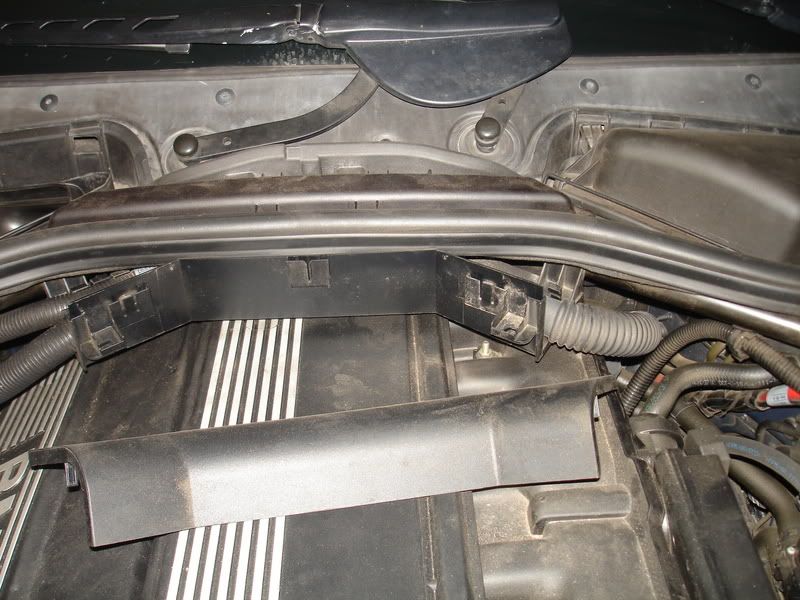 Here is the microfilter box removed, I know the engine cover is off, I took the picture out of order:
 Now you can remove the engine cover with ease. On the 2005 530i, you can just remove the passenger's side of the engine cover. There are (2) 10mm nuts in these locations:
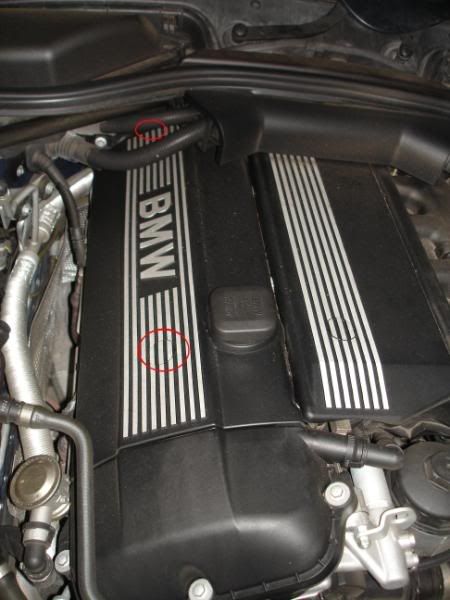 Just use a flat head screwdriver to access them. Pop off the small covers:
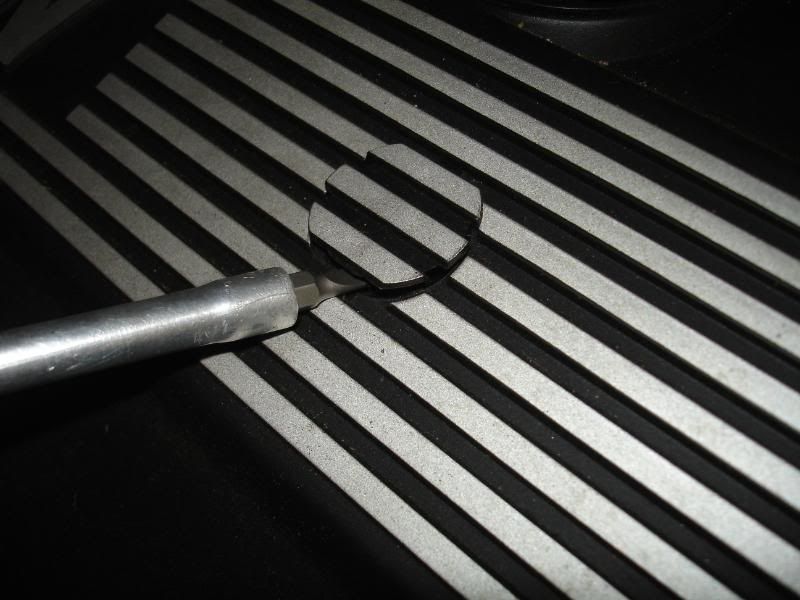 You have to remove the oil cap in order to remove the engine cover. So once you remove the engine cover, put the oil cap back on to avoid knocking anything like dirt or bolts into there. Ok, so everything is removed and you're ready to remove the spark plugs:
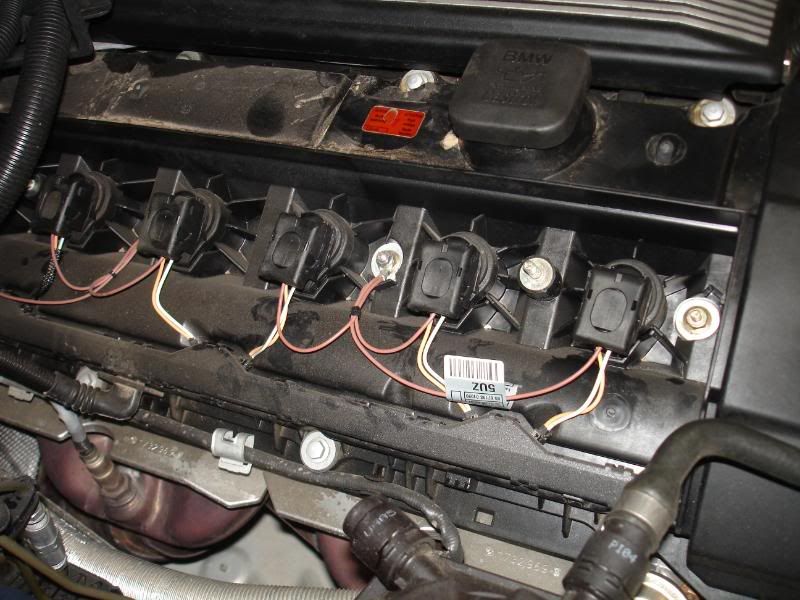 You have to pop the top up to release the connector:
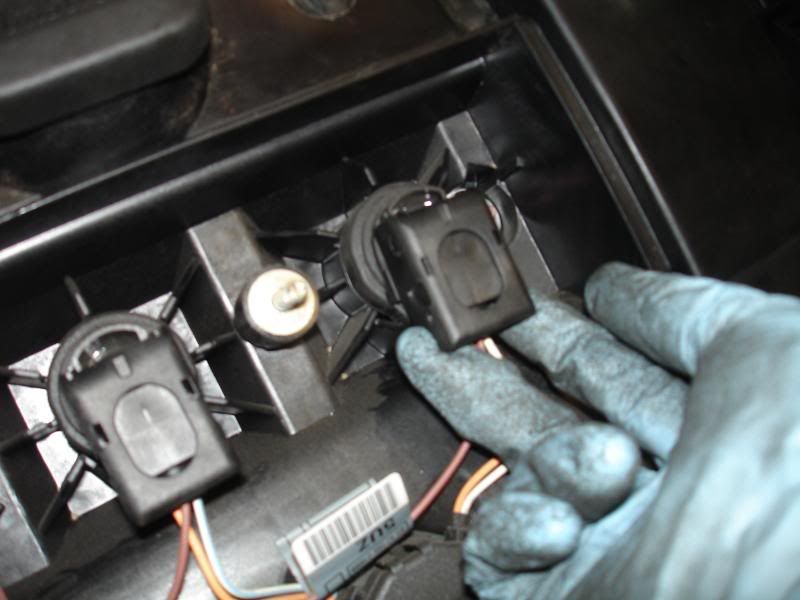 Position your fingers underneath the sides and you can place your thumb in the center as a leverage point:
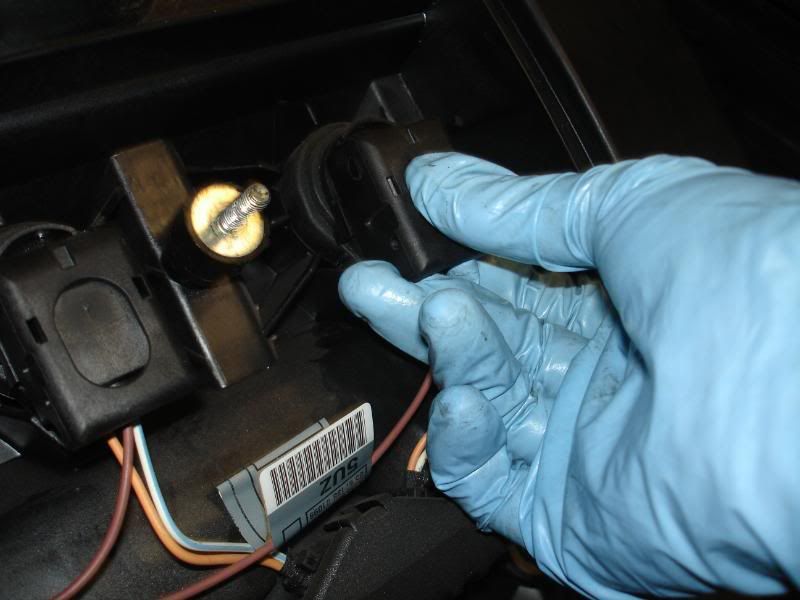 And the top should pop up and release the connector:
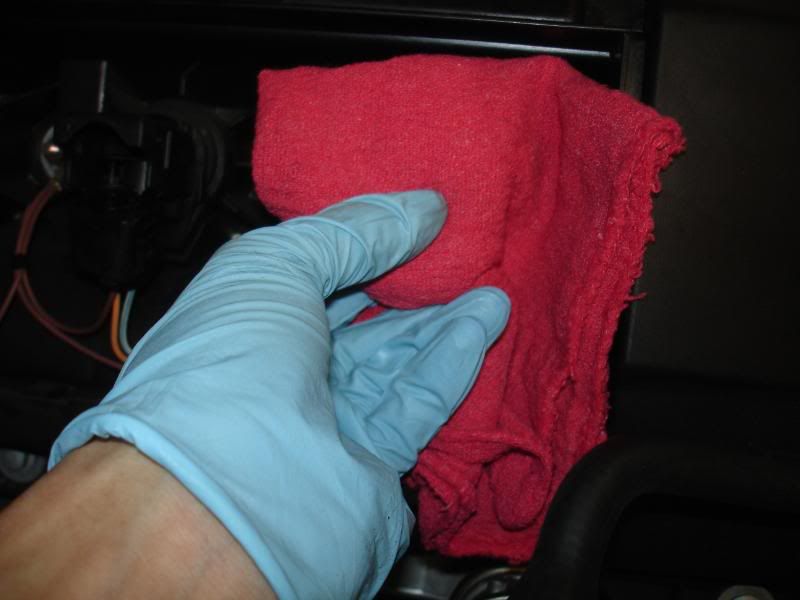
 You can place a rag over the connector to act as a cushion. I did this because that way it didn't cut into my fingers so much and it provided me with a good grip to pop the top up. But it's important to see the previous instructions to see how the top pops up. If it's really stubborn, use two hands. The first time I have to lift the top it was on tight, after that it popped up easily:
 Here it is with the top popped up:
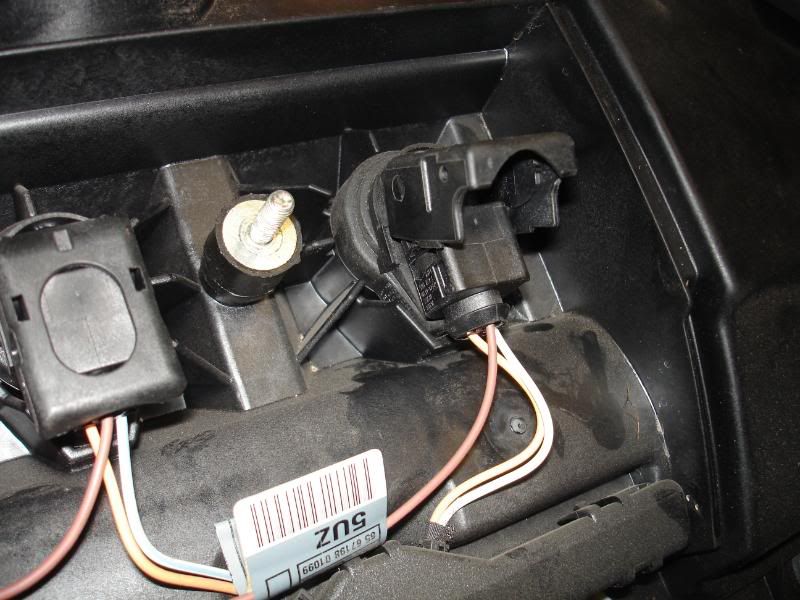 Side view to see how it is connected:
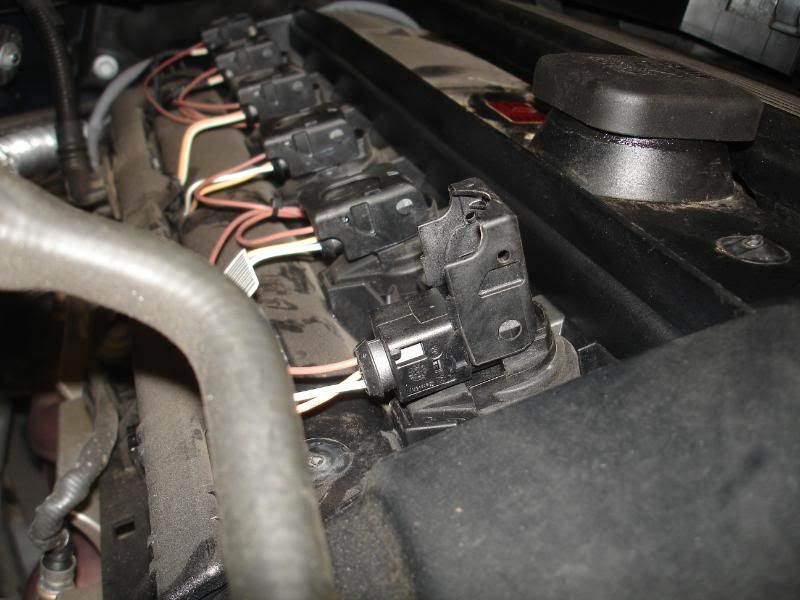 Now you need to take out the ignition coils. You just have to grab it by the sides and wiggle and pull it up:
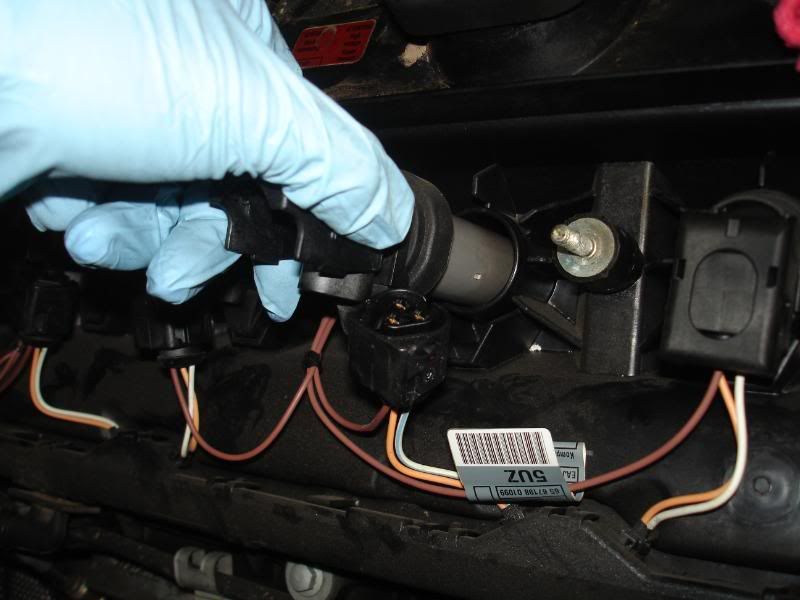 Here it is out:
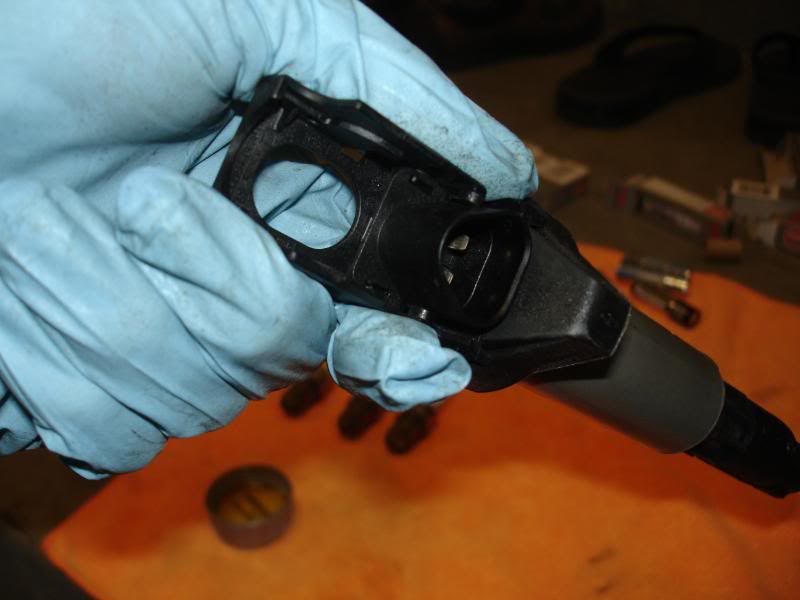 Here is how I grasped it to pull it out. Grabbed the sides with one hand and then my other finger I positioned into the hole:
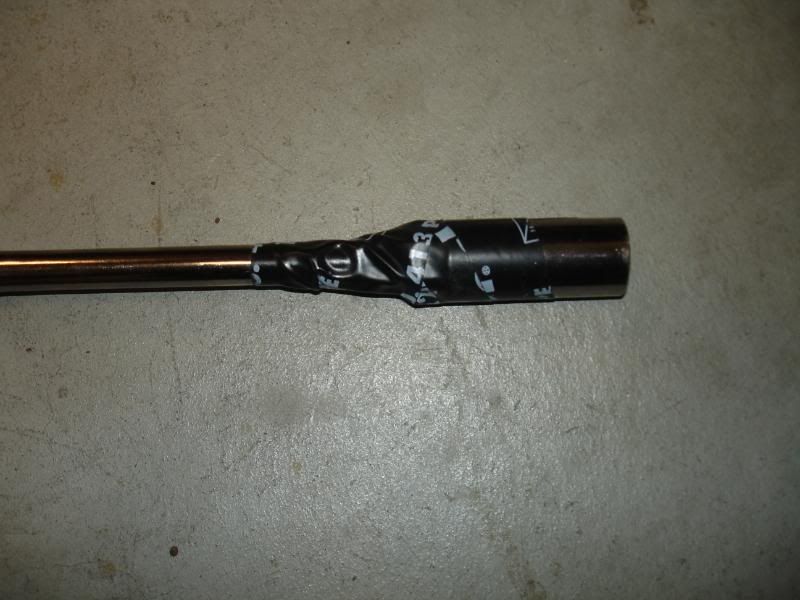
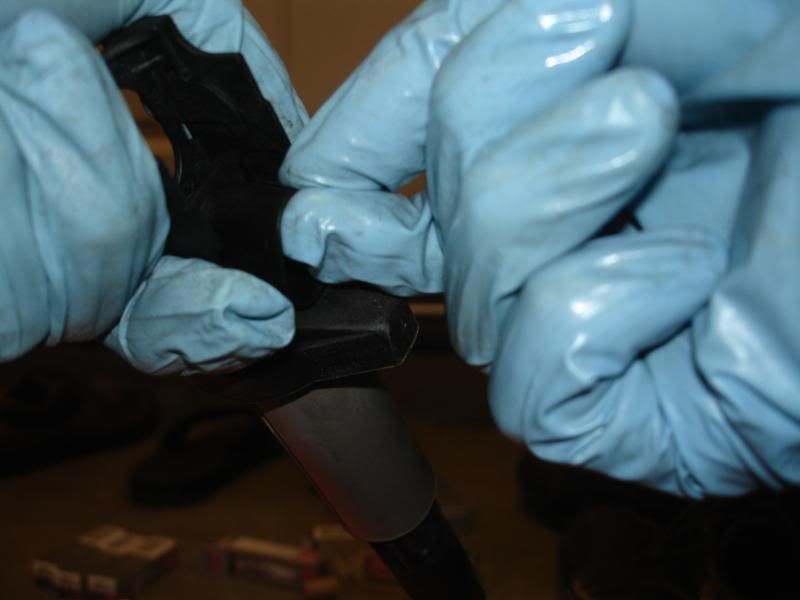 Now you take the actual spark plug out. I put some tape, you can use duct tape, and wrapped it around my spark plug socket and extension. I did this because sometimes the socket will get stuck on the spark plug and fall off the extension. It's quite annoying, so the tape will keep this from happening:
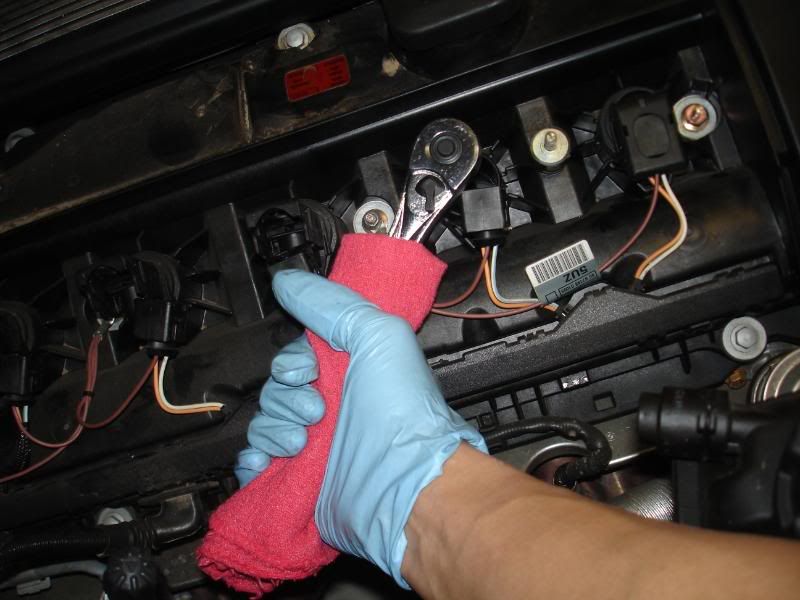
 Take the spark plug out, I used a rag to get a better grip on the socket wrench:
 The spark plug out:
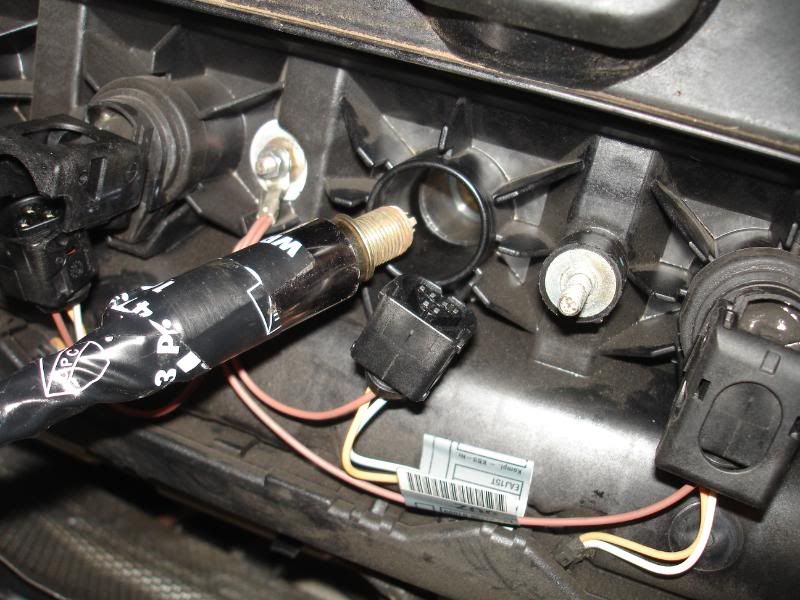 Tada:
Tada:
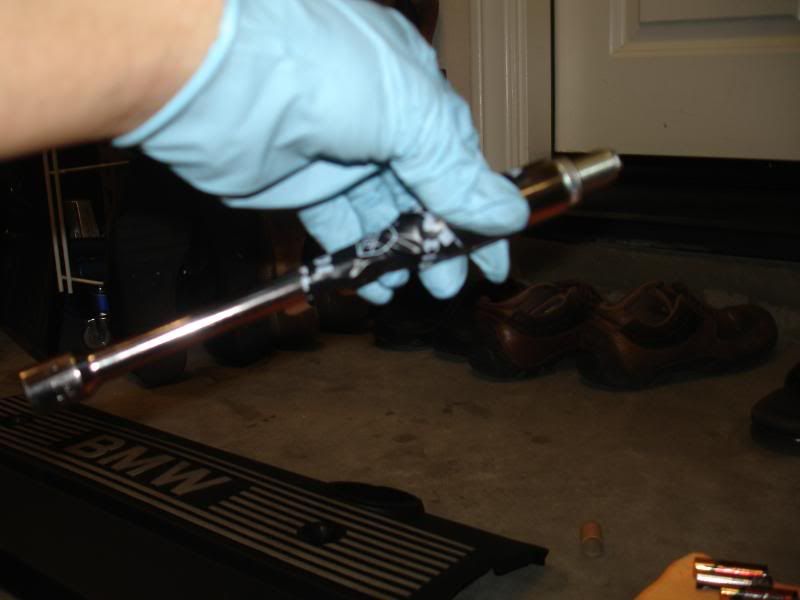 Ignition coil and spark plug out:
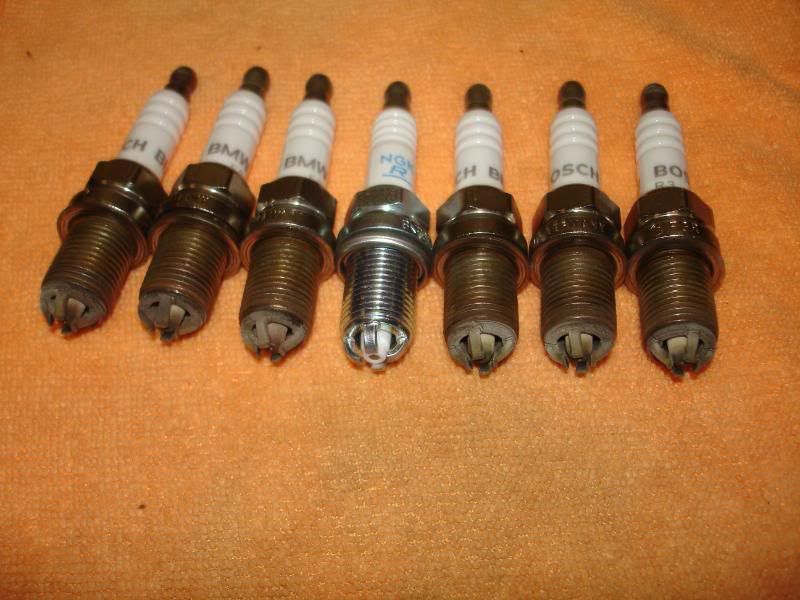
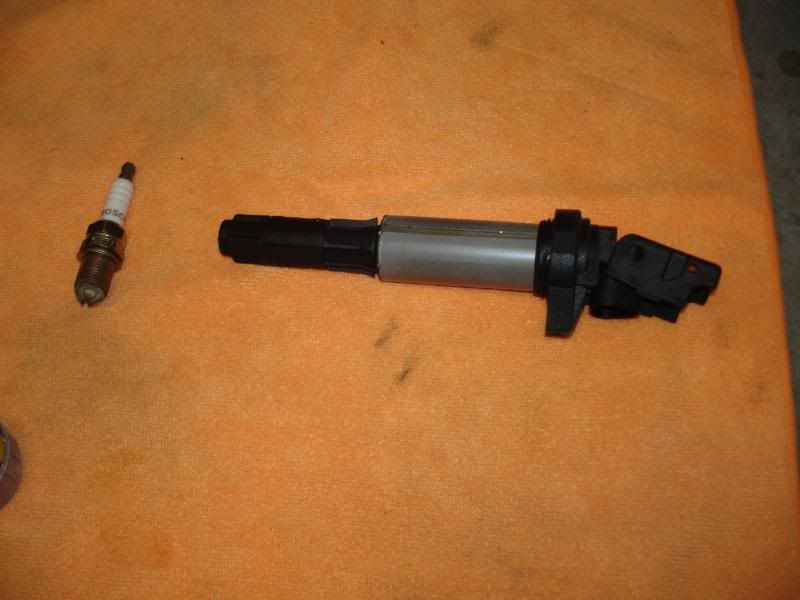 The old and new spark plugs next to each other for comparison. I had 60k miles on my car when I changed it:

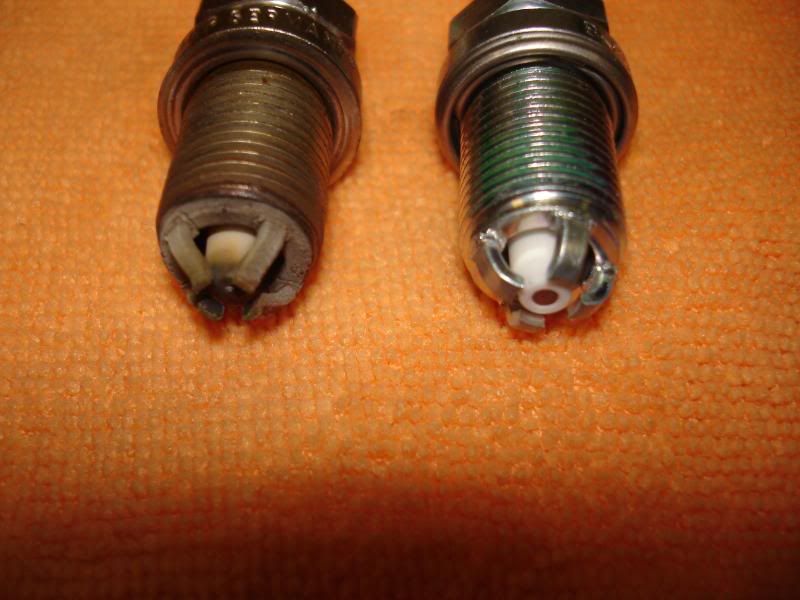 Notice the Bosch it had and NGK is what I'm putting in:
 Before you put the new spark plug in, you need to put some anti-seize stuff onto the threads of the plug, you can also use oil, I just used some motor oil (new oil that is). Just put a very light coat on the threads and keep it away from the top where the spark is. This will keep it from seizing and make it easier for your next change. Now put it into the socket and, with just the extension, screw it back in. Turn by hand to ensure that you are not cross threading it and it should screw in easily.
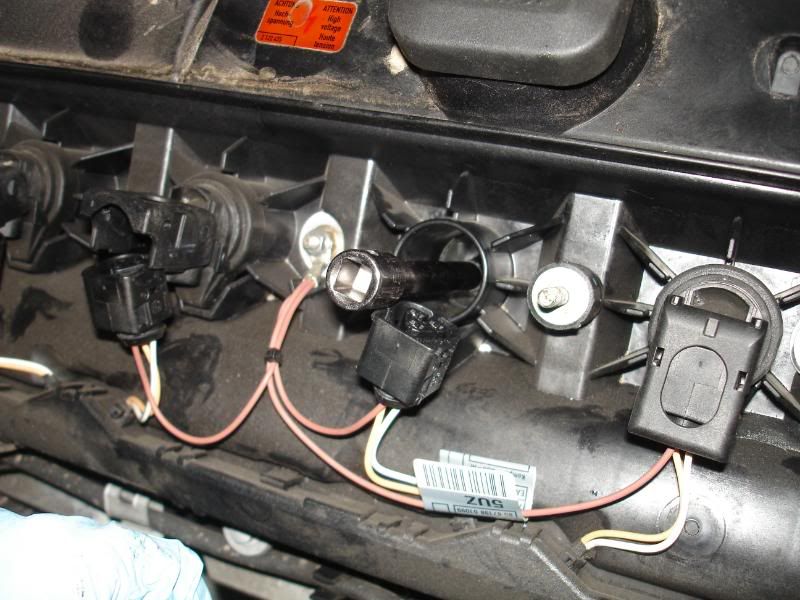
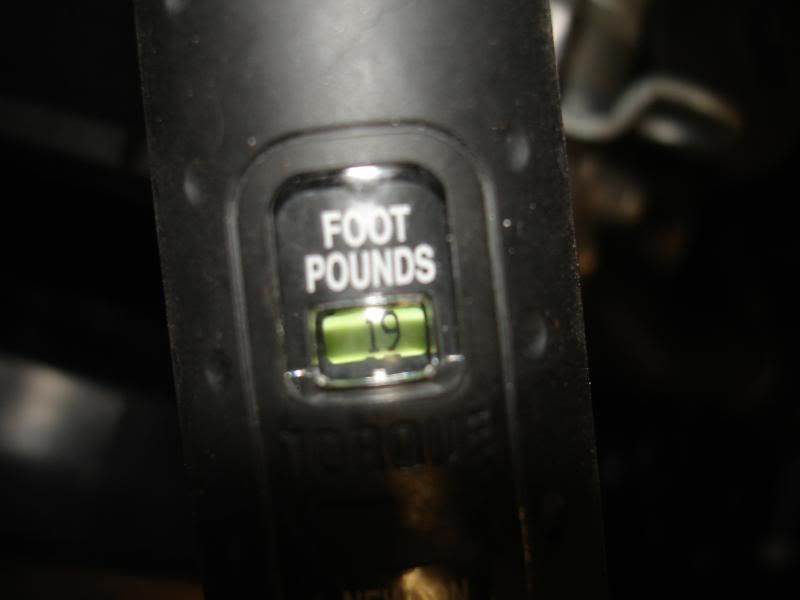
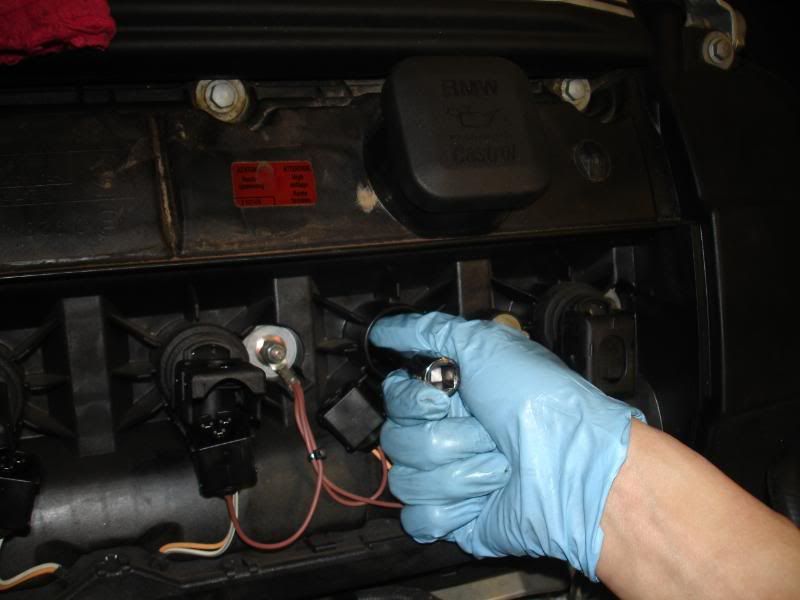 Once you can't turn it by hand anymore, break out the torque wrench and torque it to 19lb's. This torque spec was suggested by another member on the boards, if anyone can verify that would be great:

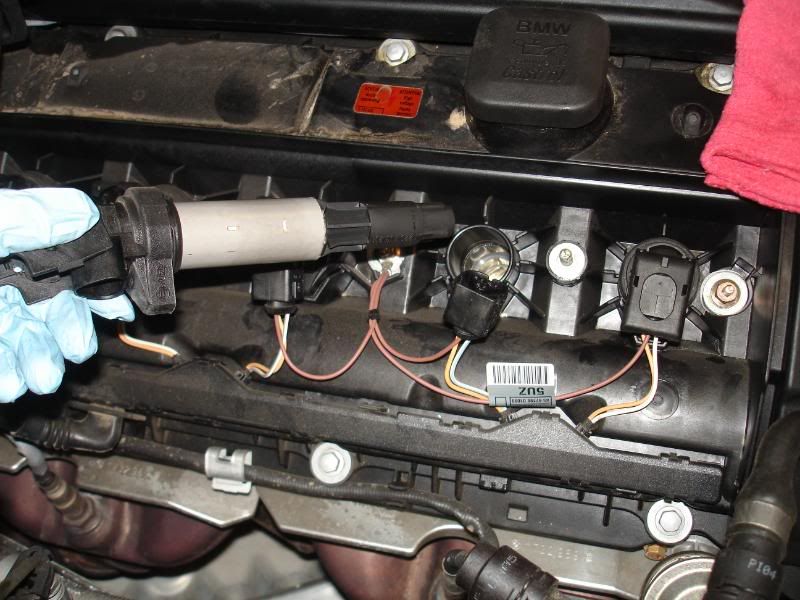
 Once it's in, place the ignition coil back in and just push it in making sure that the rubber at the top seats perfectly:
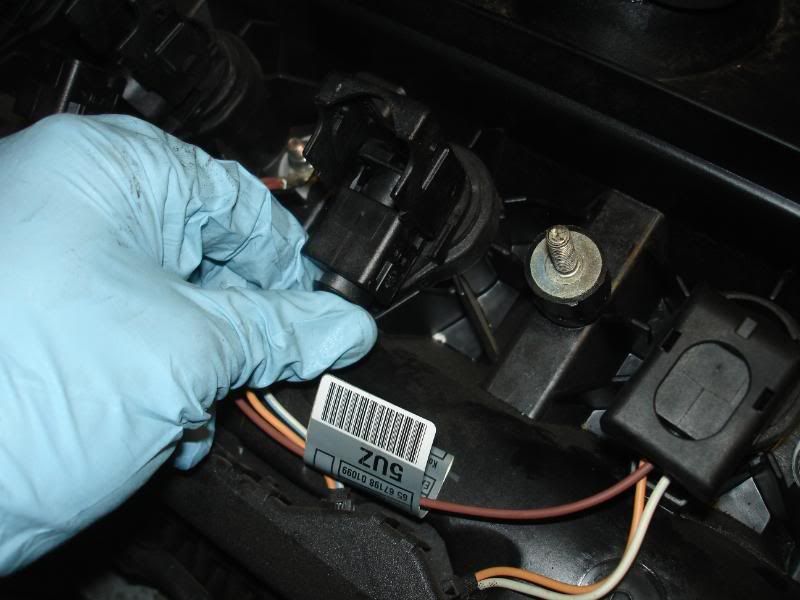
 Now connect the electrical connection back, as you push it in, the lid will naturally start to close. Push the lid down and it'll snap shut:
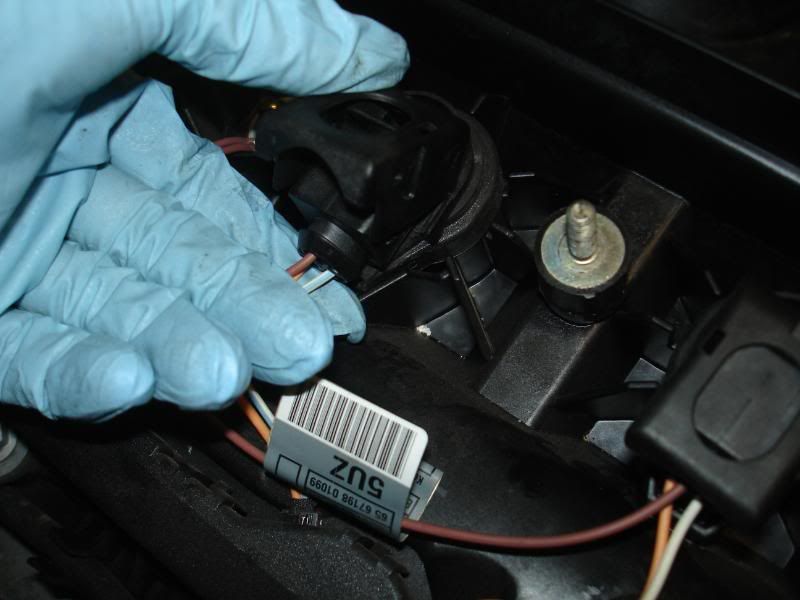
 And repeat 5 more times! Pretty much it, obviously follow the reverse directions to install everything back in. When you put the microfilter box back in, make sure the wire that you unplugged is on top and not stuck underneath. Here's all six plugs with one new plug as a comparison:
 Car runs perfect, no complaints. Let me know if anything is confusing and I can edit it. Some of these shots were taken out of order so I know it might be on the first plug, but then the next shot it's the second. Thanks!
~Lawrence


