This page is graphic intesnive, please be patient while it loads! Thank you!
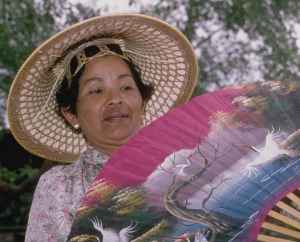
Below you will see the image that I chose for this tutorial. It is the image that is compressed 60%. This image was compressed using the JPG optimizer with 5 different levels of compression, 20, 40, 60, 80 and 99 percent each. While analyzing each graphic after compressing and taking into account file size, I chose this graphic. The quality remains good and the size of the file is 9,832 bytes. At 20 the image is clear but the file size is 19,574 bytes, which is fine if that is going to be the one and only graphic on your page! However, since it is not the size is too large. Now at 40% the quality looks almost the same as it does at a compression of 60%, yet the file size at 40% is 13,052 bytes. At 80% you begin to lose much of your quality and even though the file size is 6,189, this graphic would not look good on a webpage, it would be a sacrifice of quality over quantity. As for the image compressed to 99%, you lose mostly all of your image, it becomes a blur of color and the file size is 1,124 bytes. Based on this information, I felt that the quality of the image below (60% compression and file size of 9,832 bytes) is optimal for a webpage!

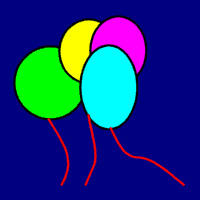
Here is a graphic of some balloons. The gif optimizer works well with this type of image because there are large "blocks" of colors. The file size was reduced from the psp file size of 120,040 bytes to 3,486 bytes.
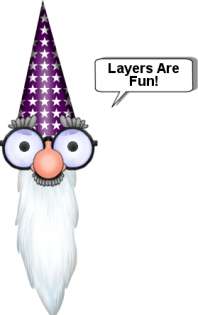
Here are some pictures that were made using the layers option in PSP. The first is the wizard graphic, which contained 6 different objects/layers that were placed in this order and merged into one object as shown below.
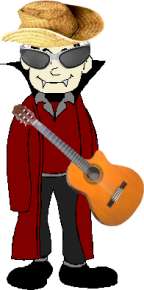
This is an interesting version of Dracula! The layers in this image were Dracula, the sunglasses, the hat and the guitar on a transparent background and merged to a single object.
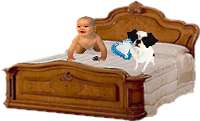
In this graphic there are 4 layers, the bed, the baby, the dog and the decorative pillow all merged into one graphic.
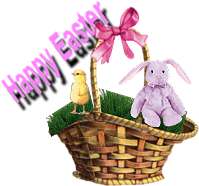
This last one is for everyone who will be celbrating the upcoming holiday Easter! The layers are the basket, bow, bunny, grass, chick and the text.
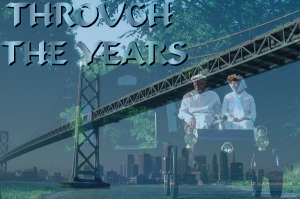
In this graphic you will see that there are 3 layers used to create this effect. One image is a modern day suspension bridge and the opacity on that was set at 100%, the second layer is an older covered bridge with a man and woman in an old car, opacity set at 50%. The third layer is the text, appropriately stating "Through The Years", as this graphic does show in one image how things have changed!
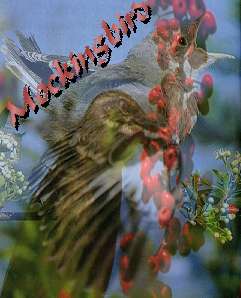
Again in this graphic there are 3 layers, two are pictures of mockingbirds, one with it's mouth open and one eating berries, the third layer is the text. Again the opacity of the opened mouth bird was set at 50% and the one eating berries was set at 100% opacity. The blend mode used on the text was dissolve.
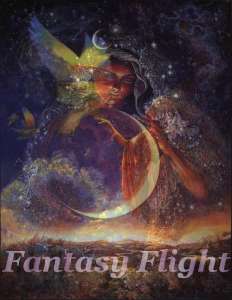
This graphic again has 3 layers. One picture is a moon goddess holding a full moon, another is a woman looking up with a bird on the tip of her outstretched arm and the third of course is the text. THe blend mode used on the text was color. The moon goddess graphic was kept at 100% opacity while the woman with the bird graphic was reduced to 50% opacity.
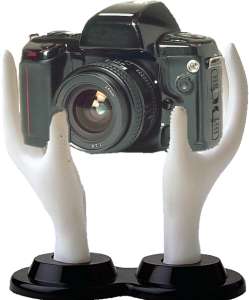
This image is made of 2 layers, a camera and the hands. The canvas size was increased to accomadate the size of the camera, the camera layer was resized and the eraser and retouch tool were used to make it look as if the camera were sitting in the hands.
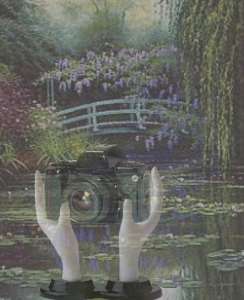
Here is another image made of layers. The background graphic with the bridge was altered using the blend mode and there are those hands again! They seem to be taking a picture of this beautiful site!
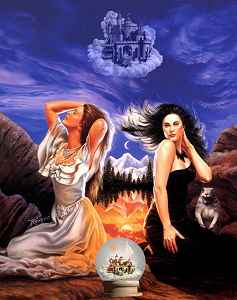
This image contains a background of the women half day and half night, the castle in the sky is another layer with a blend mode effect and the crystal globe at the bottom contains 3 layers itself, the castle, the fairy and the star. Again here opacity levels were altered as well as blend modes.
PSP 2, Lesson 6
HOME~~~~~~~EMail me!