By Julio Pillet, translated from Spanish by Graham Matthews

There are various reasons for preferring home-construction or “scratch building” when starting a modelling project – economy, absence of a suitable commercial kit, unavailability of the version or mark in question, or inability to obtain the desired model.
I began scratch building for a combination of these reasons, especially because the models I preferred were not available as kits. I started with models intended to illustrate the history of the aircraft carrier, from HMS Campania, through HMS Eagle to HMS Furious. At the same time, I commenced a series of models illustrating the history of the tank, and so it was that I started on this model.
This is key to every modelling project, most especially when scratch building. There was very little information to be found in Spain, but I did find a superb article written by the eminent David Fletcher, Librarian at the Tank Museum, in No 58 of the now defunct magazine “Wheels & Tracks”. Also there were some pictures and information in such encyclopaedias as “Machines of War” (Planeta-Agostini). I was very keen to build this monster, so, closely following Mr Fletcher’s descriptions, photos and illustrations I prepared 1/35 scale plans and threw myself into the adventure. Also, I was able to find details of the 6-inch howitzer in “Machines of War”, mentioned above, enabling me to build a model of the gun.
As this is an “open” vehicle, in contrast to the Mark I or Mark IX tanks which are fully enclosed, I started construction with the track and suspension units which I made from four profiles cut from 1 mm (0.040”) plastic card. These were assembled in two pairs with internal reinforcement. The track was then made from thinner card and slipped onto these frames.
With the track frames finished, I built the rest of the hull of the model, also from 1 mm plastic card.
One can see that, given the prominence of the interior, and given that it would be necessary to be able to access every corner when the time came to paint the model, it was best to build the model in modules, thus avoiding potential problems. From the photographs you can see that the model was divided into:
A. Lower Section. Track units, hull and motor.
B. Upper Section. Driver’s cab, track-guards, radiators, stowage areas for fuel, ammunition, water and rear access to the vehicle.
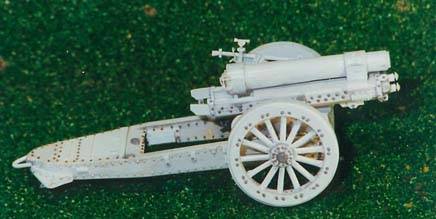
C. Howitzer. Separated into gun carriage with gun barrel and sights plus the two wheels which were transported hung on the outside of the sides of the vehicle.
D. Sliding ramp for the howitzer.
 |
|
Photo of the Lower Section of the model prior to
painting.
|
From left to right can be seen: Sliding ramp; Differential Housing; Crank and Motor with various pipework. These latter are speculative in that I could not find accurate descriptions of their form and location.
 |
|
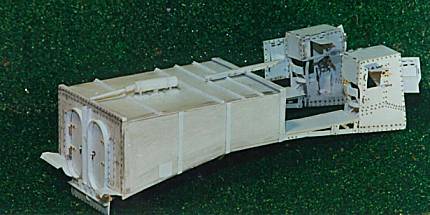
Photo of the Upper Section. From left to right can
be seen the doors to the engine-cabin, the track guards, and the two cabs.
|
 |
|
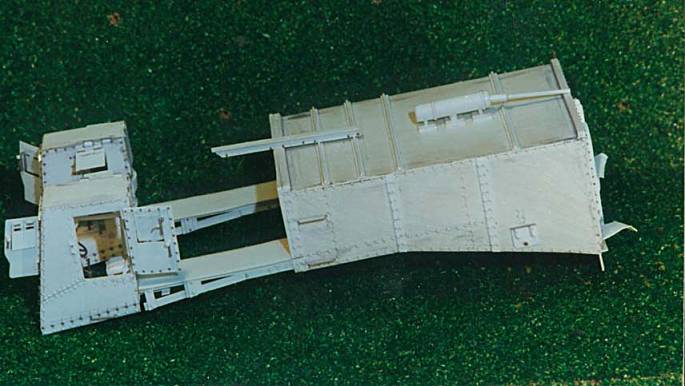
Opposite hand view
|
 |
|
|
 |
|
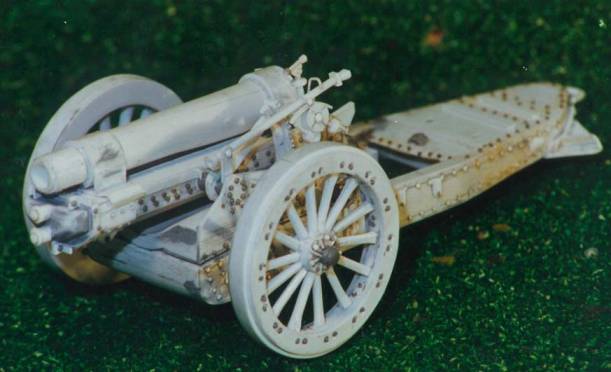
The 6 inch howitzer before painting.
|
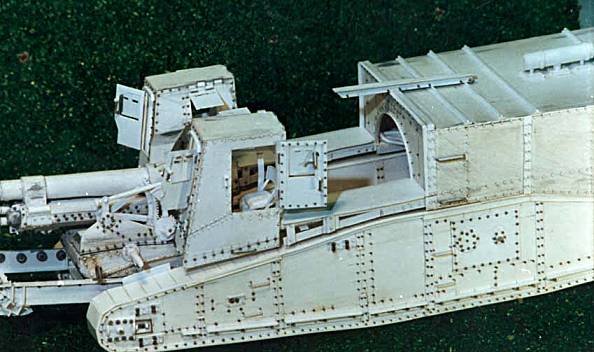
All the sections of the model were completed with all details and each painted before final assembly into the complete model. This avoided inaccessible corners during painting.
 |
|
View of the model pre-assembled to verify fit.
|
As can be seen from the photos, the only material used in construction of this model is plastic. Sheeting, tubes and shaped sections were of the “EverGreen” brand. Rivets were prepared from stretched sprue.
This is a more difficult subject than it might seem. Firstly, because of the lack of references to the colours used in the real thing and secondly, as a result of a misunderstanding on my part, although maybe it helped me finally obtain the finish I was looking for.
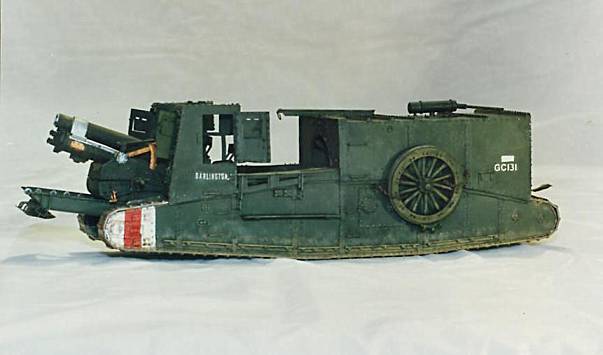
My mistake consisted of using a Tamiya paint intended for old cars, called “English Green”. At the time I did not have an air-brush, nor did I know of suitable methods of using varnishes to change the paint finish, but when it dried it was glossy and did not look at all like the colours of illustrations I had seen of First World War tanks. I felt quite defeated, so I sought out more suitable colours from the Humbrol range of paints, using Matt US Marine Corps Green 161 for the body of the vehicle and Matt Olive Drab 155 for the howitzer. I used a wash of Matt Black 33 for darkening and dry brushed with Matt Dark Earth 29 mixed with Matt Pale Stone 121. The tracks were painted with Matt Rust 113 and dry brushed with Aluminium 56 and also with Dark Earth mixed with Pale Stone as above.
 |
|
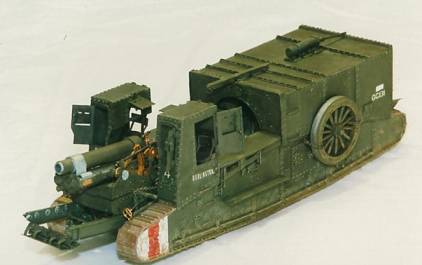
View of the assembled and painted model.
|
The interior is pure speculation and painted with colours I felt appropriate using the same general tone as the outside and with metallic tones for the engine and iron oxide for pipework, with other details picked out in black and white.
The markings were painted by hand with Matt White 34 and Matt Scarlet 60. The numerals were painted by hand and the letters using “Letraset”.
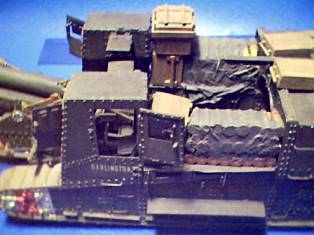
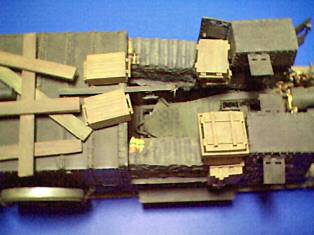
With the painting completed, I assembled the various modules and then proceeded to add final details to the exterior. I made rows of pipes with the dimensions of the ammunition, but only to the final row did I add the heads of the shells, as these were the only ones that would be on view. I built wooden boxes, simulating the finish in plastic, as well as planks of wood on the roof of the engine cabin, using photographs for reference for positioning.
 |
|
Boxes and reserve ammunition were placed in position. |
 |
|
The planks carried on the engine cabin roof had various
uses and were used to move and locate the howitzer as well as for assisting
traction for the Gun Carrier’s tracks on muddy ground.
|
Pictures of the finished BL howitzer