 |
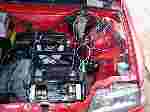
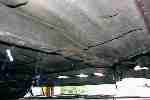
Here we have some more views with the batteries out, to help show how it fits together. The two white hoses visible in the upper picture are the cable housing hoses that run under the car. (Ignore the box of contactors and such. It was an early attempt at a contactor box that failed.) |
 |
|
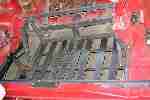 |
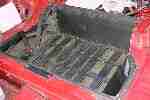
At some point along here I got started on the rear battery
rack. I had originally planned on a double layer affair with the
upper rack mounted on heavy duty drawer glides to allow access to the lower
rack. This proved unnecessary, as GM recommended mounting the batteries
on end, which allowed them to all be installed in one compact block.
It did mean I would have to make the interconnects for the lower post from
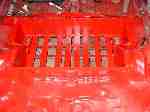
under the car, so the rear battery rack has a slatted floor to allow access.
I had the batteries in and out of it about a zillion times getting it all
figured out. Welding this thing together was a royal pain, but I
only had to do it twice. Once it was in, I welded a sheet steel skin
in around the sides to enclose it. Once again the touch-up paint
blended it right in.
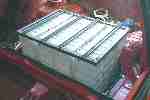
As you see, with this design there was no space between the batteries at all. It is probable that this caused the batteries to overheat. This may have contributed to the eventual failure of these batteries. |
 |
|
 |
|
 |
|
 |
|
 |
|
 |
|
 |
|
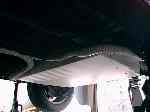 |
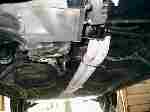
To enclose the bottom of the battery rack, I made a box from Coro-Plast, a plastic sheeting that looks like corrugated cardboard. I the routed two 1 1/2" sump pump hoses along the bottom of the car to carry the battery cables and wiring. |
 |
|
 |
|
|
|
|
|
|
|