 |
1/1/00
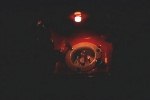
Well, as usual I found something else to fiddle with while I was at it. One of the things that had always bothered me about my old Jet conversion was trying to plug the power cable into the car in the dark. Trying to align a 4 prong roto-lock connector by touch is both hazardous and almost impossible. Anyway, for the Civic I wanted something nicer, and this is the result. A small 12 volt panel light inside the old gas filler recess controlled by a pushbutton switch. In case it is left on by mistake, closing the door also turns it off. It sure makes it easier to plug the car in after dark. |
 |
1/1/00
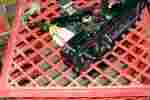
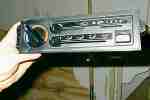
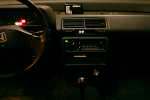
I also got started on the heater re-wiring project today as well. The new relays were suggested by John Wayland. They are very nice heavy duty units, and with the added capacitor and resistor arc snubber circuit, per Lee Hart's instructions, they should be a long term reliable answer to controlling the heater elements. My car is equipped with dual ceramic elements, with 1/4, 1/2, and full heat settings selectable by a rotary switch. I wanted the heater controls to be logical and as close to stock as possible. What I did was replace the original Honda rotary control which controlled cables to the heater valve, and air doors with a switch. I found a very nice heavy duty blower fan switch from an older Civic, with 4 positions. This neatly installed in place of the original control, and made if feel stock. I did have to add diodes to convert the switch to act as a shorting type switch. Each position on the switch controls one of the relays, which in turn powers a section of the heater elements. To give some positive feedback that the heater was on, I added a small green indicator light near the switch. The heater relays are grounded through the blower fan switch, so switching off the fan switches off the heaters. |
 |
|
 |
|
 |
1/1/00
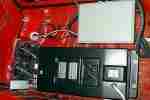
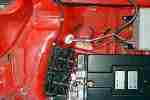
I finished the charger rewiring, basically to insure easy future access to all its components, and proper ventilation. The relay on the end of the charger, is controlled by the "charge complete" contacts on the charger. Once the charger cycles off, and these contacts close, the relay is energized, the vent fans shut down and the green "charge complete" light in the cord port comes on. You may notice a small white switch in the fan wiring. This is a manual over ride to keep the fans off when unneeded. |
 |
|
 |
1/2/00
I managed to install the new heater relays, complete with snubber caps, as well as replacing the heater control assembly. One of the plastic cable retainers had broken off and every time you tried to switch from heat to vent or defrost the cable would pop off. I was able to pick up a used one at my favorite salvage yard for $3. While I was changing that out, I switched the "heater on" indicator to a dimmer green lamp instead of the previous bright red one. The old one was bright enough to be annoying at night. The back deck is still incomplete, but as soon as the motor repairs are completed, the car will be operational again. Since I will have to break in the repaired motor for a week, I figure that will give me enough time to finish the deck. I also to the time to create a "Parts Page" explaining what each part of the conversion is, what it does, and where I got it. You can access it by going to the Parts Page. |
 |
1/5/00
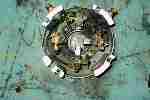
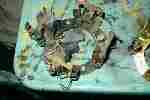
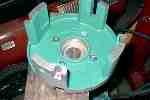
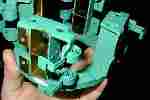
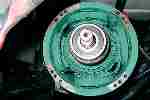
The fireball damage is finally repaired. I took the endcap off the motor and cleaned and painted the inside with insulating varnish. I also painted the new brush rigging and touched up the armature and field coils. This varnish is wild stuff. It covers faster than anything I have ever used before. A very thin coat is completely opaque. While taking things apart I noticed a pattern to the plasma scorch marks on the endcap. In the top picture on the left you may notice how heavily scorched it is around the terminal on the right. I suspect my "fireball" may have been cause by some sort of metal debris getting into the motor in that area. Maybe a fragment thrown up by a drill bit, or a dropped washer. It doesn't take much to cause a disaster. After letting the varnish dry for 2 days, I reassembled the motor and cleaned up the commutator with an abrasive comm stone. This also helped to start the brush seating process. Once the comm looked good, I left the motor idling on 12 volts for an entire week to help seat the brushes completely. I simply drove the motor from one of my spare batteries, and then used a 10 amp manual battery charger, and the on-board Todd DC/DC converter, working in parallel, to keep the battery charged. The Todd was temporarily plugged into an AC wall outlet.
|
 |
|
 |
|
 |
|
 |
|
|
|
|
|
|
|