DO IT YOURSELF
Building the Pass Labs Aleph 5 Amplifier
1) The Chassis Section
The entire chassis was built of aluminium to obtain best heat dissipation. Four rectangular heat sinks were used as the walls of the chassis. They were all secured by right-angled aluminium plates.
 
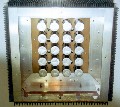
The top and bottom view of the heat sink used in this project. This was recycled from some obsoleted industrial equipment that I obtained them for free.

The above pictue showed the pre-drilled base panel for assembling the dual transformers toroidal transformers, bridge rectifiers and fuses.

All input(balance and unbalance), output and power connectors were located at the bottom rear of the chassis .


The twelve power transistors were mounted on large and thick right-angled planes, and secured to the middle of the heat sink. These plates also acted as a frame for holding the un-etched PCB.
2) The Power Supply Section
 
I had tweaked the original design slightly by having a dual power supplies in a single chassis and using more capacitors with smaller capacitance value. However, the total capacitance values remained the same as the original design. In another word, this is a dual monaural stereo Class A power amplifier. As you could see from the photos, the power supply consists of dual toroidal transformers, dual bridge rectifiers and twenty power electrolytic capacitors. All the power capacitors were soldered on an un-etched PCB, being used as a ground plate and shield between the power and the amplify section.
3) The Amplifier Section

My technique of connecting up the circuit utilized the point-to-point connectivity. This methodology would have the least soldering joints and it is possible as this is a simple circuit. Although this was a very tedious process, but it's worth the effort especially when you could satisfy by the results it produced. Don't try this if you are building amplifer that has complex circuitry.
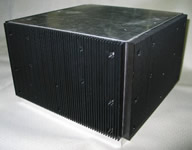
4) Bingo , the fully assembled Pass Labs Aleph 5 Amplifier.

|


