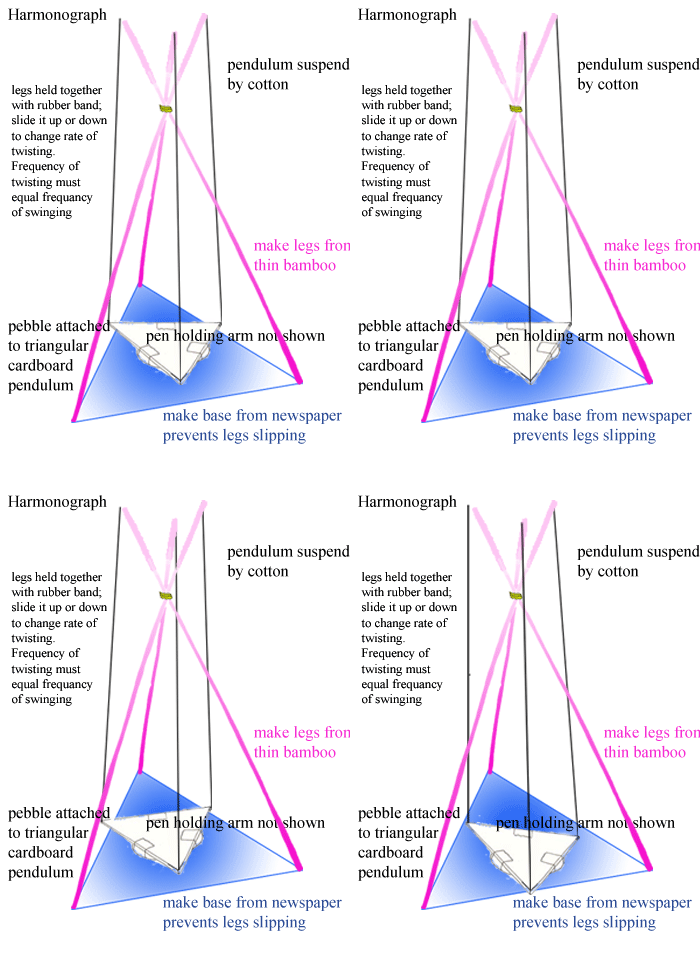

The rate of twisting should be adjusted until it is nearly the same as the rate of swinging,
or an exact multiple. Multiples are tricky unless you make a really long pendulum.
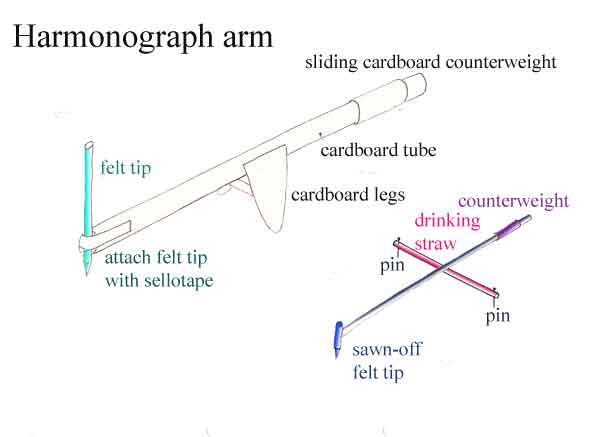
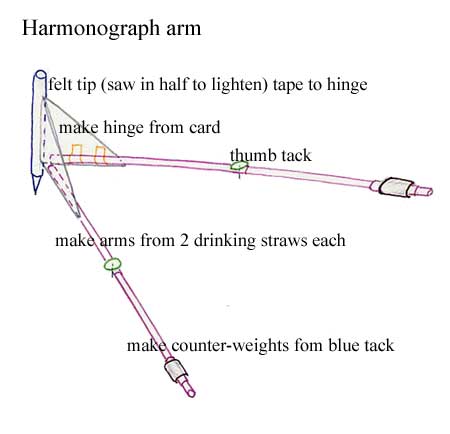
Two pen arms are shown, small and large; the size chosen should be appropriate to
the size of the harmonograph. The extent to which the pen is balanced by the counterweight
determines the damping of the pendulum. The pendulum can be any shape which is approximately
symetrical about a pole. A large book works very well. The patterns can be made tiny, especially
if very smooth paper is used.
movie of harmonograph in classroom
Perhaps the simplest way of making a harmonograph is shown below

People will want to go through the doorway, a natural impulse is to want to swing on the book.
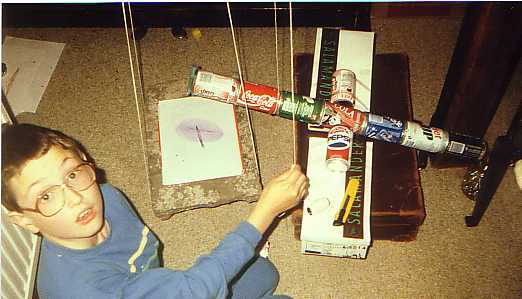
The images can be controlled if the pendulum is started as shown below: a weighted stick topples
off one corner of the pendulum to set it going in a reproducable way.
(needs java-enabled browser)
If there are no materials to make a tripod, three drawing pins in the top of a doorframe
work well, the disadvantage of this is that people will be unable to use the door while
the harmonograph is in use. A short loop of string round the three suspension strings near the
top can be used to control the twisting/swinging ratio in this case; the tighter the loop,
the slower the rate of twisting. For a very long pendulum use a stairwell. It's a good
thing to do with children because everyone who tries gets a coherent result. They may want to swing
on the swing.
Much more sophisticated harmonographs can be made, they lend themselves to string/sellotape/
cardboard construction. If ceramic-drawing felt tips are available, a plate or mug from
your local pound-stretcher makes an interesting variation on paper. Try making a tiny pattern
inside the lip of a mug. The result isn't dishwasher-proof, but it's quite good.
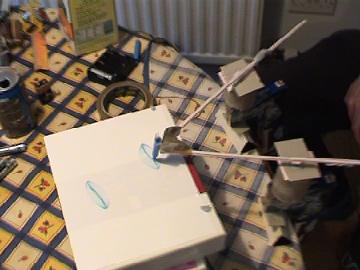
This is a new design, it requires very little in the way of materials or skills.
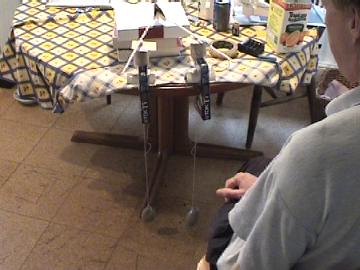
It has two weights suspended from cardboard bearings over the edge of a table with bits of string; you can't really see the weights in this photo, they are two pebbles.
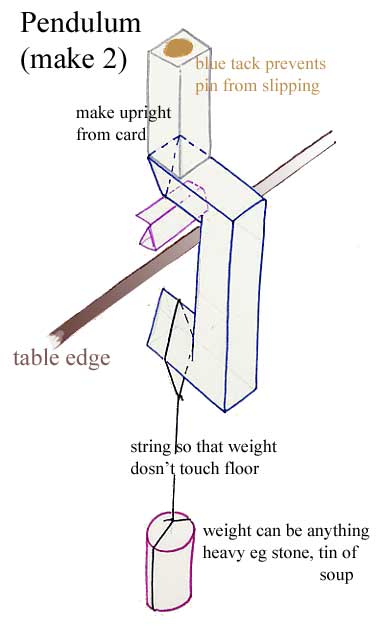
This is a drawing of it
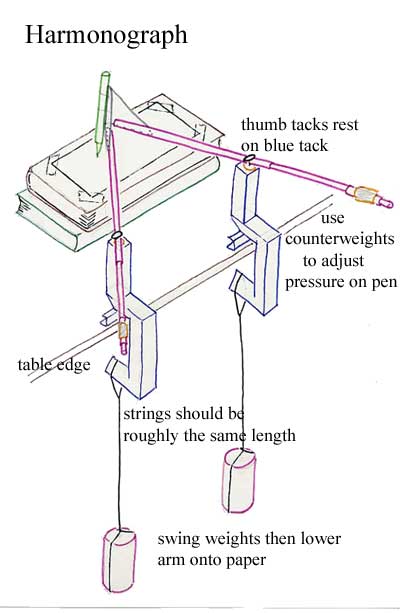
This is how you make one of the pendulums
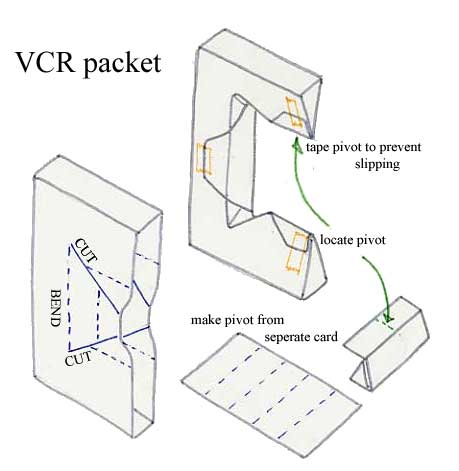
This is how you cut and bend an old vcr box
Detail of the arm
It may be possible to combine this harmonograph with the tripod one: put the tripod on the table and adjust it to roughly the same frequency as the pendulums.
link to movie of VCR box harmonograph
This is a similar design
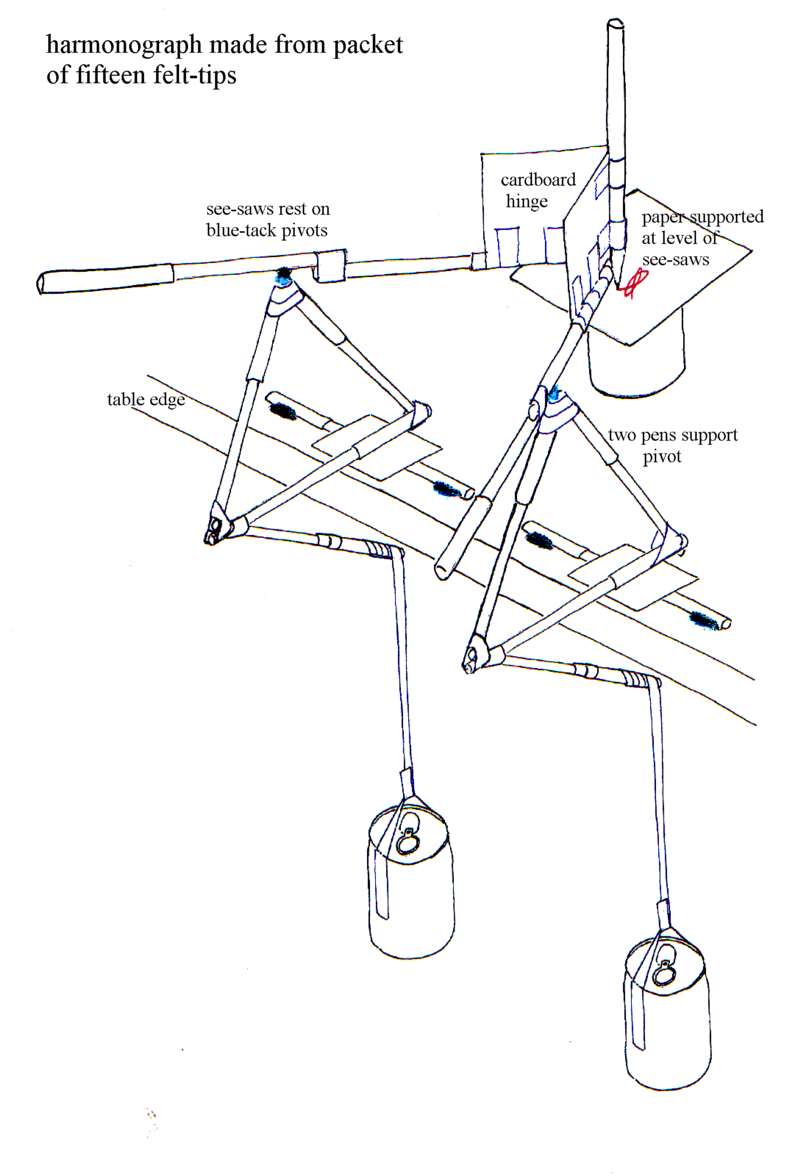
It can be made using felt tips & cheap sellotape as lego. Although it looks complicated, the basic module is quite simple
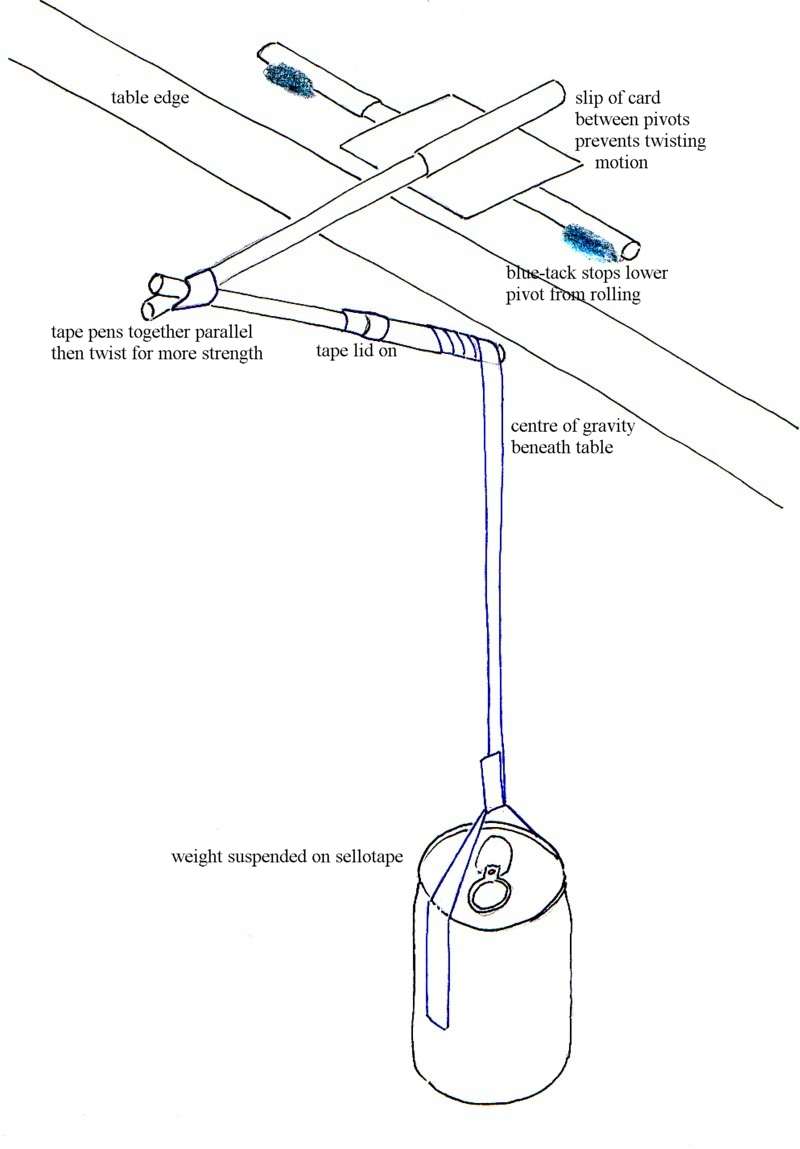
If the card between the pivots slips, you can secure it with more blue-tack: anywhere except at the point where the weight bears.
Notice the pivots for the scissor arm are themselves made of blue-tack: this is OK as long as you don't press the two things together too hard.
This is another very simple harmonograph
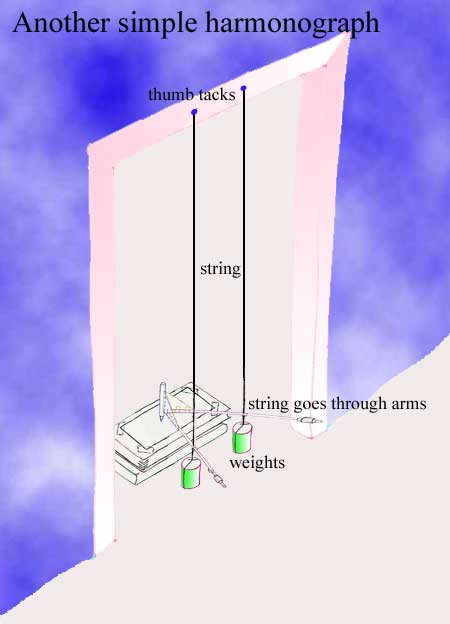
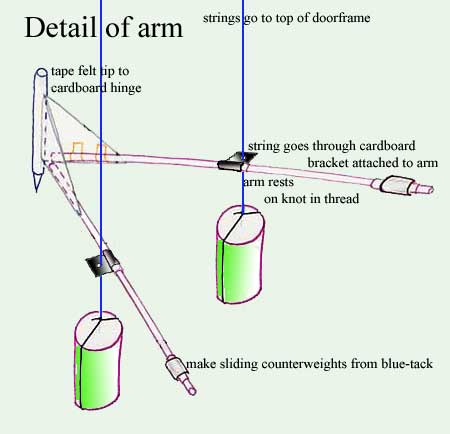
Like the VCR box one it has the advantage that you don't have to tune it; the detailed drawing of the arm below shows the strings going through cardboard brackets rather than through the arm itself. This is because if a string goes through a hole in a tube it tends to line the hole up with itself. If the string goes through something flat the flat surface is free to rock and isn't constrained by the axis of the string.
similar design on YouTube
