 |
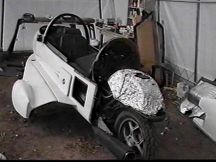
Here we have the autocycle completely dismantled. You
will notice that the gas tank is enclosed in aluminum foil. This is to
reduce the tank from heating becuase it sits directly behind the engine
radiator. It works well. That's a new rear tire, by the way. |
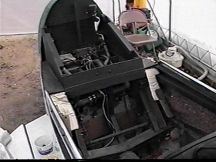 |
Looking at the engine compartment. When the parts are
put together it forms an air duct to channel cool air to the radiator.
I need to build an air scoop under the body to gather more air. |
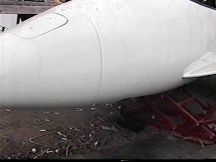 |
This picture shows the special hydraulic lift that I
bought to lift this baby up so that I can work on the underside. Its the
red thingy just under the wing. |
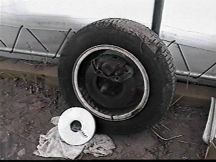 |
Here is the front wheel. It is on an axcle and I can't figure out how
to get at the wheel bearing to pack some grease into it. The wheel is a
13 inch automobile tire. |
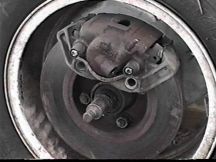 |
Here is a closeup of the brake system. Funny thing - I can't get the
two halves apart. I guess the brake pads are OK then. |
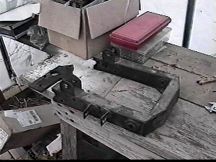 |
This is what I was after. This is the swing arm for the
front steering assembly. The two projections at the front end are for attaching
the shocks. |
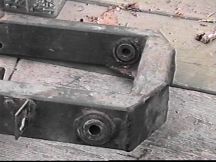 |
Alittle closer view shows where the swing arm supports
are attached. Here was the problem. The rubber grommets were completely
disintegrated and the center spindle was free to move back and forth which
changed the direction of the steering. |
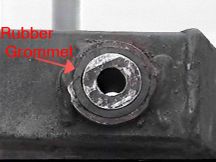 |
A closer picture shows the rubber grommet and the center
spindle. I had a hard time finding anything that substitute for a rubber
grommet. The Harley dealer tried to help. I finally found a rubber hose
that almost fit. It took a little pounding and some inventive encantations
to get the grommet and the spindle to fit. I'm happy with the result. |
 |
This is the top of the steering assembly. It is a pretty
massive piece of iron. It looks to be hand made. Remember that this is
one of the first few LiteStars that were made. There was no mass production
set up for their production. Everything was hand assembled. |
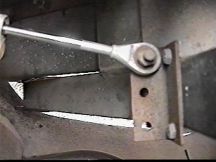 |
This picture is looking past the top of the steering
assembly, straight down at the right side swing arm support. The silver
thing at the top is the steering damper. The larger picture points these
item out. |
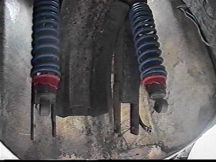 |
This is inside the front wheel well. You can see the
two shocks and behind them are the two swing arm supports. They attach
to the grommeted spindle that I showed you in the above pictures. The larger
picture points these items out. |
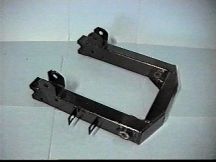 |
Well, here is the newly restored swing arm, painted gloss
black and ready to be reassembled. Notice the two projections where the
shocks will be attached. The two thingys on the side are for the hydraulic
brake line. I can't wait to see how the steering is improved! Won't be
long now. |