 In your favorite paint program, create a new image 300x300 pixels. Fill the image entirely with bright yellow. In the center of the image, make a large black circle that nearly reaches to the edge.
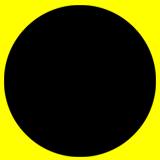

 In your favorite paint program, create a new image 300x300 pixels. Fill the image entirely with bright yellow. In the center of the image, make a large black circle that nearly reaches to the edge.

 In Bryce, create a cylinder and scale down the height until it's very thin.
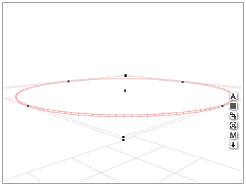
 Click on the [M] icon to get into the Materials Lab. Click on the A column to the right of the Diffuse and Ambient settings to bring up the Texture A box.

 Click on the P bead to make a picture texture. Load in the image which you made earlier. Set the Mapping Mode to Object Top.

 Click in the B column to the right of the Tranparancy setting. Set the Transparancy to about 60.

 On the Texture B box, click on the little triangle in the upper right corner and select Basic:Basic Gradient Bar. Set the Mapping Mode to Cylindrical.

 Enter the Deep Texture Editor. Click on the word Noise to bring up the Noise bar. Click on the Green corner to open the Noise Dialog box.

 Scale down the Frequency of the X value from 62 down to 31.
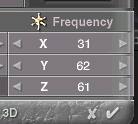
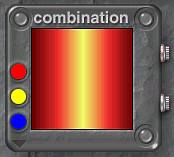
 The gradient bar should look like this when you're done. Don't worry what the colors are. We only need the Alpha map.
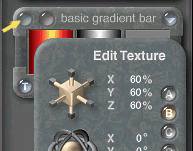
 Return to the Materials Lab. Click on the bead in the upper left corner of the Texture B box to open the Edit Texture palette. Adjust the Scale to 60%
for a 3-blade propeller; 40% for a 2-blade prop; 80% for a 4-blade prop; and 100% for a 5-blade prop.
Click on the little white triangle near the top of the Materials Lab page and select Blend Transparancy
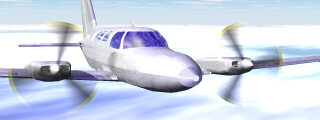
 That's all there is to it. Once you have finished lighting your scene, you may want to adjust the Transparancy setting to suit your taste.
Return to 