
For decades, Comic Book Artists have had to rely on a BLUE PENCIL that was Photo Neutral to draw images for Inking. The Problem was that a lead pencil drawing couldn't be cleaned up with ink over it enough to set the image to film after inking, so Blue Pencil was necessary because the blue was Photo Neutral, and wouldn't transfer to the film, leaving only the black ink. But Blue Pencil can be very difficult to work with, it's hard to see, and fine definition of lines is never as good as with standard lead.
This is a problem no longer.
NECESSARY TOOLS: Corel XARA (Or a copy of LViewPRO with a Paint Program of your choice), a Colour Ink Jet Printer and a MONOCHROME SCANNER.
Too... you must understand that MONOCHROME MODE on a scanner is BLACK and WHITE... not Grayscale. It is very important that you undersand the difference, please consult your scanner's liturature if you are unsure about this.
Step 1. You have to draw the image. Any Pencil is fine, from the old #2 standby, to Mechanicals of Various Lead Hardnesses.
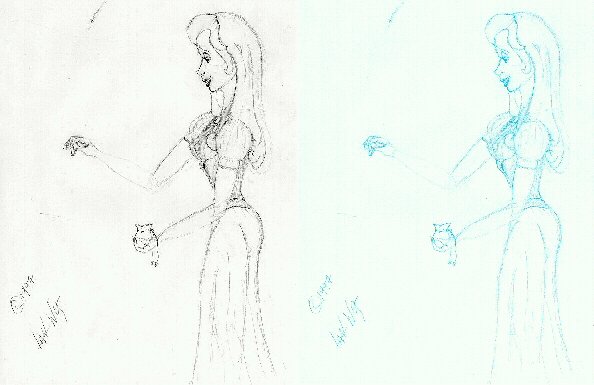
Step 2. The finished pencil drawing is Scanned In to the computer using grayscale. (figure 1. Below)
Step 3. From here, we diverge:
If you have Corel XARA:
Import the image into XARA, with the right mouse key, click CYAN on the Default Colour Palette... the program will prompt you to see if you wish to convert the image again to grayscale, click "YES". The Gray Image will assume CYAN characteristics. Print This image directly from XARA. Colour may vary from Printer to Printer. So do test your prints with your scanner set on Monochrome, when the scanner registers the printed page as blank, you have achieved a Neutral Blue. (Figure 2. Below)
If you do NOT have XARA:
LViewPro Will do. Import the scanned bitmap into LViewPro (available on the web, http://www.stroud.com is a good source).
Using the mouse pointer, go to the LViewPro Pull down menus and access:
RETOUCH/COLOUR BALANCE
a dialog box will appear. Using the Scroll Bars in the dialog box that appears, Set the Colour Values to the following:
R =13
G =201
B = 255.
From this point, all the gray in the drawing will have shifted to BLUE (Figure 2, below), you will now have to test this by printing up the converted image, and attempting to scan it back into your computer using MONOCHROME MODE, the Scanner can see anything at all, you will need to adjust the colour until the scanner cannot see anything but a blank page.
This is by NO means a perfect method, and will vary from computer to
computer, that is why it is recommended that you have XARA, which is consistent
in this ability. As above, colour may vary from Printer to Printer. So do test your prints with your scanner set on Monochrome, when the scanner registers the printed page as blank, you have achieved a Neutral Blue.

Step 5. Scan The Inked Image. Use MONOCHROME on your scanner, that is: Black And White. You will likely have to scan the image as large as you can to get a good scan, then reduce it in size using your preferred method, be it in an Illustration or Paint Program or a program like LViewPro.
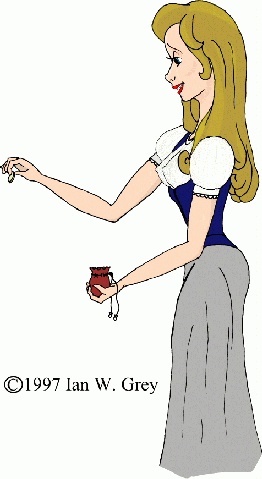
The image is NOW ready to be coloured by any means you prefer.

Again, I used XARA for this particular image, using the trace feature I set it to VECTOR and coloured the stacked objects individually.
By Mixing Traditional Drawing and the Computer as a tool to assist you, you can create spectacular results. Good Luck, and don't give up.
Visit us on #ARTIST on the Undernet if you have any questions...
Disclaimer: neither #Artist nor Ian W. Grey are in any way associated with LViewPro, or Corel Corporation or XARA Ltd except as an end user.
This article Copyrite ©1997 Ian W. Grey