

HI!!!
Welcome to BEVELED TEXT!! I have had many people after me to create this tutorial I hope that its easy to follow and fun to do for you all! PLEASE PLEASE before you seek me out to learn how to do this cause it didnt work for you REMEMBER pratice makes PERFECT!(FYI This page is graphically intence please give it time to load)
For this Tutorial you will need PSP and the Plug-in Filter "EYECANDY"
We will be useing this Background:( you can save the bg by simply right clicking on the bg and then "save picture as" and save to a folder on your hard drive).
and the font IMPACT
OK HERE WE GOOOOOO.........
Ā
Ā
Step 1
Adding the text
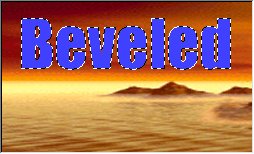
Select the text Icon and write BEVELED on your background.
you shoud now have something like this:
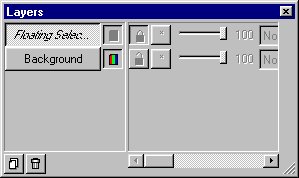
Now select your TOGGEL LAYER Icon (shown below):

This window will pop up. Be sure FLOATING SELECTION is pushed in:
Right mouse click on the floating selection to bring up this window:
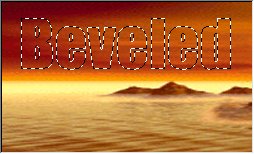
 Now Delete the floating selection by chosing DELETE
your Background picture should look like this now:
Step 2
Adding a drop shadow to the Letters
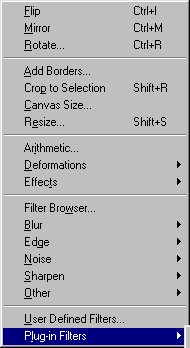
Select IMAGE on your tool bar (shown Below):
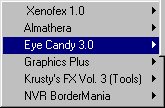
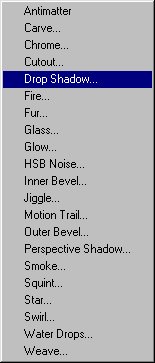
your menues will pop up as you select, we are going to select Drop showdow in the filter plugin "eyecandy"
IMAGE/PLUGIN-IN FILTERS/EYECANDY/DROPSHADOW
 |
   |
Ā
Once you have selceted Drop shadow this window will pop up:

These are the settings I used for this Picture...Remember each time you use this you may want to use different settings. As you can see I have chose a black drop shadow, in the COLOR box within this window you can change the shadows color.You can Change the Direction of the shadow by moving the DIRECTION ring top left. You can Change the distance of the shadow by useing the slide bar for Distance. You can make the shadow a fant shadow or strong by useing the BLUR slide bar. The Opacity Slide bar does some what the same, you can have a faint shadow or strong. Combind with blur you can have a faint blured shadow. For now set the Settings as I have them and lets move on to the next step.
your picture should now look like this:

Ā
Step 3
Now lets make it look beveled
Select IMAGE on your tool bar (shown Below):
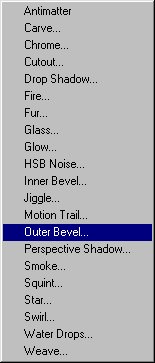
your menues will pop up as you select, we are going to select OUTER BEVEL in the filter plugin "eyecandy"
IMAGE/PLUGIN-IN FILTERS/EYECANDY/OUTER BEVEL
Ā
 |
   |
Once you have selceted Outer Bevel this window will pop up:
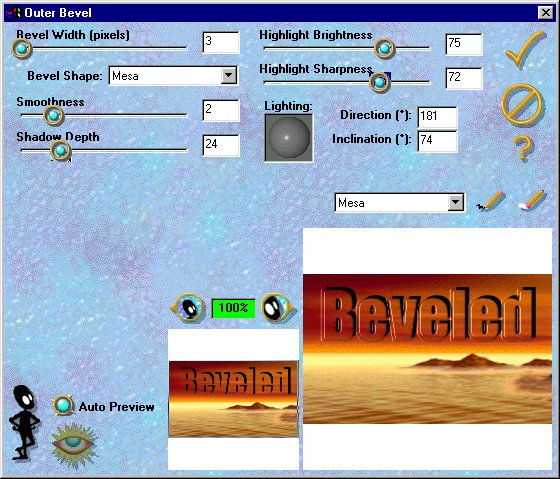
Just like in the Drop Shadow, there are many settings to use and each time you use this you will want to play with the settings and make it to what your doing at the moment. I tend to like to use the MESA bevel, but have been known more than a million times to change settings to fit my work. For now use these setting, but be sure to go back and play with them to see what each will do for you.
Your picture should look like this now:
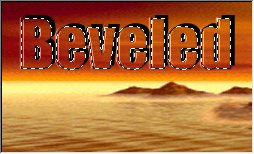
Ā
Step 4
Enhanceing the beveled text.
We are going to add a bit of Color to this text.
Select the Dropper Icon to get a color from the back ground to use.

once you have selected this then go to the place in the back ground marked with the green arrow, Click on it.
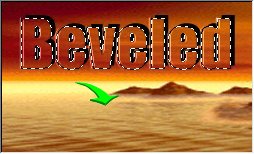
You will see the color that you have selected from your dropper in the Color tool bar:

Now lets Spray Paint the letters a little bit:
Choose your AIRBRUSH ICON:

now set the setting for the AirBrush
Click the TOGGLE CONTROL PALETTE

This Window Comes up:
Click the Brush tip tab to set the settings.
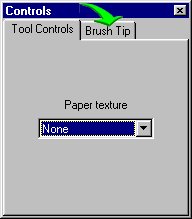

Now Lightly spray over your letters to look like this:
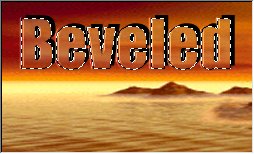 you dont want it to change DRAMATICALLY
Step 5
Glassing the text.
Select IMAGE on your tool bar (shown Below):
your menues will pop up as you select, we are going to select GLASS in the filter plugin "eyecandy"
IMAGE/PLUGIN-IN FILTERS/EYECANDY/GLASS
 |
   |
Once you have Selected Glass this window will pop up:
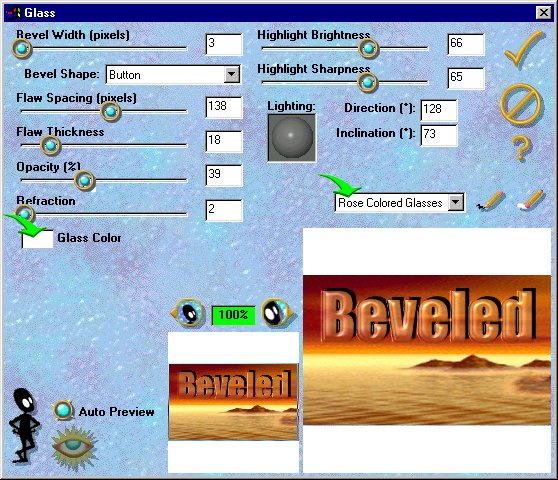
Just like in the Drop Shadow, there are many settings to use and each time you use this you will want to play with the settings and make it to what your doing at the moment. Here I am useing ROSE COLORED GLASSES( my personal favorite) With the Glass Color white, but have been known more than a million times to change settings to fit my work. For now use these setting, but be sure to go back and play with them to see what each will do for you.
now your Picture should look like this:

Now with the free hand tool selected ( the yellow lasso you all) right mouse click on the picute..this should release the floating section
and TADA you have a finished product!!!!!

Before you relase your floating section: ( if you have just use the back arrow to return the floating section)
Heres a few tricks to play with:
Add a glow:
Add another Outer bevel (step 3)
Add another Drop Shadow (step 2) with
new settings
Ā
HAPPY PAINTING!!!!
Ā