

You will need:
*Print Shop Pro
*Filter:Almathera
*Blank transparent layer
*Finished Painting or a background to place text on

The First thing you will have to do is make a transparent layer:
| 1. Click the new layer Icon. |  Ā |
| 2. In the new Image
window set your settings to your liking. I have mine set here to the Size of a Mega Avatar so that I will be able to see how my text will fit. |
 |
Ā
| 3. Your transparent Layer |  |

Now you should have your transparent layer and your finished painting or your background to work with . I will be working with these:
 <-----Transparent layer
  <------Background

Step One: Place Text on new transparent Layer: I used IMPACT font (click off the floating so you have a flat text there like in the picture)

Step Two: Under Images/pluginfilters/Almathera Select "Warper"
This Window will come up:
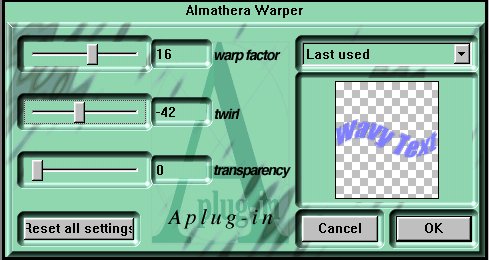 |
Just move the bars for warp factor and twirl to where you want them......as you can see I have mine set at Warp factor 16 and Twiirl -42 |
You should now have this on your transparent
layer: 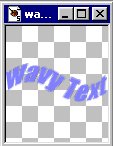

The next Steps is to simply place it on to your background or finished painting.
Step Three: Do a EDIT/COPY to your transparent layer with the text.
Step Four: Activate the background layer (by just clicking it once) and then do a EDIT/PASTE/AS NEW SELECTION
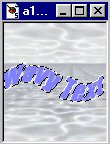 Pasteing as a new SELECTION Keeps the floating lines around
the text, you can now glow the text, move the text or anything
ekse you may want to do..........if you would like to make it 3D
looking .......go to the Beveled text tutorial.
Ā
Thank you for selecting Spicys tutorials........