MAKING PUDDLES WITH CORELDRAW AND PHOTOSHOP

Two Puddles
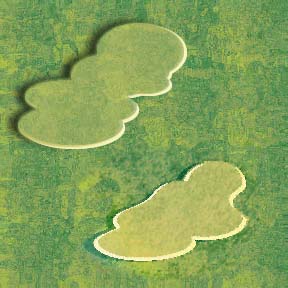
Here are two puddles, the one at the top was created in PhotoShop and the one below was created in CorelDRAW.
To create the PhotoShop puddle:
Ā
Background:
The background was actually snatched from CorelDRAW. I love CorelDRAW's ability to edit textures. To create a rough background in PhotoShop, try this:
- Choose a dark foreground color and a light background color.
- Filter - render - clouds.
- Filter - noise - add noise, 50, uniform, monochromatic.
- Filter - Gaussian Blur, .8 pixels.
- If it's not bumpy enough for you, you may want to repeat the Add Noise and Blur steps a second time. Save your work.
The rest of the effect:
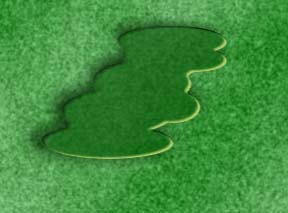
- Add a layer. Name it Puddle. The puddle is a cluster of elliptical marquees. Smooth any sharp corners with Select - Modify - Smooth.
- Make your foreground color a little darker, and fill with color. (Alt-Del.)
- Copy the Puddle layer. Name it Highlight. Be sure "preserve transparency" is checked. Make the background color a little lighter, then fill the highlight. (Ctrl-Del)
Using the same technique, I added another highlight to the left side of my puddle. I made it darker and placed it at the edge of the puddle, to give a more rounded look.
- Choose the Move tool (V). Move the highlight down and right. Place the layer below the Puddle. Leave both layers at 100% opacity.
- Copy the Puddle layer. Name it Shadow. Shadow = a simple drop shadow, placed behind the puddle. (Preserve Transparency on, fill with dark color. Preserve Transparency off, blur and move to look like a shadow. Change to Multiply mode. Adjust layer opacity if needed.)

- The clever part: making the background show through the puddle, without blurring the puddle into insignificance:
- Select the puddle (ctrl-click the puddle layer.)
- Make the background active.
- Ctrl-J the selection to a new layer.
7. Place this new layer at the top of the stack and adjust the opacity to look like the puddle is a bit transparent. Voila, a lovely cspill on the carpet.
To create the CorelDRAW puddle:
Ā

Create the circles. Select them and weld them together.
Soften those inner points with the shape tool. (Puddle created.)
Fill with color.
Duplicate the puddle. This will be the highlight.
Offset the highlight to the right and down. Fill with a lighter color, or with white.
Select the left shape (puddle), open the Trim roll-up. Click Trim and use the arrow to click the highlight. You'll have just the highlight shapes left. Place them where they look right.
Using the same technique, I added another highlight to the left side of my puddle.
Duplicate the puddle again. This is the shadow. Offset, trim, and fill with black.
Apply transparency to the shadow. You decide how transparent to make it. I used the interactive transparency tool (CorelDRAW 8), changed the fountain to a uniform fill, and moved the slider on the property bar until the shadow looked right to me.
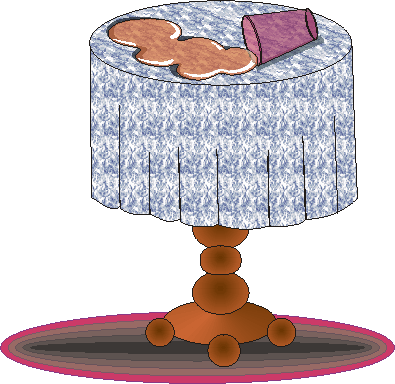
After I had my spill, I just had to create the table, but any surface with a texture will do. Create the shape and give it a texture fill. Then use Shift-PgDn to move it behind your puddle.
These directions are written for people with a fair knowledge of the program, not for beginning students who need to be told where to click to create each result. They are written for the students who are taking my classes, to refresh their memories on techniques learned in class.
If You're Having Trouble...
If you are not a student of mine, and you're trying to create these effects, email me if you have trouble. I'll be happy to point you in the right direction. (It's what I do.)
Back to HomePage
CorelDraw Page
WordProcessing Page
Resources
