Here's another background made using one of PSP's paper textures.
- Open a new image that's 50 pixels wide and 50 high and that has
a color depth of 16.7 million colors.
- Fill the background with light gray.
- Choose dark gray as the foreground color, and then choose the Airbrush tool.
In the Control palette, select 50 as the Size, Square as
the Shape, and 100 as the Opacity. On the Tool Controls tab of the Control palette,
select Large Bricks as the Paper Texture.
- Position the Airbrush in the exact center of the image.
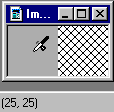
(Look at the position indications at the bottom left of the PSP window to make sure
you're at 25, 25.)
- Without moving your mouse from the center position, click 10 times (or
until you have an effect you like).
The brick texture will show up in your foreground color, with the
background color showing through as the "mortar".
- Choose Image | Other | Emboss.
- Now comes the tricky part. If you were to use this tile as is, you'd get
a very noticeable vertical line running through the middle of some of the bricks.
You'll need to eliminate this line by hand:
- Choose Edit | Copy to place a copy of your image on the clipboard.
- Choose Image | Canvas Size. Set Width to 100 and Height to 50
(making sure that Center Image is not selected for either Horizontal
or Vertical).
- Choose Edit | Paste As New Selection. Position the pasted-in selection
so that its left edge matches up perfectly with the right edge of the
original. (To help with this, pay attention to the positioning info at the
bottom left of the main PSP window.)
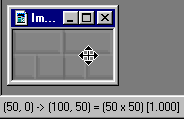
- Use the Zoom tool so you can see the details of your image. Then,
using the Eye dropper and the Paintbrush, eliminate the line running
through the middle bottom brick.
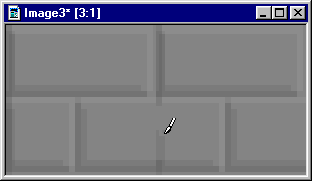
Even out the colors in the top edge
and bottom edge of the bottom bricks, too.
- Select the leftmost edge of the copied image, from position 50,0 to
position 55,50.
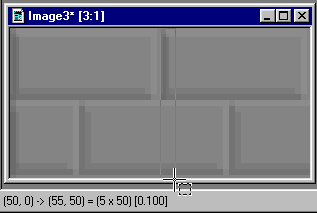
Choose Edit | Copy to copy this selection to the clipboard.
- Choose Edit | Paste As New Selection, and position the selection exactly
over the leftmost edge of the original image.
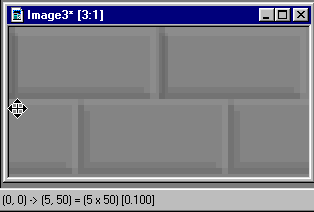
- Crop the image to its original dimensions, starting at position 0,0 and
ending at position 50,50.
- Choose Colors | CoLamanderze, setting Hue to 5 and Saturation to 110.
- Save the image as a JPEG or a 16-color GIF. If you save as a GIF, you might
need to touch up the colors a bit with the Eye dropper and Paintbrush again.
Backgrounds |
How-to
|