Hot Wax Example
Here we'll make some text that looks like it's stamped in wax or plastic.

- Start with a new 16-million color image that is 250 pixels wide and 100 pixels high, with a white background.
- Set the foreground color to a dark color. (I used Red: 140, Green: 82, Blue: 90.)
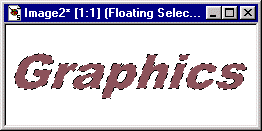
- Use the text tool to enter your text, checking Antialias and Floating.
Choose a fairly heavy font. (I used Arial Black, Italic, at 48 pts.)

- Select Selections | None. Then select Image | Other | Erode. Erode twice more.
- Apply Image | Blur | Gaussian Blur, with Radius set to 3.00.

- Set the foreground color to a much lighter tone of your original foreground color.
(I used Red: 222, Green: 206, Blue: 206.) Use the text tool to enter the same
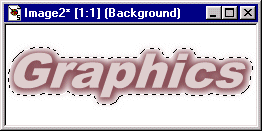
text you did previously, positioning the new text selection on top of the blurred text.

- With the Magic Wand tool, select the white background of your image.
- Invert the selection with Selections | Invert. Then choose Selections | Modify | Feather and set the feather to 1 or 2.
- Now, making sure that your light tone is still the current foreground color, apply Image | Other | Hot Wax Coating.
- You can then crop the image if you like, making sure that the background color is set to the image's background color (white here).
- With the background set to the image's background color, save the image as a transparent GIF.

(By the way, this is a pretty nice effect in itself. You might simply want to skip the next step!)
