PSP6: Making Circular Picture Frames
Making non-rectangular picture frames is only a little more involved than making
rectangular picture frames. In this tutorial, we'll create a circular frame.
Elliptical frames can be created similarly.
Start by opening a new image canvas that has a single
transparent layer and that is slightly larger than you'll ever want your frame to be.
Then follow these steps:
- With the Selection tool set to Circle, define a selection in the center of your
image canvas. Begin at the center of your image. (Check the Status Line
to make sure that the cursor is positioned in the exact center).
Drag so that the selection almost reaches the edge of the image canvas.
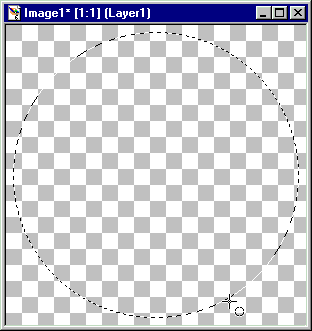
- With the Flood Fill tool, fill the selection with a solid color. White is
the color used here.
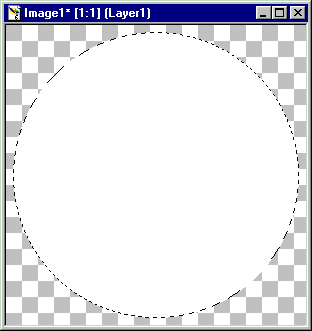
- Now contract the selection with Selections | Modify | Contract. Contract the
selection so that the selection is the size of the opening for your frame.
(You might have to experiment a bit to get the exact size that you want.
If the contracted selection isn't quite the right size, just use Undo and try again.)
When you have the selection set to the size of the frame's opening, press
the Del key to erase the color from the center of the solid-colored circle.
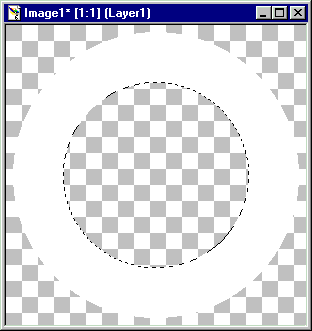
- Now use the Magic Wand to select the transparent area surrounding the frame.
What you really want is to select everything except this transparent area,
so invert the selection with Selections | Invert (or press Shift+Ctrl+I).
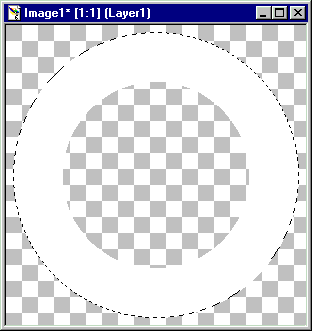
- A non-rectangular picture frame must have an alpha channel that defines a selection
around the outermost edges of the frame.
Save the current selection to an alpha channel. Choose Selections | Save to Alpha Channel.
In the Save To Alpha dialog box, click OK. In the New Channel popup window, click OK.
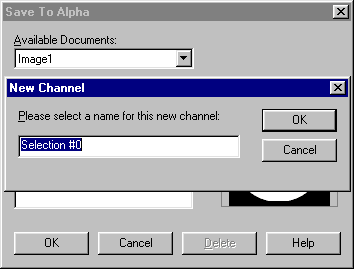
The selection is now saved to Selection #0.
- Crop to the selection by choosing Image | Crop to Selection.
The PSP Picture Frame Wizard doesn't behave well if transparency totally surrounds
your frame. Cropping to the selection ensures that part of the frame touches
the edges of the image canvas.

- Select the frame with the Magic Wand. Then texturize and bevel the frame as
you desire. (See Making Rectangular Picture Frames
steps 3 and 4.) When you're done, be sure to turn off the selection with
Selections | None (or press Ctrl+D).
Here's an example:
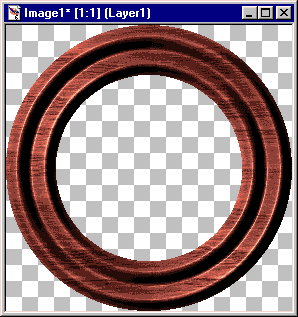
- Save your picture frame as a PSP file. Be sure to locate it in your PSP Frames folder.
Later, use the PSP Browser or Windows Explorer to rename the file so that it has
an extension of PFR (rather than PSP). PSP recognizes as picture frames only PSP files
that are in your Frames folder and that have PFR as their extension.
Your picture frame is now ready to use! It will appear in the Picture Frame selection list
the next time you use the Picture Frame Wizard.
Copyright ©1999 Lamander
All rights reserved
|


