Realistic Sphere
In this tutorial we'll make a realistic-looking textured sphere. We'll be using layers, so if you're unfamiliar with layers, you should probably first take a look at Layers: Creating a Semi-transparent Tile and Layers: CoLamanderzing with Blend Modes.

- Start by opening a new 250x250 pixel file with a white background. Set the foreground color to a light gray such as Red 220, Green 220, Blue 220; and set the background color to a dark gray such as Red 130, Green 130, Blue 130.
- Choose the Selection tool and on the Control palette
select Circle as the Selection Type, select Antialias, and keep the Feather set at 0.
Starting at position 110, 110 in the image canvas, make a circular selection that is
about 150 pixels in diameter.
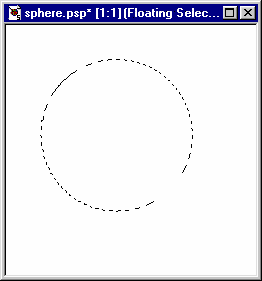
You'll keep this selection active for most of the remaining steps.
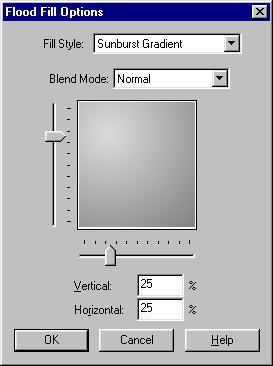
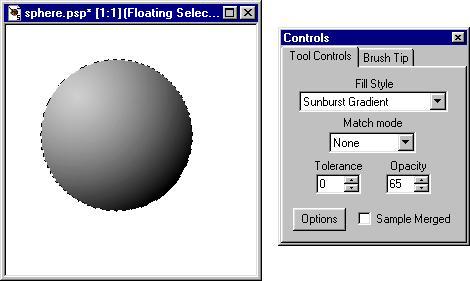
Select Selections | Float to make your selection a floating selection. Then choose the Flood Fill tool. On the Control palette, set the Fill Type as Sunburst Gradient, with the Blend Mode set to Normal, Match Mode set to RGB Value, and Opacity set to 100. The click the Options button and set both Vertical and Horizontal to 25. Click OK and fill the circular selection with the sunburst gradient.
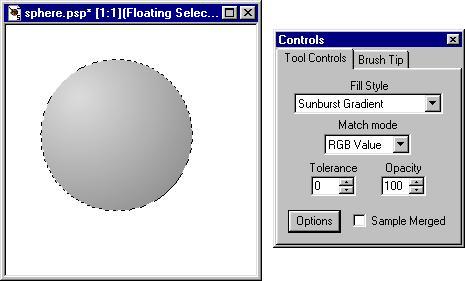
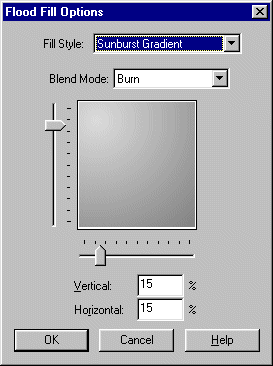
With the Flood Fill tool still selected, keep the Fill Type set as Sunburst Gradient with the Opacity still at 100, but change the Match Mode to None and the Blend Mode to Burn. Click the Options button and set both Vertical and Horizontal to 15.
Click OK and fill the circular selection with the sunburst gradient.
- We'll use the the Flood Fill tool one more time. Keep all the settings the same
as in the last step, but change Opacity to 65. Fill the circular selection with
the sunburst gradient.
- Now we'll add the texture. Open the file that contains your texture; crop this image to
a square if it isn't square already. To get the crosshatching effect that you see in
my sphere, choose a texture with a noticeable horizontal pattern. What I used was
a section of ocean water:
Choose Image | Deformations | Circle to warp the texture into a circle. Use the Magic Wand to select the background around the resulting circle, using Shift+Click to add each of the corners of the background to the selection. Then choose Selections | Invert so that the textured circle is selected.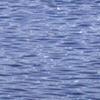

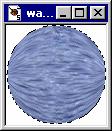
Hit Ctrl+C to copy this selection to the clipboard. (Keep the texture image open and keep the selection active for use in a later step.)
- Return to your new image and click the New Layer button on the Layer palette to create
a layer above your floating selection (and be sure that you don't turn off the selection).
To open the Layers palette if it isn't visible, press the letter L on the keyboard.
With the new layer the active layer, choose Edit | Paste | Into Selection (or press Shift+Ctrl+L). In the Layers palette, set the Blend Mode for this layer to Overlay. Your image will then look something like this:

- Now go back to your texture image and rotate it 90 degrees with Image | Rotate. Press
Ctrl+C to copy the rotated texture to the clipboard. (You can then close the texture
image if you like.)
Return to the new image and click the New Layer button to create a layer above your previous texture layer. With the new layer the active layer, again choose Edit | Paste | Into Selection (or press Shift+Ctrl+L). For this layer, too, set the Blend Mode to Overlay. Your image will now look something like this:
OK, just a few more steps and we'll be done!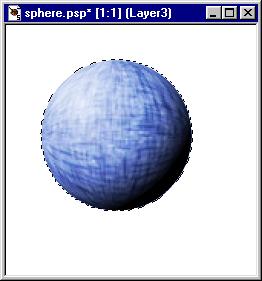
- We've finished with the circular selection, but we'd like to keep the gray sphere as a separate layer. To accomplish this, right-click on the Floating Selection button on the layers palette, and choose Promote to Layer. The selection is then converted to a layer and its layer button is labeled Promoted Selection.
- Make Background the active layer, then click the New Layer button to make an empty layer
above Background. Change the foreground color to black.
Choose the Shapes tool and in the Control palette set the Shape to Ellipse, Style to Filled, and select Antialias. Then draw an ellipse on the new layer in the shape and size that you want for the shadow cast by your sphere. After drawing the shadow, choose Image | Blur | Gaussian Blur, setting the Radius to 5. Adjust Opacity for the shadow layer on the Layers palette. And if you need to adjust the position of the shadow, use the Mover tool to drag the shadow into place.

- Because our orginal sphere was made with an antialiased circular selection, there's
a light-colored line separating the shadow on the sphere from the cast shadow. In this step
we'll eliminate that line with the Retouch tool.
First, hide all the layers except for the Promoted Selection layer and the shadow layer (Layer4). Then right-click on the Layer4 button and choose Merge Visible. This merges these two layers into a single layer.

Now choose the Retouch tool, set to Soften and with the Brush Tip size set to 2 or 3. Carefully blend together the edge of the sphere and the cast shadow.

- And here's the final step! Add a new layer above Layer3 by clicking Layer3's
layer button and then clicking the New Layer button. With the foreground color set
to white, use the Airbrush tool on this new layer to spray a highlight in the upper
left section of your sphere. Use Image | Blur to make the highlight more diffuse.

Your sphere is completed!
By the way, you can use the Deformation tool to make realistic ovoid shapes, too, such as this melon.