In Objects Part 1 I talked about saving as a UFO file to work on again. Saving your creations for use in electronic format should be done with the SmartSaver which can be accessed either from the File menu or the Web menu. The SmartSaver has been renamed Image Optimizer in PI 5 and is only accessible from the Web menu, however it still works the same except that PI 5 does not put it on your right click menu in Windows Explorer the way PI 4 did with SmartSaver. The SmartSaver automatically saves a copy of your work leaving the image in the PI window untouched so that you can still undo and continue to work on the same image. It will also save a selection by itself. When SmartSaver is installed it also shows up in Windows Explorer on the right click menu, so you can compress or change the format of a graphic without going into PI.
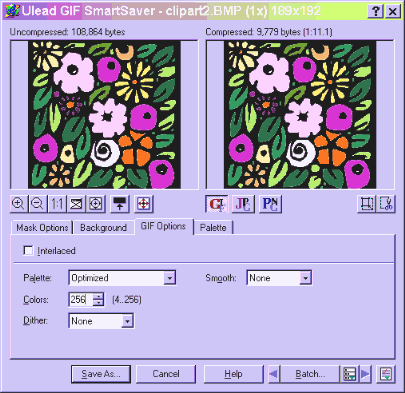
The first decision is whether to save as a gif or a jpg. I have finished coloring in our clipart from Fills Part 2 and am ready to save it. Here it is with the GIF format selected. The right hand picture gives you a preview of what the picture will look like saved with the settings that are chosen. Above that picture the size of the file saved that way is shown.

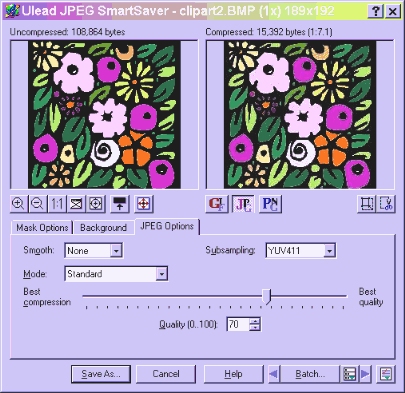
To compare this with saving as a jpg just click on the jpg button under the right hand image. Here the quality is set at 70 which is generally where I start. Some programs measure compression in % compression, SmartSaver measures in % quality which is inverse to the compression. You can see that this image on the right is not quite as good as the image using the the gif option and the file will be larger as well. Obviously, here the gif format is preferable.
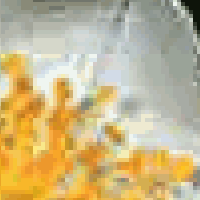
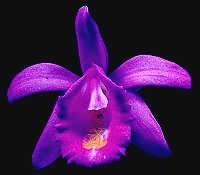
The gif format is usually better for images with clear colors, most clipart is this way, while the jpg format is a must where you have blended colors. Here is what I mean by clear or blended colors. I have done a screen capture of a portion of the clipart we have been working with on the left and a photo of a flower on the right, both are viewed at 4X. You can see the large areas in the clipart that are the same color, while the photo is composed of many small areas of different colors. This is often referred to as an image with texture.
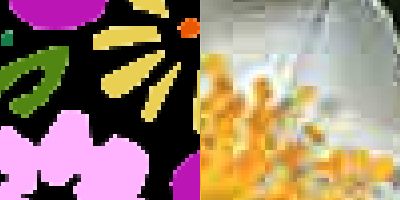
A gif can save with a maximum of 256 colors, therefore it cannot produce the same degree of shading that a jpg with millions of colors can. It will also be larger because it cannot compress the color information the way a jpg does. You can see how some of the colors drop out and the blocks of the same color become larger if I save the right hand image as a gif.
Another reason to save as a gif is it if you want the background of your image to be transparent so that whatever background it is placed on shows through. Here is a flower that I want to make transparent.
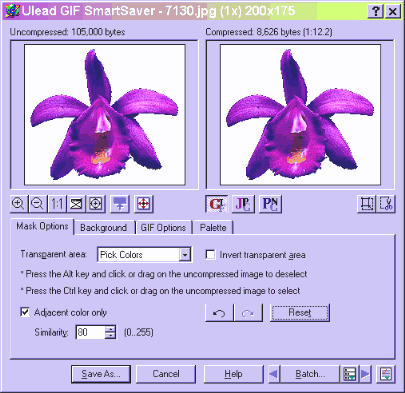
In SmartSaver, select gif, then select the Mask Options tag, under Transparent area. Just like the Magic Wand, you can select the color similarity, but only when Adjacent color only is selected. Here I have played around until I found the highest possible number that won't also take out the dark area in the top petal. Hold down the Ctrl key and click on the color that you want to be transparent. When you let up it turns white. You can select more areas by repeating this. There is also an undo tab here, so you can try things and undo them if they cover too much area.
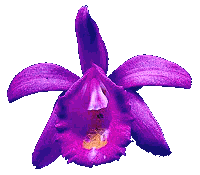
Here is the flower saved with the transparent background.
It is a good idea to start with a color other than white for the transparent color, especially if you have more areas than just the background. Also, it is wise to use a color that blends with the edge of the graphic in case any stray pixels don't get made transparent. If you have a dark graphic with a white transparent area and put it on a dark background you may have stray white pixels showing up around it. Here is a graphic that had a white background, I selected all the areas that I wanted transparent with the magic wand set on the Add mode, then flood filled with the yellowish green. Now when I click on the background in SmartSaver and the selected area turns white I can clearly see the areas that also need to be selected.
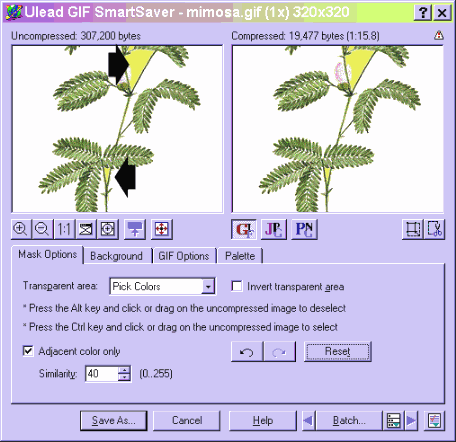
Here is the finished product. There is still a bit of white between the leaves as I did not work hard at getting it out. It would be possible if you really wanted to get rid of it to zoom in and select all those areas as well.
