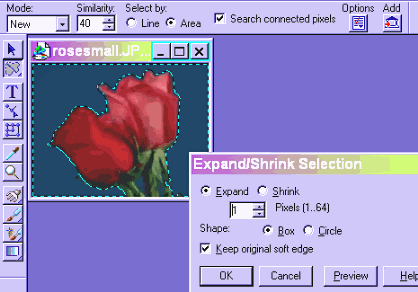
Another way to create transparent gifs is to make a selection and save it while it is selected. This is often a good way to work with images that don't have good edges. Here is a rose that is kind of muddy.

I have selected the background in New Mode with Similarity of 40, then I right click and select Expand/Shrink selection and expand it 1 pixel.
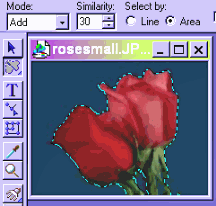
Then in Add Mode with similarity of 30--I reached this figure after experimentation, 40 gave me more of a selection than I wanted--I select the area between the stems.
Right click and choose Invert, this changes the selection from the background to the rose, open SmartSaver and here it is ready to save. If you click on the Mask Options tab you will see Mask already in the Tranparent area box. This image is not perfect, I see a little stray black straggler just under the place where the roses meet, but the edges are much smoother than if the transparent area had been selected in SmartSaver itself.
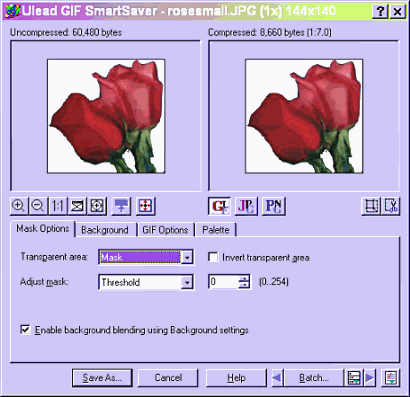
Here is the finished product.

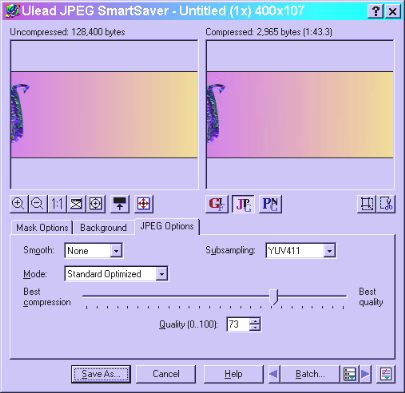
One of the most difficult things to save well is a gradient. If you try to save a gradient as a gif the colors will separate into bands. If you try to smooth them other objects will lose sharpness that you may wish to retain.
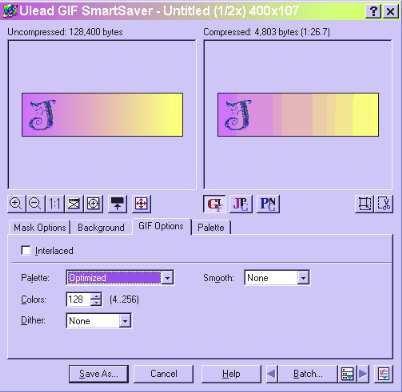
When you are saving a .jpg a good starting point is about 70 on the quality slider. If that doesn't look good enough slide upward, if it looks fine, try sliding down a little, the goal always being to get a good quality graphic at the smallest possible size. To preview various parts of the graphic you can put your pointer on it in either of the preview windows, it will turn into a hand and you can pull the image around in the window. You can also use the + and - commands on the left end of the toobar to zoom in and out. To see a full screen preview hit the icon that has the four little red arrows pointing outward, to close it hit Esc. You can see here that this gradient saved at 73% quality is smaller yet smoother than the gif would be.
