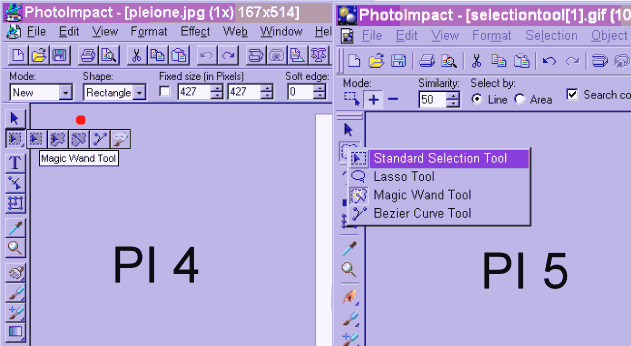
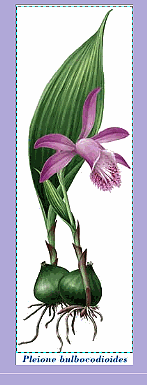
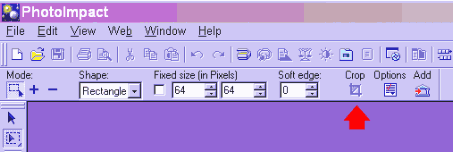
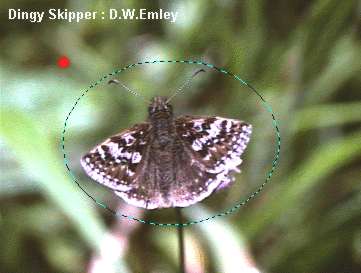
The tools in PhotoImpact are represented by icons lined up down the left side of the window. The second from the top is the selection tool. Each tool has several variations which can be selected by clicking on the icon and holding down while dragging to the right. A bar will come out with the various selections on it. On the left is PI 4, when you hold your pointer on each selection a label pops up telling you what it is. In the picture below the pointer was on the icon under the red dot (pointers don't show up in screen captures). On the right you can see that in PI 5 the names of the tools are on the menu. Note across the top of the window the various settings for the tool that has been selected. The selection tools are very important for cropping pictures and for making selections to paste onto other images either to provide a new background or to make a composite. Let's take a look at cropping first as this is one of the most frequent things you will want to do. In the picture below I want to get rid of the printing at the bottom. I have set the Standard selection tool (which is the default) on rectangular (other options are square, circle and ellipse) and clicked on the upper left hand corner of the picture, dragged to the right and down until I had the area I wanted to keep inside the dotted line, then let go. If you click again outside the selected area you will lose your selection, you can regain it by hitting the Undo button once. When you are happy with your selection go to Edit and hit Crop. In PI 5 they have added a handy crop button to the top toolbar. Selecting with the circle or ellipse is a little tricky as you have to start at a point where two imaginary lines drawn from the left and top edges of the ellipse would intersect. Here I started at the red dot.


This page hosted by