My favorite selection tool is the Magic Wand. It will select all the area that is the same color. If you have a single color background this makes it very easy to cut out an image to use in a variety of ways. To make the selection click on the color you want to select. Even though a background looks like it is all one color, there may be slight differences, this will be obvious by the fact that the dotted line is either not right up against the edge of the object or there may be little areas surrounded by dotted lines. Hit the undo and adjust the similarity, the higher the number the less similar pixels need to be to be included in the selection.

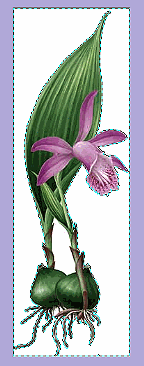
Another option is Search Connected Pixels. Below is an image where I have selected the white background with this option checked. If I did not use this option here the white area in the throat of the flower would be selected and I don't want that. I would like to have the section down between the two stems selected, though, and the way I can do that is change the Mode to add, then click in that white area and it will be added to the selection.

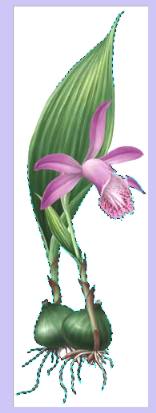
Now, what I want to copy and paste onto a different background is the opposite of what I have selected, so I will right click on the selection and choose Invert. Now the flower is selected. You can see that there is no dotted line around the outside of the white square anymore.

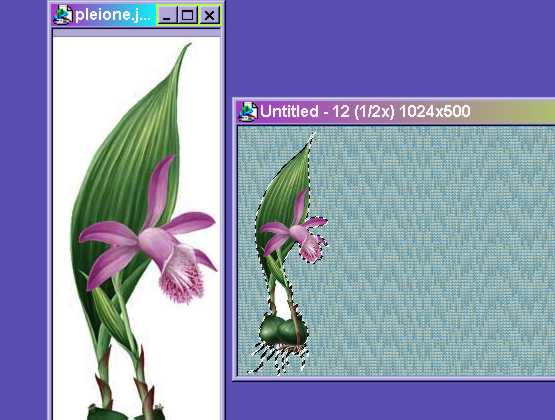
Now, let's look at one thing we can do with our selected flower. I have opened another canvas (File, Open, choose your size and color) and flood filled it with a pattern, more on this later. You can work with several windows open at the same time in PI, if you have them in small windows you can see them both at once, though this is not necessary, you can work in one, minimize it and maximize the other. In this picture, though, you can see both my windows. Making sure that the window with the flower is where the focus is I go to Edit and select Copy. Then I click on the window containing my background and go to Edit, Paste. They have added Paste to the right click menu in PI 5, a great improvement as I see it. I am going to paste this under pointer so I can position it as I paste it. When I did this particular screen capture, I had not selected the additional area between the stems and you can see how it remains white. Time to delete the object and go back and change my selection, remember what I said about Undo being your best friend?

I undo to the point where the white background is selected, then change the selection Mode to Add and click on the white space between the stems. (You can undo several actions at once by using the Edit, Undo before command which lists each level.) This is added to my selection and when I invert and convert to an object, the flower has a transparent area between the stems. You can add or subtract multiple areas to your selection in this manner and it works with any of the selection tools.

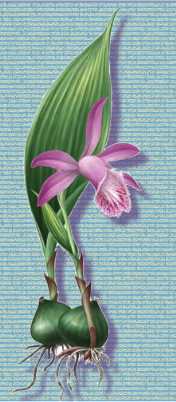
The flower which I have pasted onto the background is now an Object. Lots more on Objects later, but Objects make a lot of things possible. For those who have used Paint Shop Pro, objects are comparable to layers. To make my flower stand out against the background I will now right click on it and select Add Shadow. Before saving this as a completed creation, I will need to right click and select Merge all.


 >
>