Tutorial 4
To use this tutorial you will need the fleuron font , you can download it by
clicking here.
This is actually one of Shaun's
tutorials for another program, I have changed the directions to work with PSP.
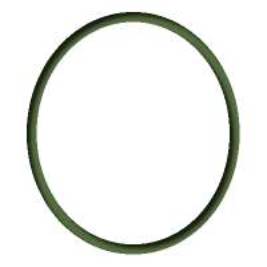
1. Open a new image, start with something big, that way when you resize it
down, it will hide most mistakes. I am using a 400 x 400 pixel, use a white
background for this. Using the shapes button, select a shape, I am using
Ellipse(oval), for style, select Outlined, and Outline Width 15 or higher. I
used 15. Draw your shape, centering it so that it takes up most of your canvas.
2. Using the magic wand, select the shape you just drew... The actual lines...
now go to Image/Effects/ and select cutout... I used the following settings but
you can play with it to get the effect you want.

Fill with interior color: not selected
Shadow Color: Black
Opacity: 75, I used a darker color, if you use a light color you will want to
make this about 55 or 65
Blur: 9
Offset: for both Vertical and Horizontal: 6
3: Open a new image.. select the font tool. I used the fleuron font, the letter
"E". I have attached the zip file in case you don't have it.

4. Leaving the image selected... go to
Image/Effect/Cutout: I used the following settings.
Fill interior with color: not selected
Shadow Color: Black
Opacity: 65
Blur: 4
Offset: Vertical and Horizontal: 2
Again feel free to play with this to get the effect you want.
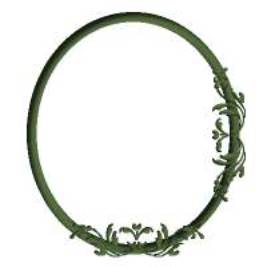
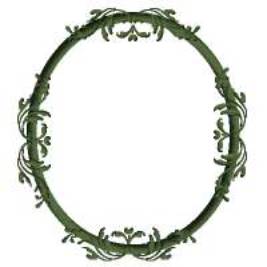
5: Leaving this image selected: copy and paste it as is to the bottom of your
shape for your frame.
 Copy
it again: paste it on the image again.. only before placing it, Select Image,
rotate, 90 degrees to the left. Paste this on the right hand side of the image.
Repeat this step again rotating it to the right, and pasting it to the left
hand side. Repeat one more time rotating it 180 degrees to past to the top of
the frame.
 You
are done.. you can resize this to fit an image. To place an image inside, using
the magic wand, select the center area of the frame (the white area) find an
image that you would like to put in it, using the selection tool pick the shape
the same as your frame, using that make the selection of the image you want
framed. Copy it.. now going to the frame: Select Edit/ Paste/Into selection.
Play around and have fun with this.. you can get all kinds of effects for
frames from this basic technique.
I wish that Shaun was still with us to share this with us... but since she
isn't I am thanking her in my heart for giving this to me to share with you
all!
Tutorials | Tutorial 1 | Tutorial 2
| Tutorial 3|
Email me | Contents