Home | Family photos | Quilting | Sign Guestbook | View Guestbook | Amy's training
Orange Crush
(name
courtesy of Quiltville)
(note: name might be changed once final product is completed
6/25/08 The wall-hanging has been quilted and bound. This was the first full quilting project I completed on my new machine: Bernina 440QE! I chose a concentric-circle quilting motiv to reflect the name of the quilt "Orange Crush."
In the border, I used one of the many decorative stitches on the machine and outlines the blue geese triangles 1/4 inch in from seam. The full quilt still remains to be completed. |
6/14/08 (Catching
up)... As promised, now that Nub's S-n-S quilt has been completed and now the school is over ( :0), I have been able to dedicate some more time to the OC again. On June 6, I finished up step 4 and step 5 (OC#5.pdf). We FINALLY were able to dig into the orange on step 5! |
|
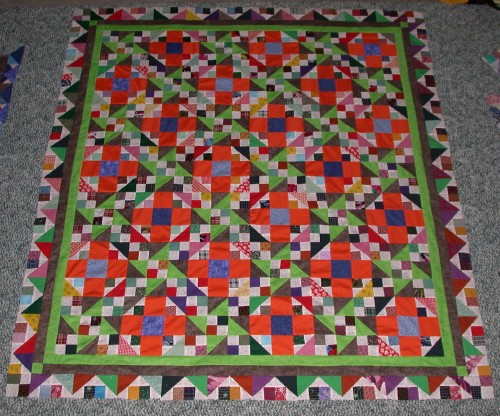
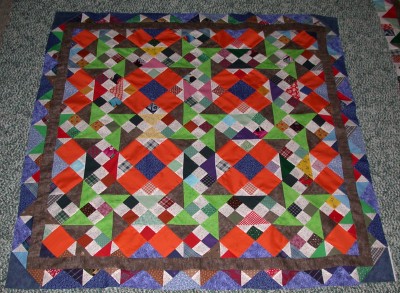
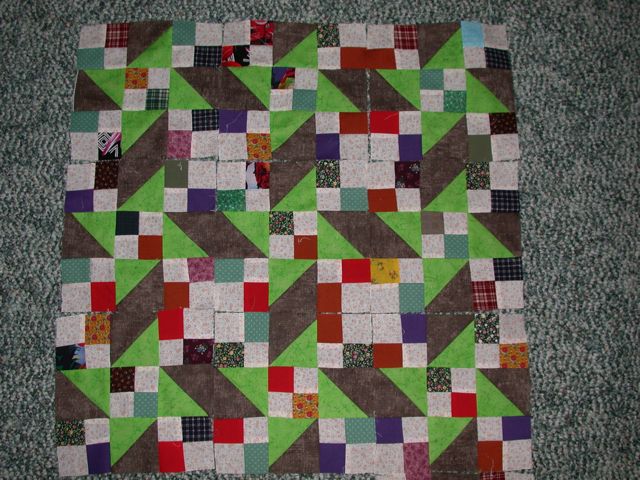
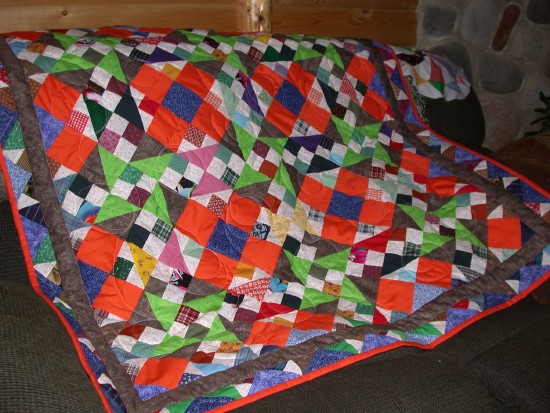
Then came step 6--Putting it together(pdf). The layout recommended is pictured right, but I wasn't completely "sold" on it. However, away sewing I went! Then, the next day, after looking at SoScrappy's blog where she had her quilt set "straight" instead of "on-point," I just knew I needed to rip out the on-point setting. I played around with layouts for about an hour. After creating five more OC#5 blocks and ripping out several of the corner OC#5 blocks, I had most of the "straight" layout complete. After another hour of playing with all the left-overs, I DID decide to use the OC#2 left-over blocks as a pieced-border. I needed to make up 52 more of them, which REALLY was worth it once seeing the completed top. In addition, I also putzed with all the other left over blocks, and created the wall-hanging (shown below). Once again, I needed to create some more of those little corner blocks from OC#3, but didn't mind at all. Now, both tops are complete, but will sit until I purchase my new machine. I have been researching both the Bernina440QE and the Janome6600. |
|
Left: Final Full size quilt layout Top: Wall-hanging made of left-overs. |
5/28/08 Ooohhhh....I know, I know. WOW! I'm behind! Bonnie has already given out OC#5, but I WILL NOT peek until I have completed #4. I ONLY behind because I needed to work on Nub's Grandpa's Stars-Stripes, but now that I have finished that project, I can now devote my time to the OC again. Tonight, I worked on whipping out another 5 blocks, but after ripping about 6 seams, my brain said it needed a rest. I can't wait until summer vacation!!!!! |
5/10/08--#4:
Spinning Star Welllll, I wasn't "feeling" the drab brown AND gray this morning, so I hunted and sifted through the stash. V'iola! The green replaced the boring-ol'gray fabric! This is a fun block to make. They don't take all that long, either. It's actually nice working with pieces that are BIGGER than 2.5 inches for once. Those 3.5 squares seem HUGE! And speaking of huge----I'm curious to know how big this quilt will end up being. Just these 9 laid together are quite large....each block is 9" finished. |
5/4/08--#3:
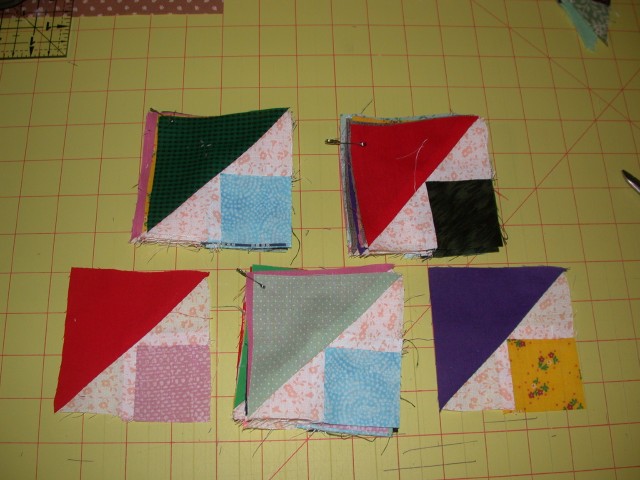
Half-triangles This morning, Paul went to a buddy's house, so I had some time to putz with quilting. I figured it would be a perfect time to print out #3 and get a start. Hmpf!! People weren't kidding when they said #3 was fast and easy! Within an hour, I was done. The blocks went together fast and simple. Yeah, I feel so much better knowing I'm caught up!!! |
I wasn't planning on touching #2 until I wrapped up most of the Carolina Crossroads. BUT, I hit a glitch today and had some time to dedicate to OC. I was able to piece thirty blocks today. They went together FAST! I need to cut some more light triangles before I'm able to make more though. |
Orange Crush--Part 2 (pdf) Courtesy of Quiltville
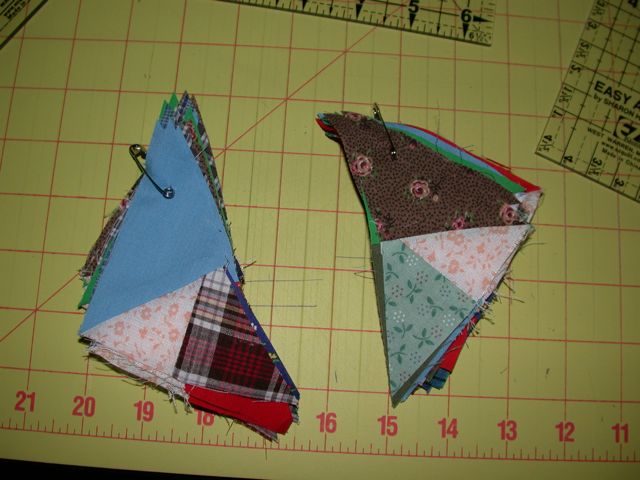
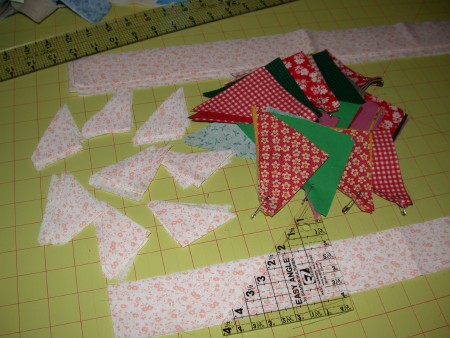
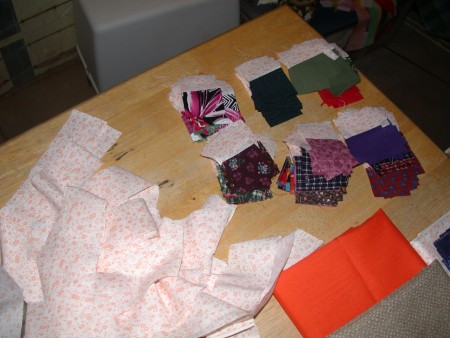
I only spent about two hours downstairs tonight. I completed cutting up some of my 4.5" squares and strips to create the 140 3.5 half-triangles needed in Part 2. In addition, I started cutting up 2" strips from my "light" fabric to start making the 2" half-triangles also needed for this step. The pictures shows
my I have so far. I'm quite surprised how "red" my 3.5"
stack appears! I didn't realize I had that much red scraps!!! |
April 1, 2008 (11:10 am)
Woo-hoo! All 150 4-patches are complete! Ya gotta love a snow day to sit and
enjoy a day in front of the sewing machine. Nothing like the Northern Mid-west
to be hit with 8 inches of snow one day, and have 40's and sunny the next! The
day is a PERFECT snow day for students.
BUT, I headed downstairs around 9:00 am to start sewing more strips together. Around 9:30 I was ready to start putting the 4-patches together. I would guess it was about 15 minutes later when I yelled upstairs for Cassie (7 yr old daughter) to come downstairs. I had the BRILLIANT idea to have her cut apart the "mile-long" chains and to put them into piles of 10. Naturally, the math teacher in me was taking over too. I asked her how many piles of 10 we would need to reach the 150-mark. It took her a bit to figure that one out----at first she said 150 piles. OH DEAR! She LOVED helping Mom, and at the same time I was getting an idea if I had enough scraps 2-pieces to make all 150 4-patches. Around 10:00, we were finished, with a few extras! Yeah. So we took a little water-break before heading back down to iron.
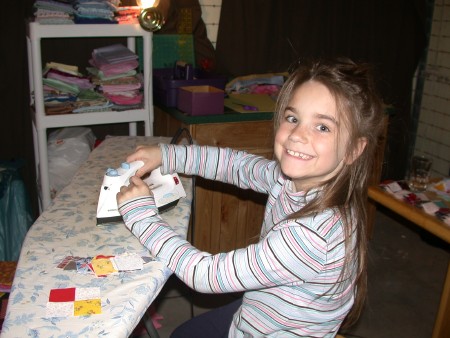
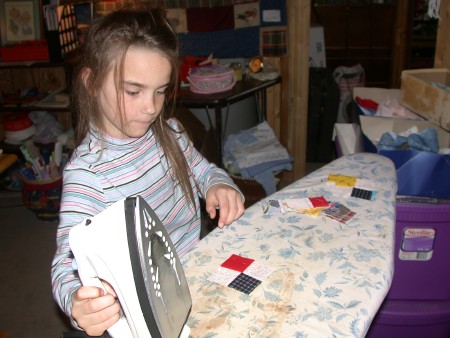
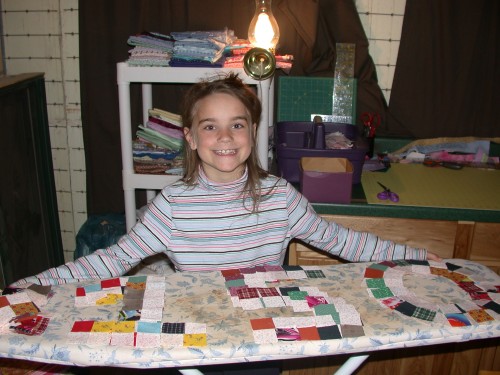
I taught her how to properly hold the iron as to NOT burn herself. I ironed for the first 50 patches, or so, then she took over. It was a bit slow-going, but she was so proud of the stack she created. As I was laying out the finished 4-patches for a picture, she had a fabulous idea to shape them into the number "150." Be sure you see the final picture of step 1.
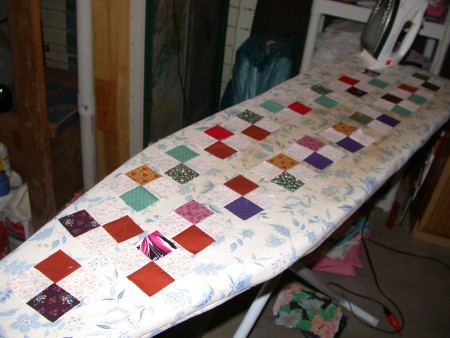
The first batch of 4-patches |
Cassie taking over ironing the 4-patches. |
|
The finished project---Step 1 (150 4-patch scraps.) |
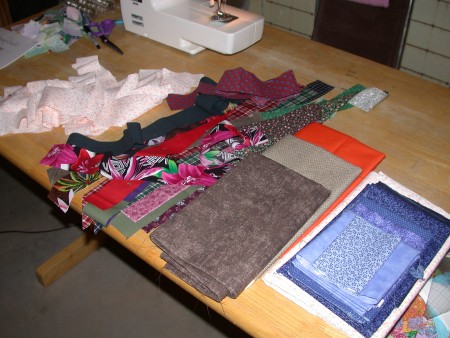
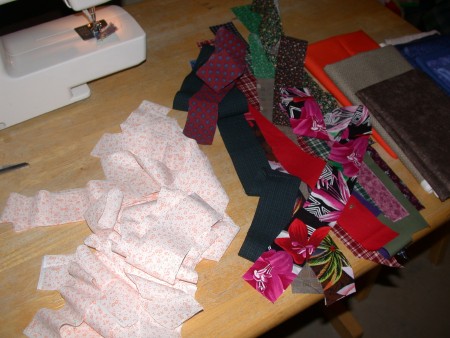
The complete palette of colors being used in this project are shown above and to the left. |
|
|
The start of the 150 4-patches. Still more to go, however, by the looks of the white scraps. |