Ok, so we have this photoshop file with all the elements all separated, now what?
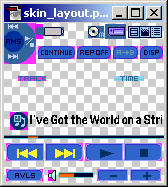

First you need an idea. For my skin, I liked the way the nr70 soft graffiti looked so I picked that, but you can do whatever you want, its art, and nobody is paying you, so rock on with yo bad self!
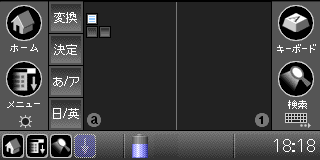
To start, I just make a basic layout in photoshop, I don't really worry about the specifics, but I definitely think about how the buttons will work, and to make sure to build them within the boundaries of the helper images
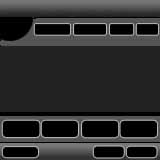
See how the helpers overlay nicely?
![]()
![]()
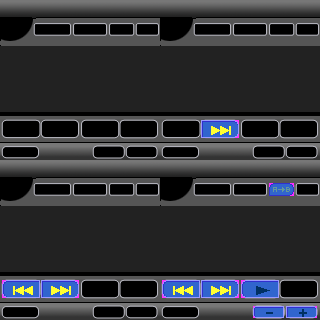
Lets take one of these buttons and go through the process of making it a skin image.
1. I want to select just the area that the button is in. So I load the transparency selection of the "4700 play" layer.
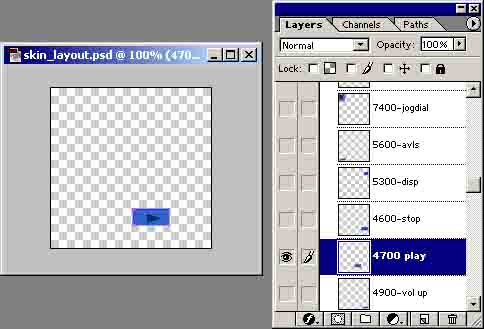
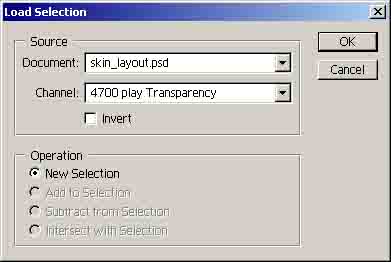
2. Flatten the image or do whatever you have to do make all the buttons elements merge together.
3. Now copy that selection.
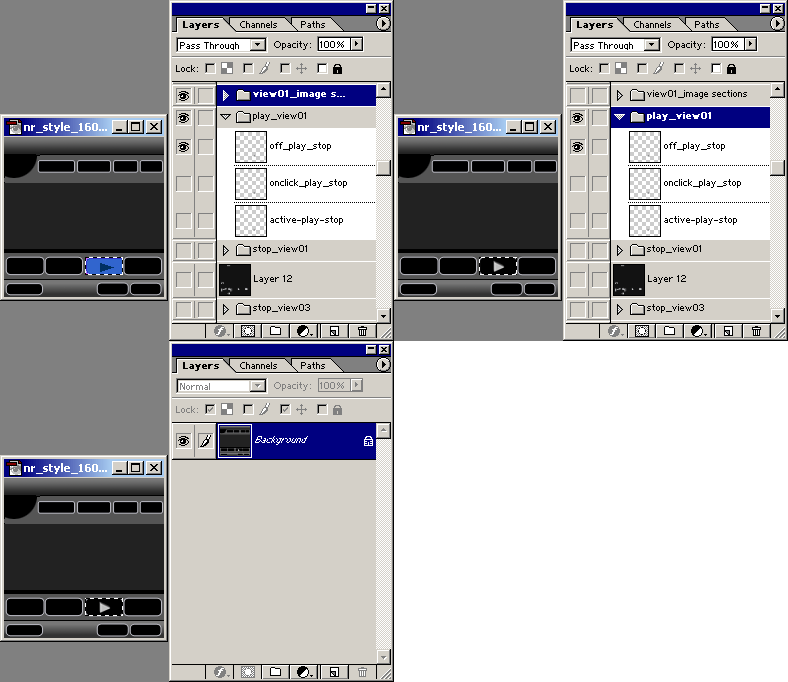
4. Then I load up the extracted skin image, called 4700.bmp, and paste that selection into it.
I align it up with the corner of the image, so it overlays nice.
If I had different styles for each of the buttons, I will go back to that original file, and repeat the process.
Ok done! We have all 4 buttons aligned and placed over their selection area.
If you are curious what each buttons range is, download the PDF in the download section, it tells the specifics for each element.
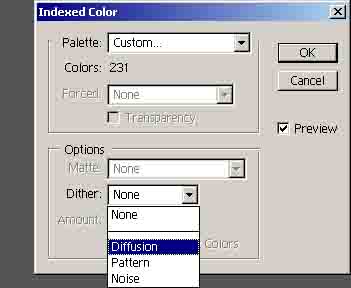
Now we are ready to index the image. Go up and select image>mode>index
In the settings make it use a custom color palette, and select the clie_colors_231.act color palette in the clie_palette.zip from the download page.
Now, watch as your beautiful image goes to crap. :)
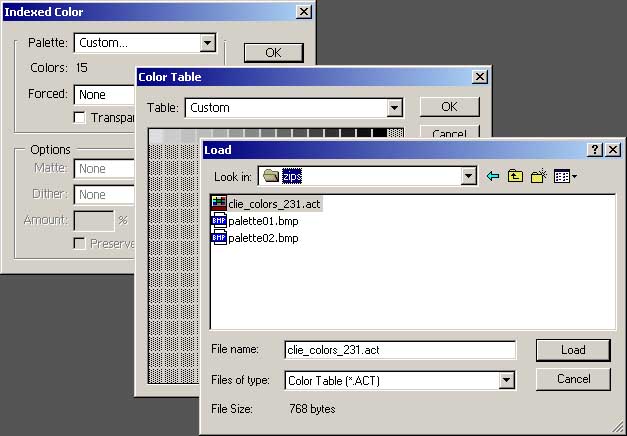
Making that image look good has always been an art form, and one that oldschool web designers are good at.
Try the different dithering options and see how they look, sometimes you may have to pick one that does a good job with your color gradation, but has some color artifacts which you will have to hand paint out.
I recommend loading up one of the reference images so you have a nice swatch to choose from.
OK, so now we have our beautiful digital image ready to impress many a Clie Users and give us geek stardom.
That is the end of this section, check out part 3 where I explain how to put this into your audioplayer.prc file, and into your Clie! Take care, and feel free to email me if you have any questions about the above.
--------------------------------------