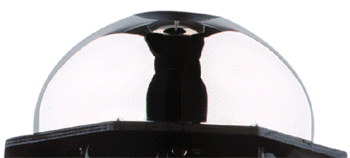

The first step to creating the bowl camera was to find a bowl with a suitable shape, size and reflective surface. The shape needs to be circular and allow maximum coverage above and below the horizon without any distortions. It should be large enough to fit over the front of a large format camera. Finally, the surface should be highly reflective and not contain too many imperfections.
After an extensive search an Ectetera Stainless Steel bowl found. The stainless steel surface was quite reflective, the shape allowed for a fair view above and below the horizon, and only costing $30.
A hole was cut in the centre of the bowl to allow the camera to see through.

Stainless Steel Bowl
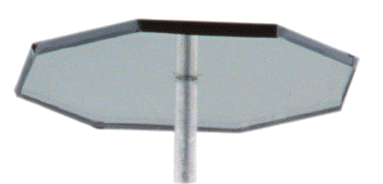
The next items acquired were a mirror, a piece of glass and an aluminium supporting rod. The mirror needed to be big enough to cover the entire bowl surface when viewed by the camera through the hole in the centre of the bowl.
The piece of glass with a small hole in the centre (large enough for a screw) was stuck in front of the hole in the bowl from below with sealant.
To find the distance required between the top of the bowl and the mirror, the mirror was viewed through the camera and moved back and forth until the reflections in the bowls surface were sharp. This distance was measured and the aluminium rod cut to this length.
Both ends of the aluminium rod were tapped with a screw thread to allow the mirror to be attached to one end and the rod attached to the piece of glass in the centre of the bowl at the other end.

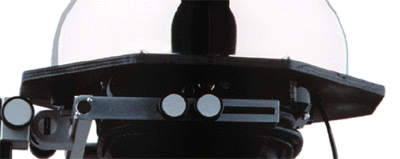
Finally the base was made from a piece of ply-wood with a hole cut in the middle so that it would fit snuggly on top of the front standard of the camera. The bowl was positioned on top and in the middle of the base and held in place by several screws.

To view illustrative diagrams of the bowl
camera design.