

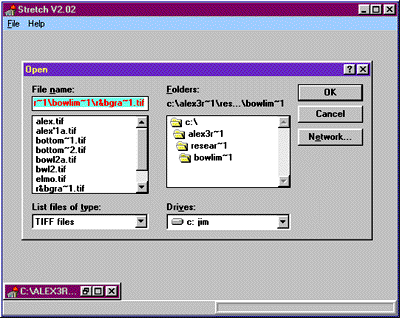
This page shows how to use the program "Stretch V2.02" to stretch an image that has been created using a bowl camera, or similar.The first step is to open "Stretch V2.02" by double clicking on it's icon. Once the program has launched it's window, choose File menu > Open and locate the TIFF file you want to stretch (Stretch only accepts uncompressed TIFF files). Press OK.
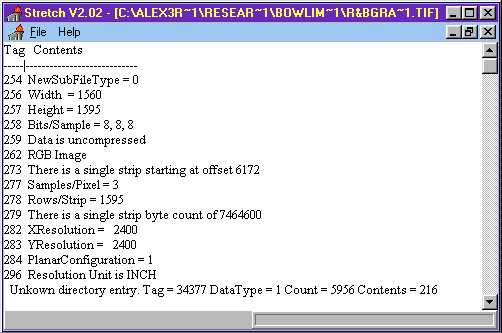
Opening a file only displays the contents of the TIFF header. (A list of information about the opened image)
Several files can be opened at the same time. The last opened file is shown a full window. To select a previously opened file, minimize the current window and select another one.
Once a file has been opened, an action can be chosen from the file menu.
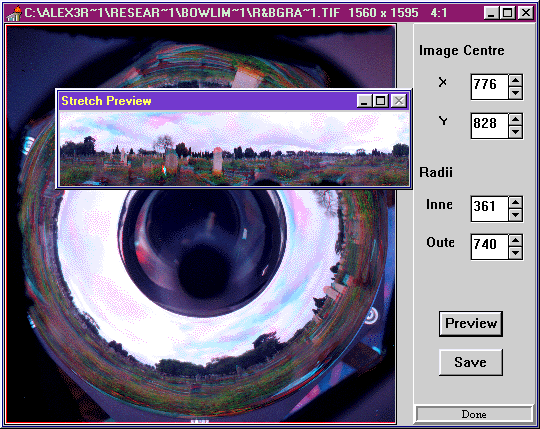
To stretch the opened file, choose File menu > Stretch. The Stretch menu item displays the contents of the currently opened file, together with spin edit controls to set the position of the centre of the stretching circle and the inner and outer radii. When opened, the values are preset to the centre of the picture and half and quarter of the average picture side.The picture is scaled so that it displays with a maximum of 500 by 500 pixels.
Only one file can be stretched at the time, it has to be closed before the next one can be processed.
The centre and radii values can be set quickly and conveniently:
1. clicking on the centre of the circular image sets the centre values
2. holding down the shift key while clicking anywhere on the inner radius sets the inner radius value
3. holding down the control key while clicking anywhere on the outer radius sets the outer radius valuePressing the Preview button shows a window in which the effect of stretching can be inspected. The Preview window can be moved around and resized by dragging as required. In a tradeoff between preview speed and flexibility, the window forgets its contents when it is covered or minimized.
Adjustments can be made to the position of the image centre and the radii to get the best stretch result.
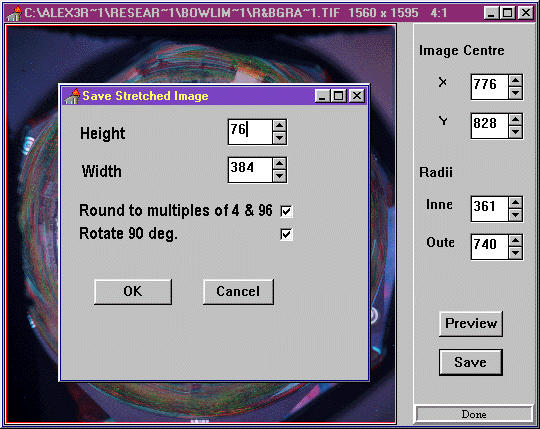
Pressing either the Save button or by choosing File menu > Save will record the stretched result in a file. First a dialog box will appear to allow setting of the final image size. At this stage one can also specify whether or not to round the image size to the nearest multiple of 4 for height and 96 for width, and to allow 90 degrees counter clockwise rotation of the image. Both these settings make it easier to convert the stretched image to QTVR format using Apple's Make Panorama 2 program.Finally, press OK and the program will begin stretching the file. The progress can be monitored by watching the row conversion counter in the bottom right corner of the window.
Now the file is ready to be converted into a Panoramic Quicktime image (QTVR file).