

The first step in making a model is to find some scale drawings of the plane you want to make. The drawings should show the top, front and side views of the plane. When you scan them into your computer make sure that they are straight. After you have scanned them, load them into a paint program such as Photoshop or Photopaint. In the example of the Me109 below, notice how I cropped both drawings from the tip of the nose to the tip of the tail. This will make it easier to scale the drawings in Rhino. If we were modeling the wing, we would crop from wingtip to wingtip.

Start a new file in Rhino. Make sure SNAP is on. Click in the top viewport and select View:Background Bitmap:Place. Choose the image of the fuselage top and drag the cursor to place the image. In the front viewport place the side view of the fuselage. Make sure it is the same width as the top image. This is why we cropped them from tip to tip.
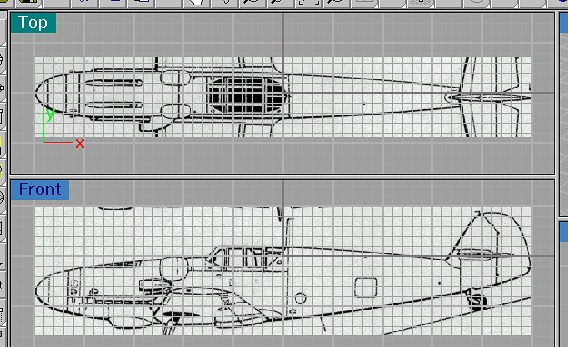
Use the side image of the fuselage to draw the profile curves. Notice how the top curve is in two pieces. We will need to build the fuselage in two pieces and join them together.

Using the front view of the airplane, draw the cross-section curves for the fuselage. This can be the most difficult part of making the model. The Me109 that I show here was difficult because the cross-section curves are all different. I had to look at some photographs and try to guess what the cross-sections looked like. You should probably start with an easier airplane. The B-29 Superfortress is fairly easy because the cross-section curves are all simple circles.
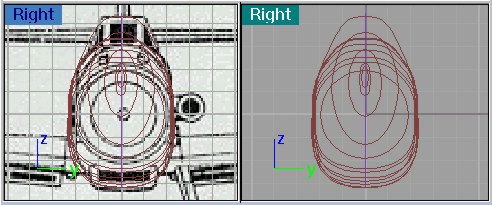
After you have drawn the cross-section curves, move each one along the fuselage to its proper position. It should look like the image below.
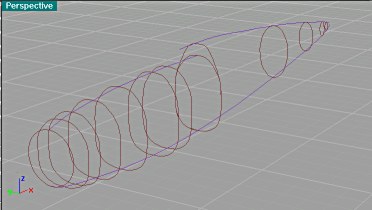
Notice that I had to use a lot of cross-sections in the front of the plane. Normally, you want to use as few curves as possible.
Now we will create the front half of the fuselage surface. Select Surface:Sweep 2 Rails. Select the top front profile curve and then select the bottom profile curve. Now select the cross-section curves, starting from the nose and working back to the end of the top front profile curve. Right-click on your mouse and an Options box will appear. Never leave it on "Do Not Simplify." This will cause the model to have too many polygons. Select "Rebuild with XX control points." I usually set the number between 10 and 20. Click on Preview to see if it looks good. Click on OK. Repeat this for the back half of the fuselage. When you are done it should look like this.
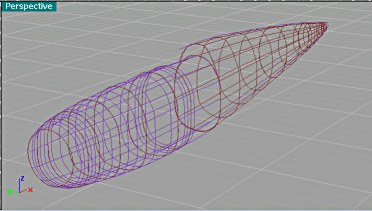
The shaded fuselage looks like this.

Now we need to cut out the cockpit. In the side view of the fuselage, I drew a line around the cockpit area. Extrude the line so that it passes through the fuselage. Now click on the Split button. Select the fuselage surface. Then select the extruded surface. After the computer has finished splitting, you can delete the unneeded piece of the fuselage. You should now be able to join the two halves together.

Now we will make the canopy. Select the "Curve from Object:Duplicate Edge." Click on the edges around the cockpit opening that we just made. Put these curves in a separate layer and then hide the fuselage.
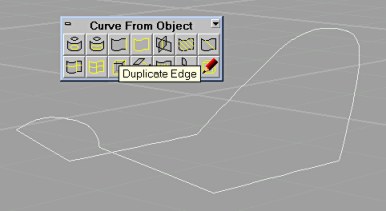
Draw the lines to outline the rest of the canopy. It will be easier to connect the lines if you turn on Osnap:End.

For the front parts of the canopy, I used the Surface from 2, 3 or 4 Edge Curves. For the back half I used the Sweep 2 Rails. You will often need to use 2 or 3 different tools to create an entire surface like this canopy.
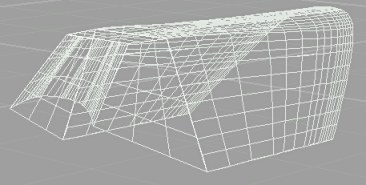
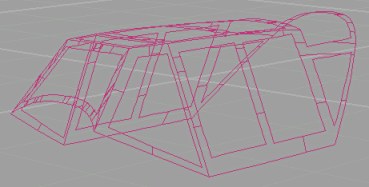
To make the canopy frame, we will use the Extrude and Split method that we used to cut out the cockpit opening. In the side view (and/or the top view) draw the lines for the windows. Extrude these lines so that they pass through the canopy. Then use the Split to cut the windows. Don't delete the windows. In the image below, the window layer is simply hidden.
Now its time to make a wing. For this example I used the wing from a Me262 because it is very simple to build.
In the top view, draw the profile curves for the wing. Note how there are two curves.

In the side view, draw the cross-section curve for the wing. I had to guess what it looked like because the scale drawings didn't show it very well. Turn on Osnap:End and add a point at the wingtip.(above the yellow arrow)

I usually make the wing's cross-section curves in two pieces (an upper half and a lower half) rather than one solid curve. I find it easier to apply textures to the finished model if the wing is divided into upper and lower pieces.
Your wing should look like this. Note how simple this wing is compared to the fuselage.

Use the Sweep 2 Rails to make the wing's surface. First select the two profile curves (blue lines) and then select the green cross-section curve and the point at the wingtip.

The shaded wing looks like this.
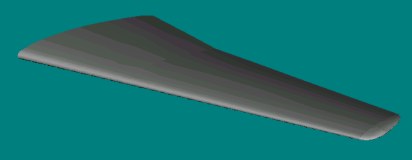
If you want to cut out the area for the aeleron, use the Extrude and Split method that we used earlier.
Now we need to create the fillet that joins the wing to the fuselage. The Fillet tool in Rhino doesn't work very well so we will have to use another method.
First, make sure that there is some space between the wing and the fuselage.
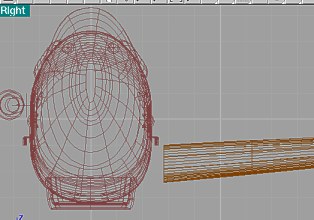
Copy the cross-section curve at the base of the wing and make it larger using the Scale tool.
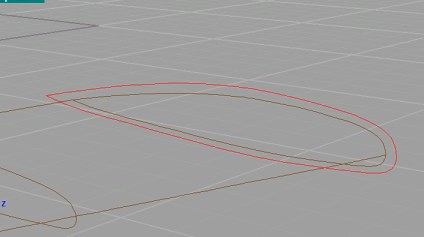
In order to project the cross-section curves onto the fuselage, we will need to switch to the side view. Click the Project Curve to Surface button. Select the new cross-section curves you just made. Right click on the mouse. Then select the fuselage surface. The cross-section curves will be projected onto the fuselage surface.
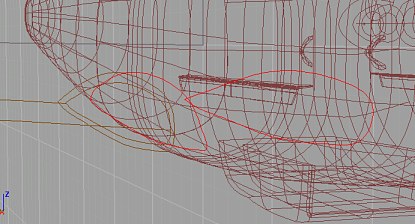
Hide the fuselage so that only the curves are showing.
Turn on Osnap:End and draw a curve that connects the two sets of cross-section curves at the front edge of the wing. Repeat this for the back edge of the wing. Use the curve tool, not the straight line tool (even though the curves will look straight.) We are going to bend them in a moment.
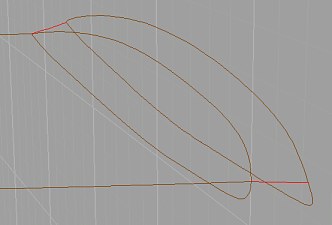
Go to the Top view. Click on the Edit Points On button and select the two short curves you just made. Move the control points so that the lines are curved.
 Switch to Perspective view. Use the Sweep 2 Rails to create the fillet surface. Do it for top and bottom.

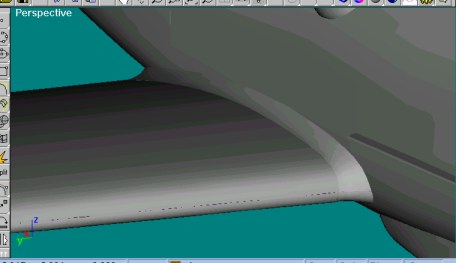
The shaded fillet should look like this.
You build the vertical and horizontal tail pieces the same way that you made the wing.
This should get you started on making an airplane. I hope you enjoy making it!
Click here for a tutorial about making textures for your aircraft.