1.
 Start, as always , with a 8.5 inch on 11 inch paper. |
2.
 Fold the paper to half, along it's long side. |
3.
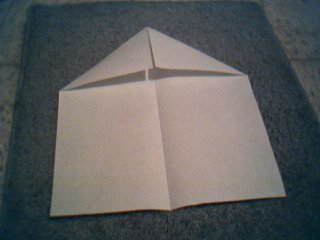 Fold straight angle triangles on both side of the main fold. |
4.
 Fold the left side so the diagonal line is on the main fold. |
5.
 Unfold. |
6.
 Fold the left half of the left side to half (wow, what a sentence!) |
7.
 Fold on, use the line marking the middle of the left side as your pivot. |
8.
 Fold on, use the line marking the quarter of the left side as your pivot. |
9.
 Fold the right side so the diagonal line is on the main fold. |
10.
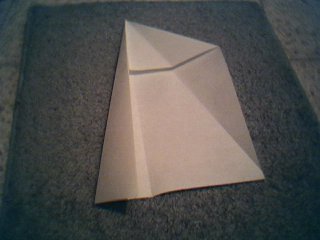 Unfold. |
11.
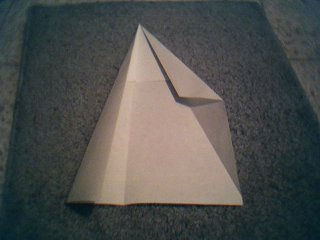 Fold the right half of the right side to half. |
12.
 Fold on, use the line marking the middle of the right side as your pivot. |
13.
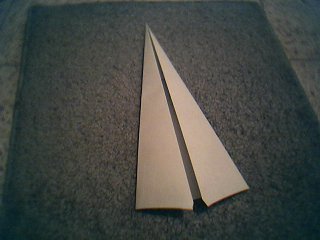 Fold on, use the line marking the quarter of the left side as your pivot. |
14.
 Fold the rocket to half, deep middle line in. |
15.
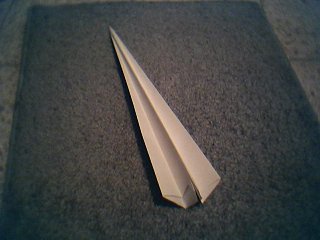 Fold the wing fold, so the edge of the wing will be on the main fold (the bottom line of the plane). |
16.
 Fold the other wing, the same way. |
17.
This is how it looks from behind. |
OPTIONAL STEP:
18.
 For fancy flying (but shorter): fold little winglets as shown in the picture, it makes it spin around itself while flying. |


