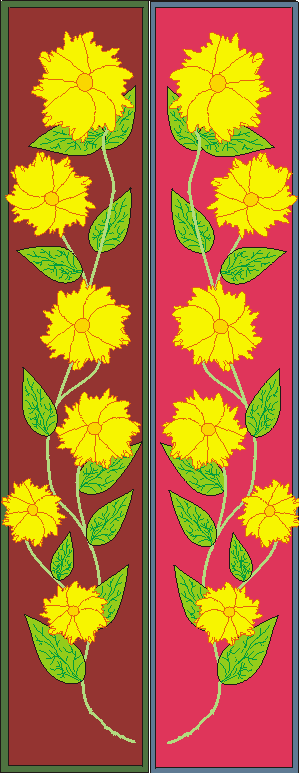
BOOKMARKS
CorelDRAW Project

Tip: Place guides (click and drag from ruler) to show the size and shape of your bookmark. This will ensure that you have a vine that fits the bookmark, and not a lovely, but short and round, bouquet.
- With the Freehand tool, create a petal. Color and outline as desired. Use the + key to duplicate the petal about 8 times.
- Click the top petal a second time to display the rotate handles. Move the rotation point to the tip of the petal. Rotate the top petal, then choose the second petal in the stack and rotate.
- Continue until you have a flower with all the petals rotated about the tip.
- Choose the elipse tool and place a circle at the center of the flower. Group the flower. Change the outline width to 1 point.
- Create a leaf-sized ellipse and convert to curves (ctrl-Q.) Shape into a leaf.
- Duplicate both flower and leaf until you have enough for your bookmark.
- Use the freehand tool to create a vine for your flowers.
- Place flowers and leaves on the vine. I flipped some of my flowers and leaves, and resized them, for a little variety.
- Select and group the entire vine. Be sure it fits into your bookmark shape.
- Create a rectangle. Size it to about 1 3/4 inches X 10 inches. Color it. Select and duplicate. Hold down the shift key and size the duplicate rectangle slightly smaller than the first.
- Place the vine in the rectangle. Group. Duplicate and flip horizontal.
- Select both bookmarks and duplicate. Distribute (Ctrl-A) the bookmarks across the page.
- Ungroup, or use the control key to select the rectangles out of the group. Give the two rectangles that comprise each bookmark a different fill. Fine-tune as needed, print and cut apart.
Back to HomePage
PhotoShop Pages
CorelDraw Pages
Word Processing Pages
Resources

