PSP6: Text on a Path
At long last, PSP6 provides you with the ability to make text conform to
a curved path! Folks who used to rotate and move individual letters to get this
effect will be particularly impressed by how easy it now is to get text on a path.
What you do to make text conform to a path is to define a path by drawing a vector line
or preset vector shape and then to "attach" vector text to the path:
- Begin by making your path. For this example, let's draw a bowl-shaped Bézier
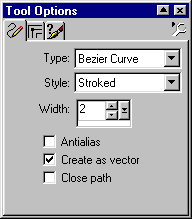
curve for our path. Choose the Draw Tool and in the Tool Options Palette select Bezier
Curve as the Line type and Stroked as the Style; be sure that
Create as vector is selected.

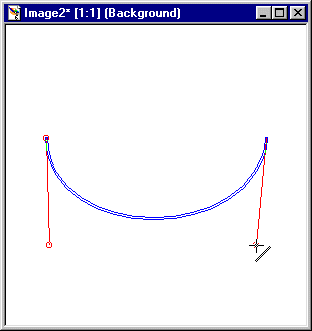
- To begin the path, click about halfway down on your image canvas a few pixels
to the right of the left edge. Then drag horizontally to a few pixels away from
the right edge. Define the curve's first control point by clicking about 150 pixels
below the line's starting point. Then define the second control point by clicking
about 150 pixels below the line's endpoint.

(For more on Bézier Curves, see
Bézier Curves in PSP.)
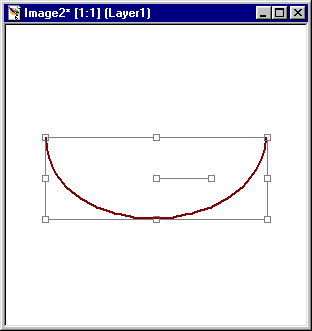
- Release the mouse button. Your vector curve will be drawn and selected.

- Now choose the Text tool. Position the tool anywhere on your vector curve. When the
tool is positioned correctly, the A of the cursor icon will tilt to the
left with a curve below it:

Click on your vector curve when the cursor is positioned correctly.
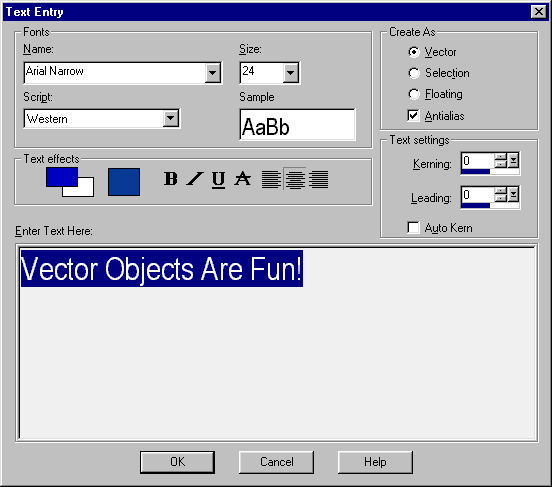
- You'll then see the Add Text dialog box.

Choose the font and font size that you want. In the Create As pane,
you can select either Vector, Selection, or Floating;
you can also select Antialias here, if you like.
In the Text effects pane, click on the Color box to bring up the
Color Picker. Select the color you want your text to be. You can also choose to have
your text bolded (B), italicized (I), underlined (U), or struck-through
(A).
Choose the alignment of your text. Align Left will position your text so that it
begins at the curve's left end; Center will center the text on the line; and Right Align
will position the text so that it ends at the curve's right end.
Enter the text that you want in the Enter Text Here text box. Then press OK.
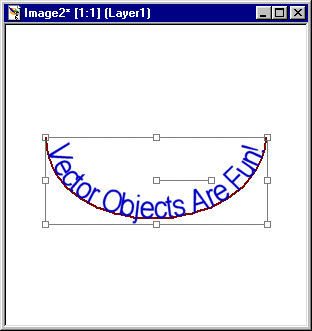
- You'll then see something like this:

Notice that both the curve and the text are selected. You can move, resize, or
deform them just as you can any other vector object.
(See Vector Basics for details.) You can also
modify the curve with Node Edit, which we'll look at in a later tutorial.
- Of course, you probably don't want the curve itself to be visible. There are a couple
ways to make the path invisible. If you expand the vector layer info on the Layer
Palette, you can just click the visibility toggle on the curve's Layer button:

Another alternative is to access the curve's Properties dialog box and deselect Visible:

You can access a vector object's properties in three ways:
- Double-click on the object's Layer button on the Layer Palette.
- Right-click on the object's Layer button on the Layer Palette, then
select Properties from the resulting menu.
- Choose the Vector Object Selection Tool, select the object you're interested in
(either by clicking its Layer button or by dragging the tool across the object),
and then right-click anywhere within the object selection border
and select Properties.
Here's our example with the path invisible and the text object deselected:

Copyright ©1999 Lamander
All rights reserved
|
