You may wish to create a signature, add text to a graphic or make a design with a dingbat, which is a font with little pictures or designs instead of letters. To create text select the T on the left side tool bar, click on your canvas where you want the text to start and a box will come up for you to type your text in. If you hit enter it closes the box and puts the text on your canvas, if you want text on more than one line you must use hold down Ctrl while hitting enter. I usually do separate lines separately as you are able to position them better if they are separate.
While text is selected you can change the font--you will get a preview beside the font selection box and the selection will change as well, the size, the style, the color and the mode. Colors are selected in the usual way (Picking Colors) and you can color text as you would any object. Here I have used a horizontal gradient fill.

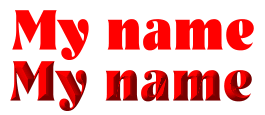
One of the neat built in effects is the 3D text. Here I have taken a plain red text and under Mode applied 3D Round. You want to do this after you have selected everything else, as it takes a while to render the 3D effect. Before saving an item to which you have applied text, you must Merge all as the text is a separate object.
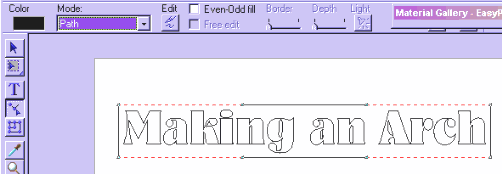
Sometimes you want your text to take a path other than a straight line. Here I have laid down my text in plain black, selected the path tool. and selected Path under Mode.
Now, everywhere you see a dot you can grab and drag to a new position. Your pointer must look like this  , if it has four arrows pointing outward it will move the whole thing. Now I have moved the inner points upward and the outer points downward. In order to help with making this symmetrical I have checked View, Guidelines and Grid, Grid.
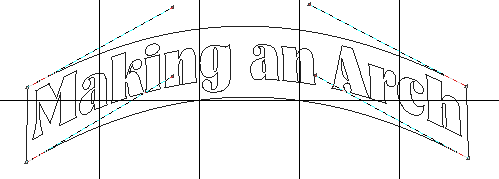
The final step is to change the Mode back to 2D Object or you can use one of the 3D selections (they don't work well on black since they use black to create the 3D effect but you can change the color here if you wish.) Just for fun I have used a flower texture from the natural textures gallery to flood fill these letters.

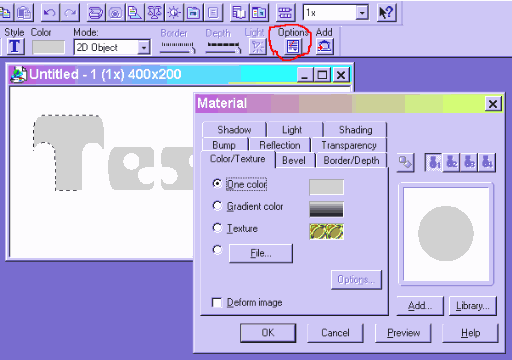
If you wish to do a number of things to your text such as fill with a texture, apply a 3D effect and add a shadow, you can click on the Options button and all these things will be at your fingertips.
You can, of course, position your text using any of the methods for positioning any other object. If you try to move it while the Text Tool is selected you will probably have a new text box pop up. It is best to click on the arrow on the top of the left hand tool bar first when you want to move your text. If you then want to change any of the text attributes just leave the text selected and click back on the Text Tool.
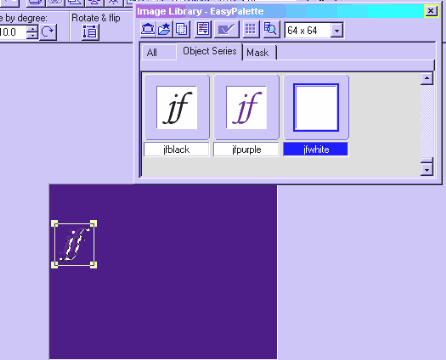
Here is an easy way to add your signature to your work. You may have a signature you would always like to add to your stationery but it is a pain to always have to go find your font and recreate it every time. Create your signature (I like to just use my initials jf in Monotype Corsiva) then while they are still selected, right click and copy them to your Object Library. When you drag the signature out onto your work, it comes out as a path, which means that you can resize it by dragging on the corner of the box. You can also flood fill it with any color you want. So size and color don't much matter. Here I have dragged a white sig (which looks like a blank in the object library because it is white on white) onto a navy background. They look all squiggly because the dotted selection line is around them.
