Inserting Graphics
|
|
Adding graphics to your pages will add interest to your text and of course you will
probably want to put up photographs of friends and family on your home pages. There are a few steps to go through before you can display images on the page.
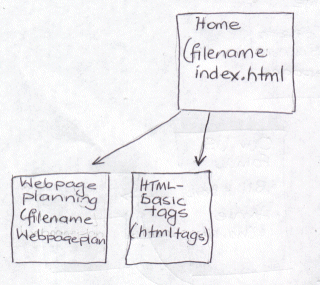
<img src="websketch1320285.gif" alt="Webpage sketch1" align="left" border="2"> The name of the image is websketch1320285.gif; the alt="Webpage sketch1" causes the words Webpage sketch1 to appear when the mouse pointer is placed over the image; align="left" forces the image to the left of the page (you can use "right" or "center" also), and border="2" makes a 2-pixel black border round the image. Have a look at the source code of this page to see this at work. (Right click on the page, View Source) |
 Here is the image
of the sketch again. Note that the image is set to the left of the page and this text is
forced to wrap round it. The code to produce this effect is: