Welcome to...
THE WORKSHOP
Okie Dokie...Now you're sitting around in your garage or building, picking your nose 'cause yah gots all da material but yah ain't got no clue as to what tah do. Well, read over this section a couple of times, even print it out if yah wanna and GO build the damn thing.
I'd advise that this be the order inwhich you contrust your cannon (seeing as it makes the most logical sense.) The steps will be outlined and explained in as much detail as I care to write. Pull yer finger outta yer nose, scroll down and get around tah building this aparatus, 'cause when it's all done it's a hell of alot of fun. heh heh heh.
Instructions for Building a PCH (potato-cannon Howitzer)
- MAKE ABSOLUTLY SURE THAT YOU HAVE ALL THE RIGHT BLOODY COMPONENTS!!!
- Dry fit the ENTIRE cannon just to make certain that things fit and that the hardware store hasn't screwed you over.
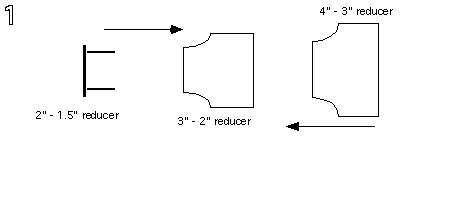
- Find the 4" - 3", the 3" - 2" and the 2" - 1.5" female reducers. Glue these pieces together, following the directions on the ABS cements canister.

**A Note about glueing!!: After you have glued, there is bound to be excess. Have a rag handy so that you can clean off any excess that oozes out from the joint. Try to keep things clean. And be extra careful that you don't get ANY ABS cement into the treads of the end-plugs. Thank you...
- Put this newly glued part aside. Take the 5.5' 1.5" pipe and use a file to sharpen the end of the pipe which WILL NOT be glued into the 1.5" reducer. This operation should take around 30 minutes to do a proper job, and you can always refine it later. The point is to make enough of a pointed edge to slice a potato.
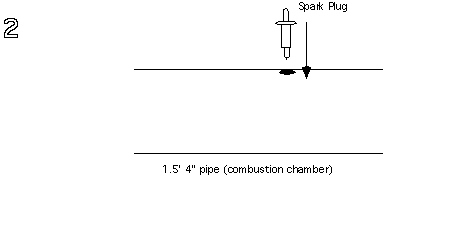
- Go and get the 1.5' 4" pipe (combustion chamber) and take it over to a drill press, or somewhere appropiate to drill. *Now depending on where you want the spark plug, you will have to do this step now or later. I recomend installing the spark plug somewhere ON the pipe, instead of into the end-plug.

- Go ahead and drill wherever you want the igniter (bit size: 15/24). DO NOT DRILL THE HOLE TOO BIG, you will have to change the size through use of a knife.
- Basically try and screw the spark plug into the fresh hole. I shouldn't fit. Now take a knife and slowly scrape away the inside of the hole, re-testing the spark plug often. What you are trying to achieve is a hole just small enough so that the plug's threads will actually "bite" into the ABS. This is the only way to ensure a sealed and safe fit. You can now screw it all the way in though use of a rachet or wrench. For a better explanation of the Spark Plug ingnition system, follow this link.
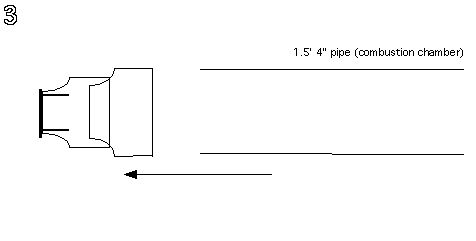
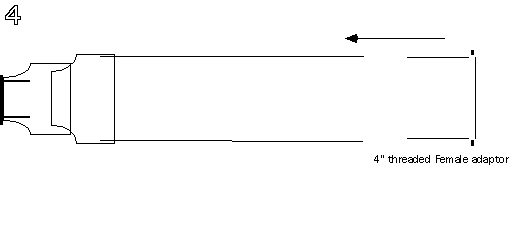
- Now, for more glueing. It is safe to say that you can prettymuch go ahead an glue all the rest of the components to their respective places: 1.5' 4" pipe into its reducer

- the 4" threaded female piece into the back of the 4" pipe.

- the 5.5' 1.5" barrel can be glued into its reducer

- Now leave this whole thing on a flat surface tah dry. You should be able to come tah it the next sunrise and have it ready to mash some spud...

If yah have any complaints or questions, please email me and I'll see what I can do fer yah...
Main Page | Launching the Howitzer
This page hosted by
 Get your own Free Home Page