

|
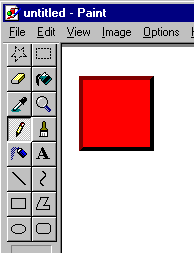
Go into your paintbrush program and draw something. In my illustration, I have drawn a button. I could put arrows on it with directions such as "Go back" but I chose to keep it plain. I will use this button to illustrate how to make your own image files for your page. |
|
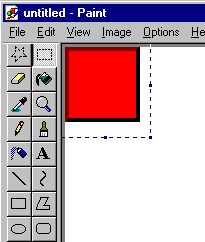
Next I moved my image all of the way to the top and left edges of the screen, as illustrated on the left picture here. You will not want any edges showing on a button. So, this is the first step in getting rid of them. |
|
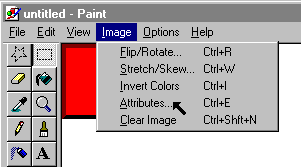
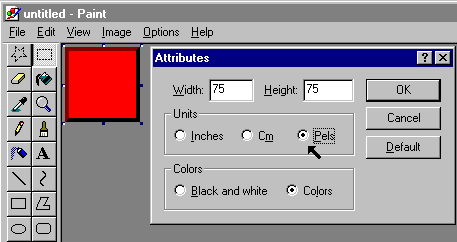
Next, I went into image attributes. This is where I will begin sizing my picture. |
|
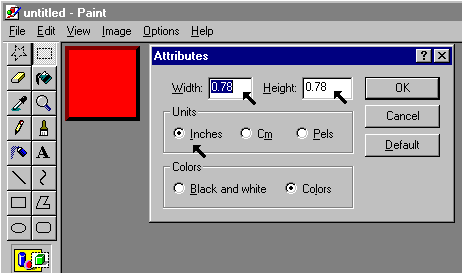
I sized the picture of the button until there was no more edging to it. I eventually came up with a button .78 inches by .78 inches. |
|
I then clicked on pixels to see how wide and how high my button was in pixels. This is good to know for my web page. |

|
Here is my finished product. Now, we have to go to a conversion software program. The one I chose to illustrate with is one called VuePrint Pro_32. If you don't have the program or another comparable program, you may wish to download it. |


