 Virtual
Tour Step 10
 Virtual
Tour Step 10
The Pneumatics

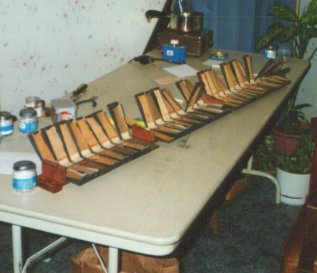
Here is one of the pneumatic decks with the pneumatics ripped open and waiting to be removed. One must be very careful when separating the pneumatic board from the deck. During this restoration I inserted a putty knife at the joint and slowly drove it in and separated the boards. This method works fairly well there was some splintering. Next time I will try something different.

After the pneumatic are removed and any damage to the boards repaired the pneumatics are stripped of all the old cloth and the old hide glue is sanded off using a belt sander. After the new cloth is torn into the proper strips the work begins. First the hinged end of the pneumatics are restored by installing new hinges made of cotton cloth then set aside to dry. Now the new cloth is glued, trimmed, and set aside to dry fully. Each pneumatic is tested for leakage and any problems are fixed as they are discovered.

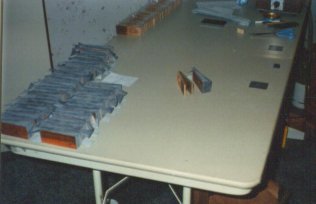
Now you can see the newly recovered pneumatics laid out and ready to be re-glued to the deck. It is very important that the pneumatics are returned to their original place. If you look at the deck you notice that there are a few imperfections that were not filled. It was believed that the splinters remaining on the pneumatic board would match up and seal properly. For the most part this was correct but in the future the decks and pneumatic boards will be filled and sanded smooth to be sure the glue joint is air tight.

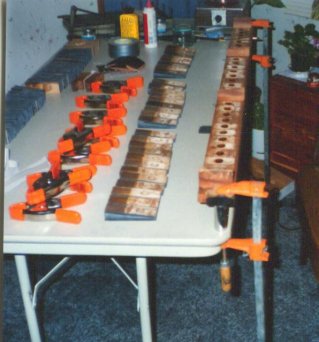
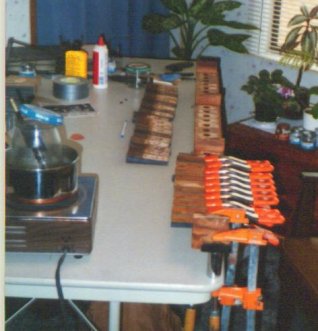
Here you can see the gluing process under way. I had about 10 spring clamps and as soon as I had done 10 the glue joint on the first pneumatic was set enough to allow the clam to be removed for use on the 11th. Using this method there was no stopping. Also notice the glue pot is not your store bought kind. the hot plate was bought at a yard sale. The only problem was regulating the temperature. It is not good for the glue temperature to fluctuate much while in use so I had to improvise by removing the original thermostat and buying a dimmer switch like you would use in your house to control lighting The dimmer was put in line with the glue pot and now the temperature could be evenly regulated, eliminating the constant 10-15 degree fluctuations. As you can see the make shift glue pot was a simple double boiler.
Send E-Mail
Home Page
All sound
content on this site is powered by Real Audio.If you do not have
a Real Audio player installed
you can download it for free by clicking here.![]()
| Piano Steps: | Step 1 | Step 2 | Step 3 | Step 4 | Step 5 | Step 6 | Step 7 | Step 8 |
| Player Steps: | Step 9 | Step 10 | Step 11 | Step 12 |
| Other Pages: | Home Page | Picture Album | Piano Room | Step Map | Links |
| Messaging: | Send Mail |
This page hosted by ![]()
Get your own Free Home Page